Where to Start...
With big asperations, I have always wanted to start my own home network & experience being my own "Sys Admin".
I wanted this setup to run my own router, DNS & wireless AP's. This would replace the modem that was supplied by our ISP but also allow so much configuration to the network. The downside with our current router is that there was no access to change settings, you had to physically call up the ISP to make any changes, including changing the SSID name & password >:(
Small Intro to the Setup
Here is our moden provided by the ISP; this is connected to the ONT, out in the garage. The ONT converts the light from the fibre connection into a electrical signal that goes across the copper wiring (AKA ethernet cable).
The modem has a WAN port, a 4-port switch & an RJ11 port for a phone. Not much else, but it does the job... most of the time.
To replace the modem, I decided to use the most budget friendly devices... My Dell R630 1U server & a 48 port Cisco 2960XR switch :)
Obviously this is very overkill but it is what I have at my disposal at this very much & I'm going to put it to use. In the end I'll go over future improvements I will want to make to the network.
Network Infrastructure Overview
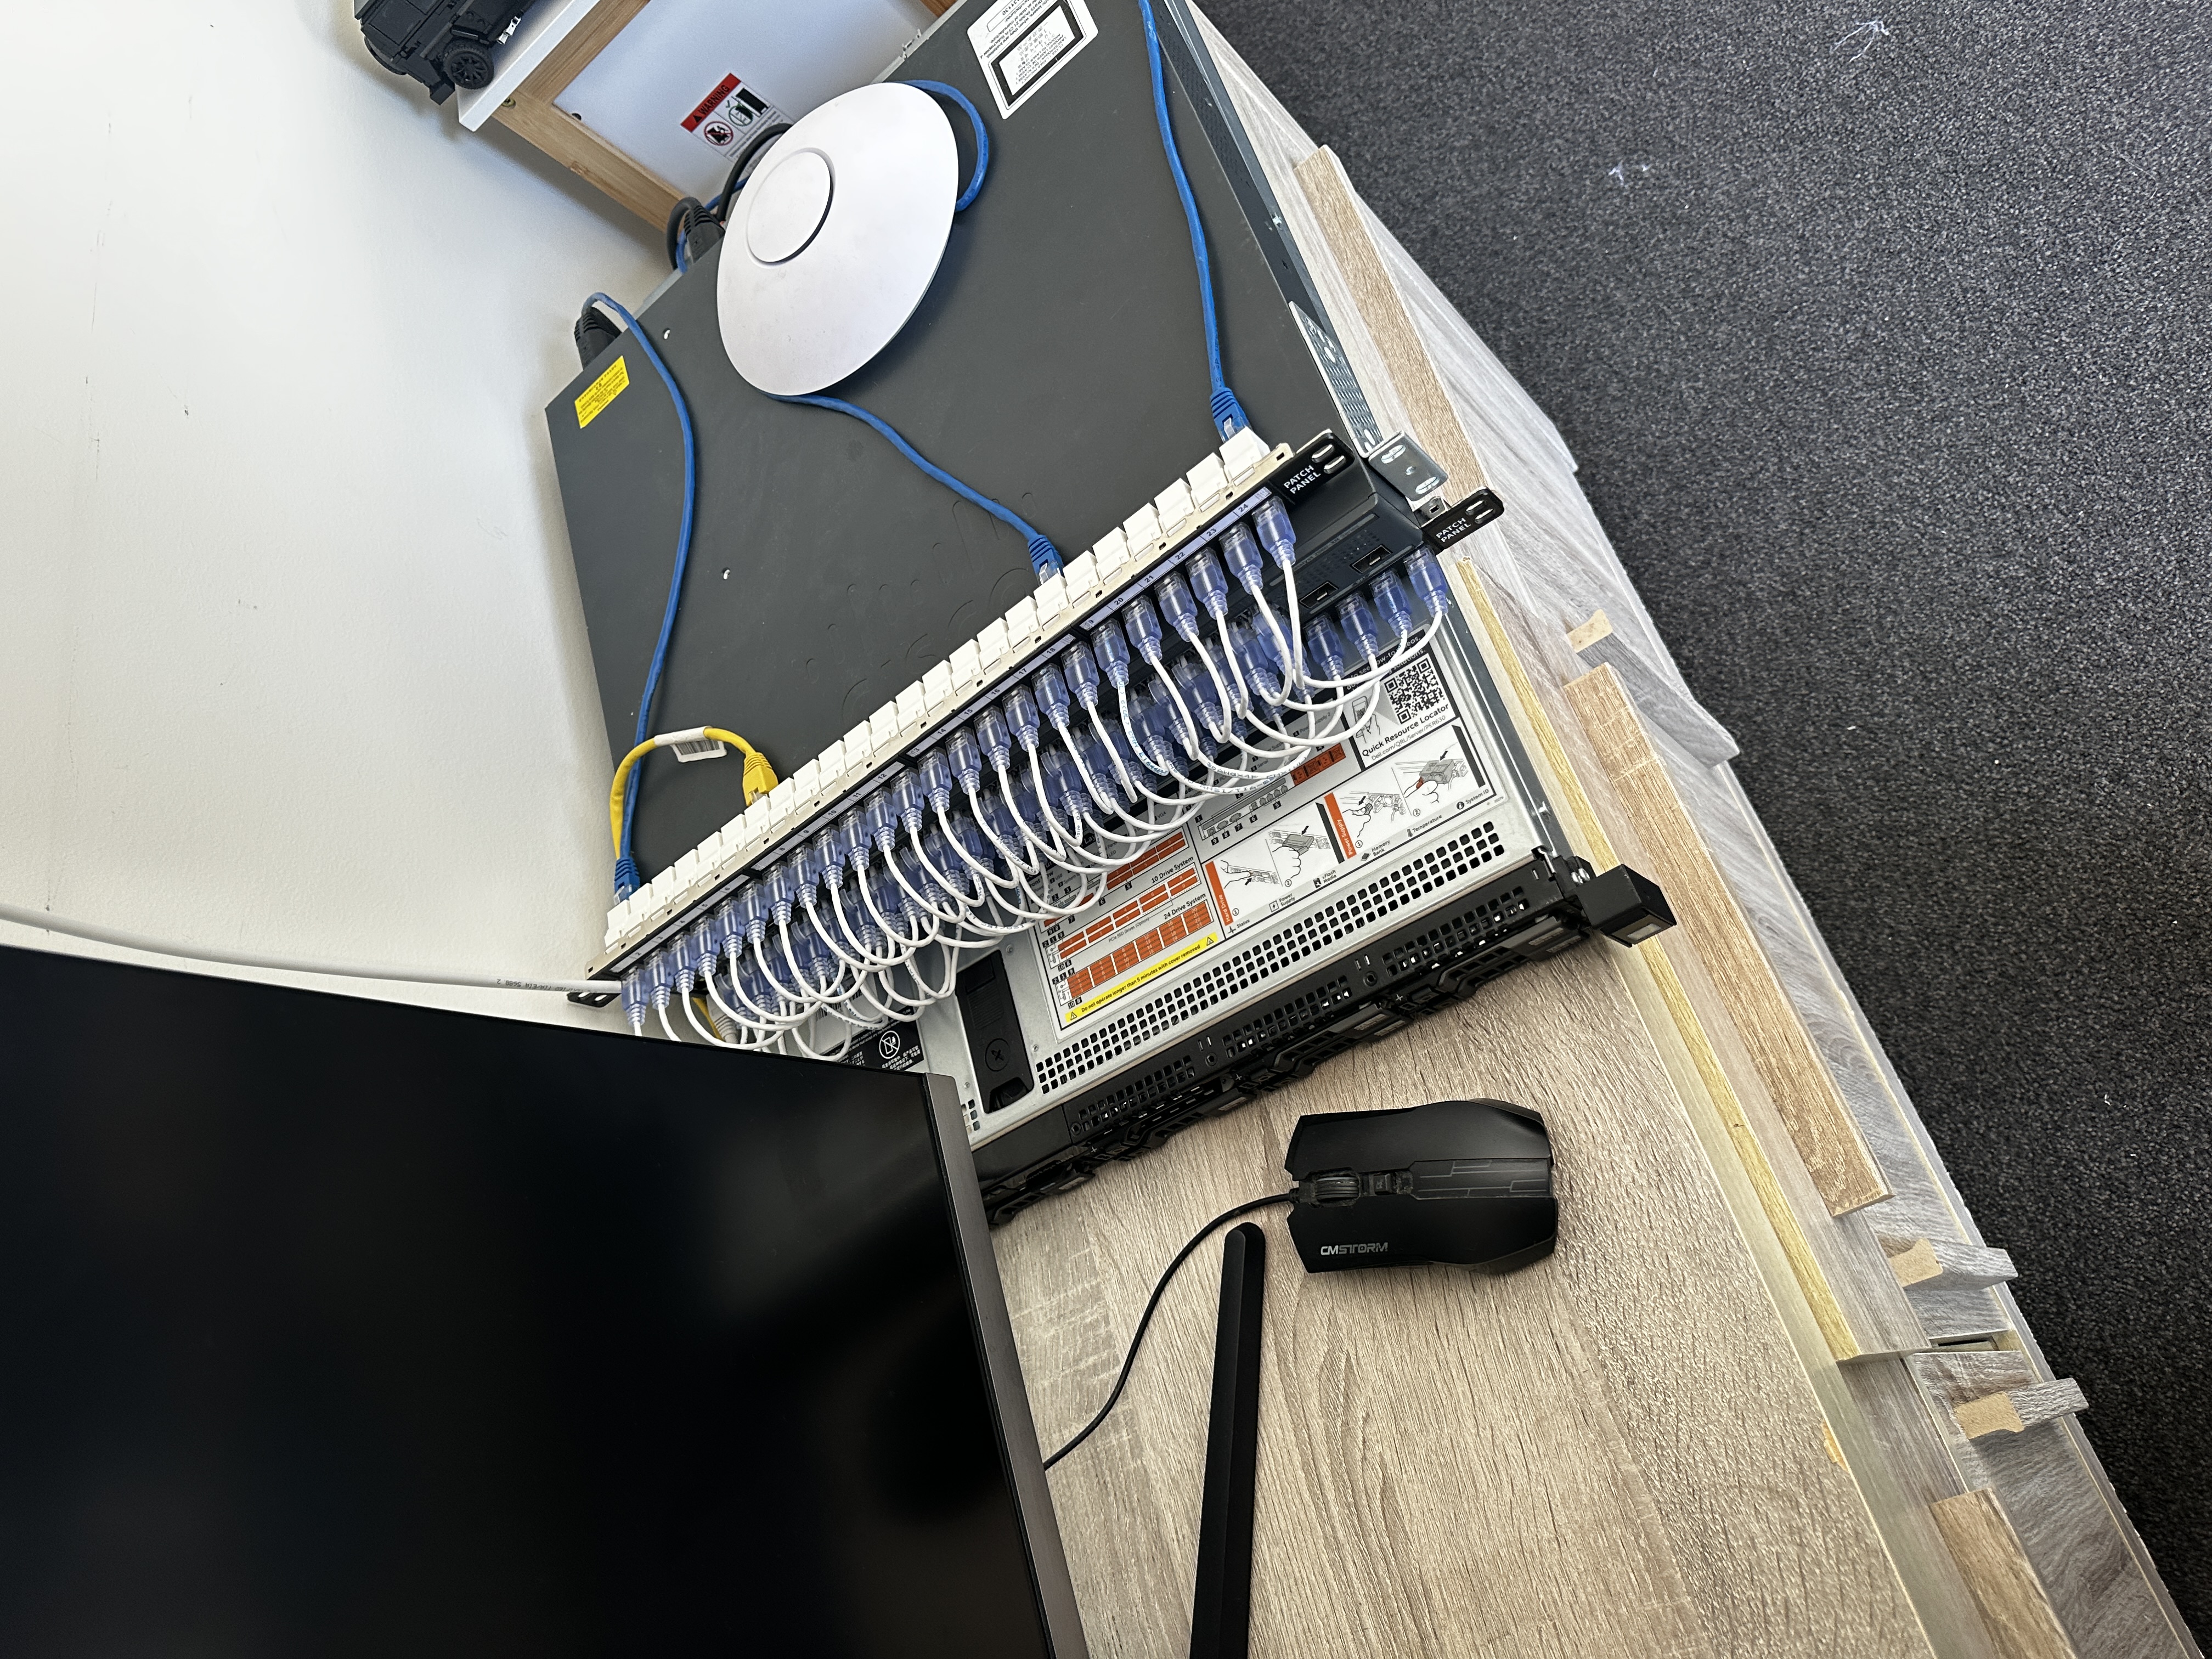
From this photo you're probably thinking how confusing this is, I just liked the asthetic of having all 48 ports plugged into w/ patch cables & keystones, all cables still plug into the back of the keystrones & work - It would be a lot better if it was inside a server rack but I don't think this looks too bad...
Obviously first we have our Dell R630 server, this one is configured with dual CPU's they were replaced with Intel Xeon E5-2683v4's, these are a 16 core, 32 thread processor running at 2.1GHz... now imagine two of them! Energy effiency is definitely not in this server's vocab.
It is boasting a whopping 192GB of DDR4 ECC memory running at a blistering fast 2600MHz, 8 drives, a 4 port NIC & mimics the sound of an airplane taking off :)
Next we have our Cisco 2960XR 48 port switch, this was bought to study & learn for the CCNA so what better time to learn than setting up your own home network!
We also have our Ubiquiti Unifi Wireless Access Point, this one being the long range version. Offers WiFi 5 (802.11ac) over 2.4 & 5 GHz range, runs off PoE which is great as it doesnt need 2 cables!
We also have my PC so that I am able to login to the webpage interfaces to configure them.
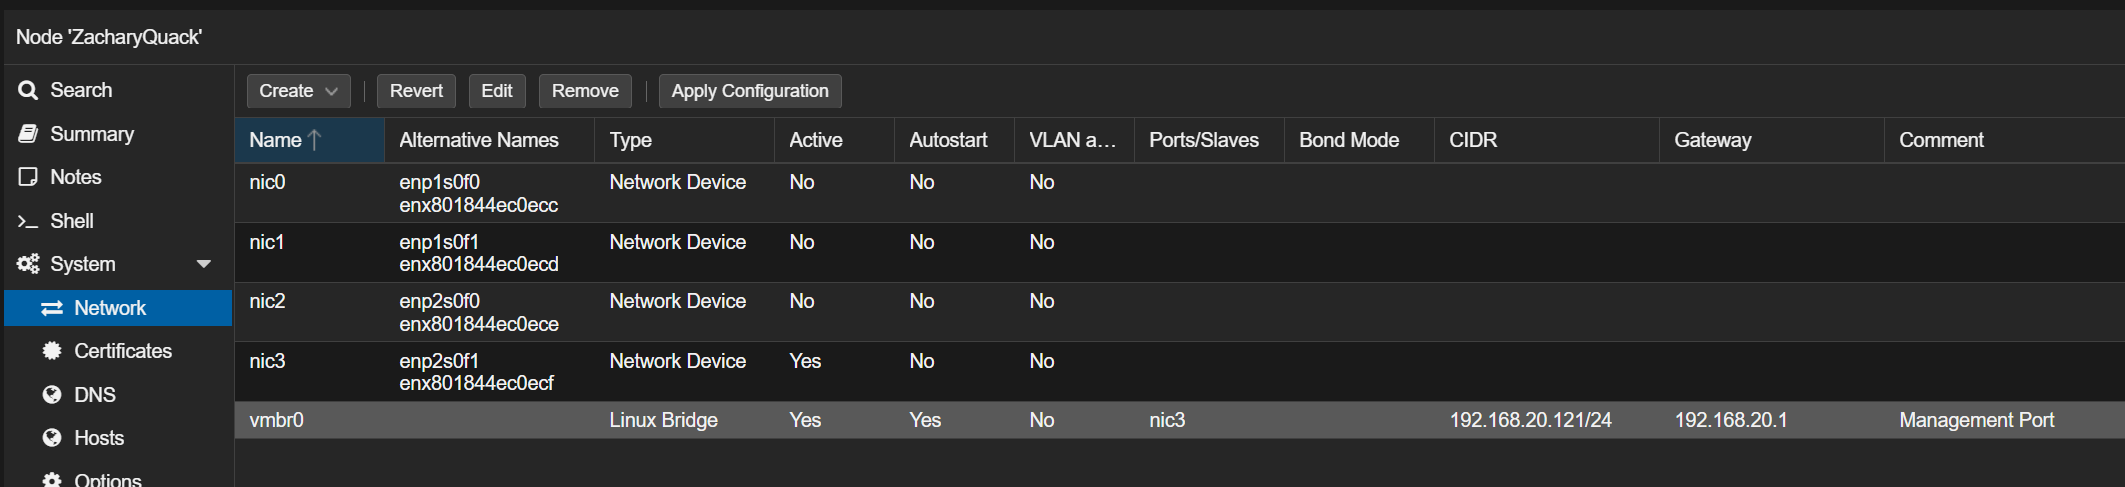
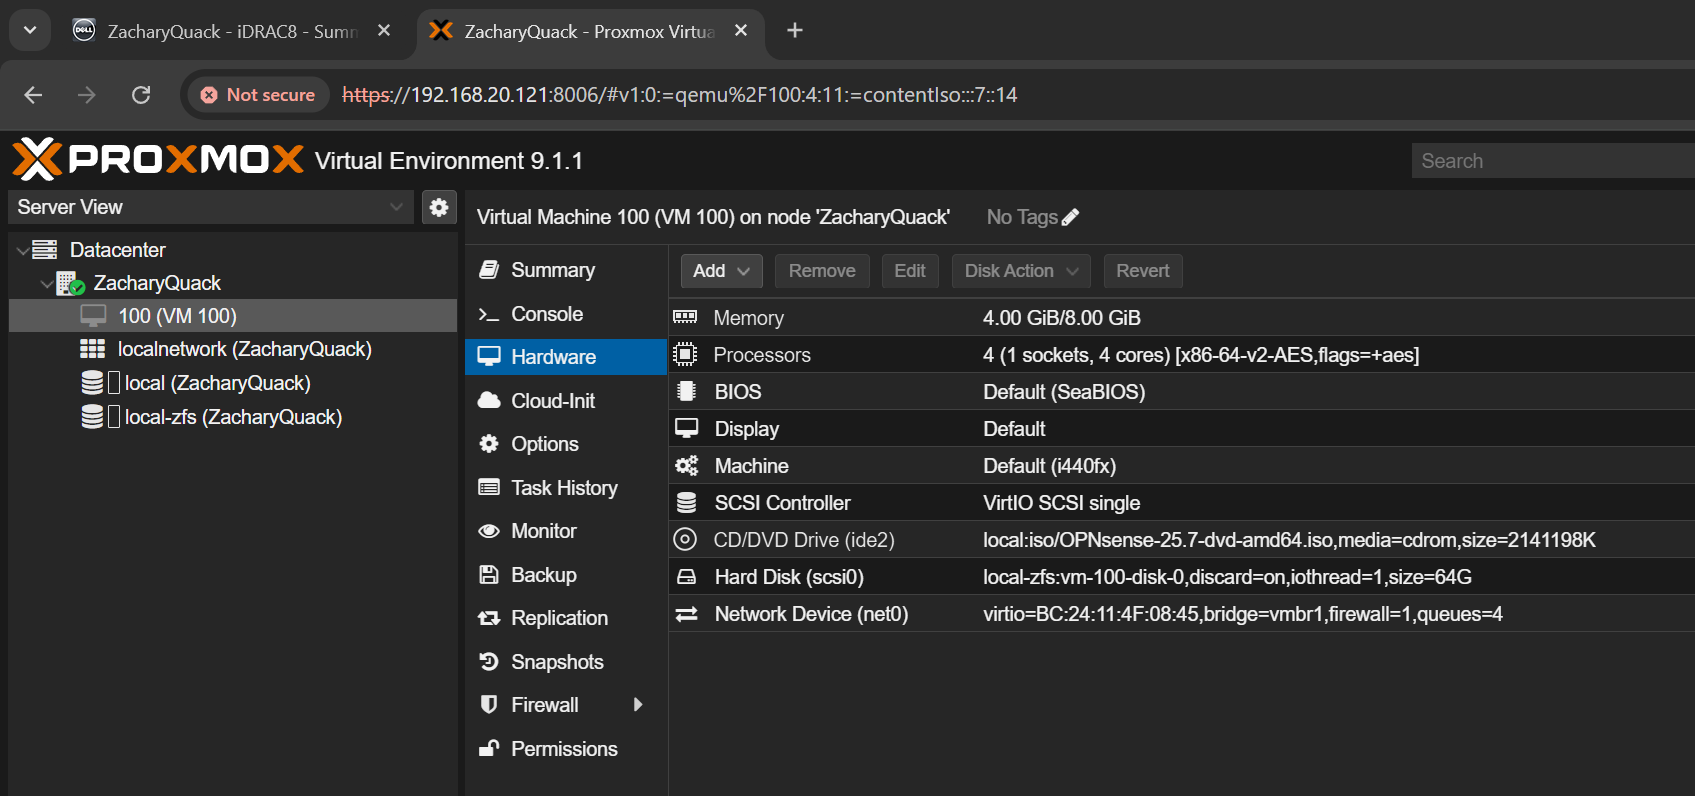
We have the server here with 4 ports & a iDrac interface; the iDrac port is connected into the switch along with 2 of the NIC ports, these are the management port for Proxmox & the LAN port. The other port will be a WAN port which will connect directly into the ONT.
The switch console port is directly plugged into my PC via a USB to RJ45 serial cable, this allows me to run PuTTY on the COM port to access the CLI & configure the switch. Also connected into the switch is the AP.
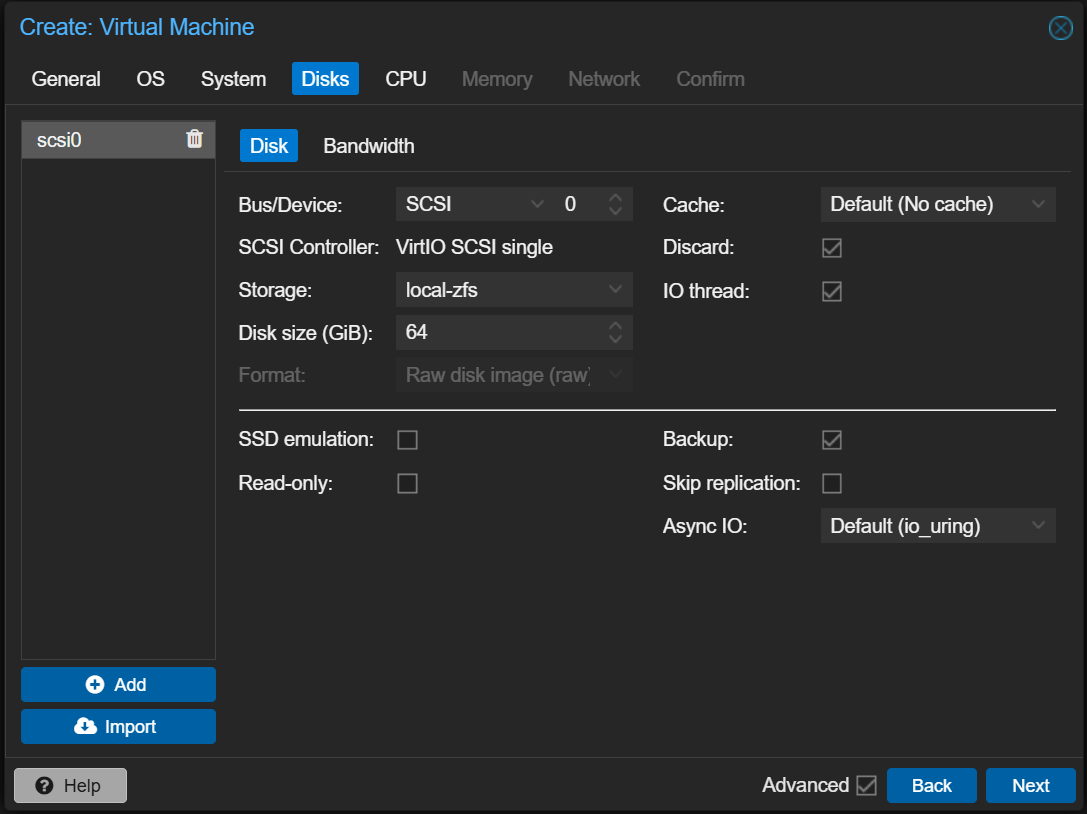
Moving onto services running on the server; has the hypervisor for the all the virtual machines (VM) we will be running I installed Proxmox via Ventoy - I initially tried Rufus but this kept breaking the flash drive that it was being installed on.
On Proxmox I am running; OPNSense, UnifiOS & PiHole - these are all running as VM's but running PiHole as a container would be a way better idea.
OPNSense was chosen as the routing OS, it is definitely a lot to learn but is quite fun to use.
UnifiOS is Ubiquiti's OS to run all their products, in this case this is the AP.
Finally PiHole was chosen as the DNS server, mostly to get some internet privacy & blocking ad's.
The Setting It Up!
Moving on now... let's go through the rollercoaster of a process I did to get this all up & running!
All photos of the steps I went through setting everything up is available so you can see what I did along the way!
Initially I had only plugged in only the ports from iDrac, the LAN & WAN ports and the VM management ports - the AP was gathered at a little of a later date to when this project started.
iDrac
The first process was setting up iDrac, since this server was owned by a business before hand they still had their settings in iDrac; so I had to change the password, username & set a new IP address - I had orignally plugged into our houses router to use the 4 switch ports on it - this gave it an IP of 192.168.20.120 as the IP, I would change this later to match up with the Management VLAN.
The changing of username, password & IP had to be done with a VGA monitor, keyboard & mouse connected to the server, but once this was set up, I could unplugged it & could get into the iDrac webpage using the IP address. This was easy as the PC was also connected to the house router as well & was given an IP in the range /24 range.
Proxmox

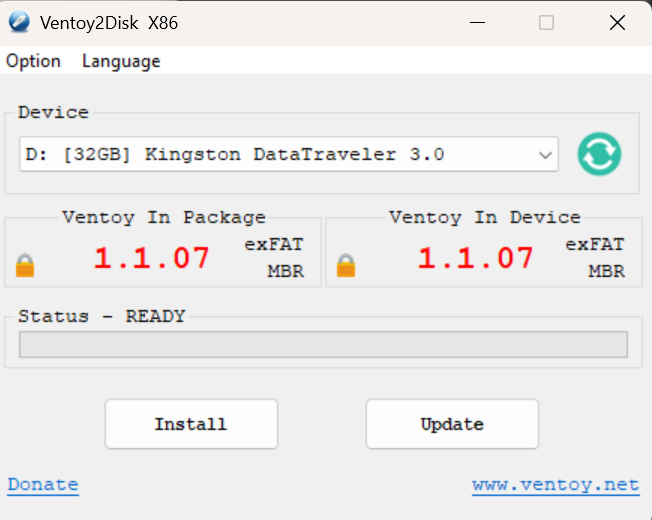
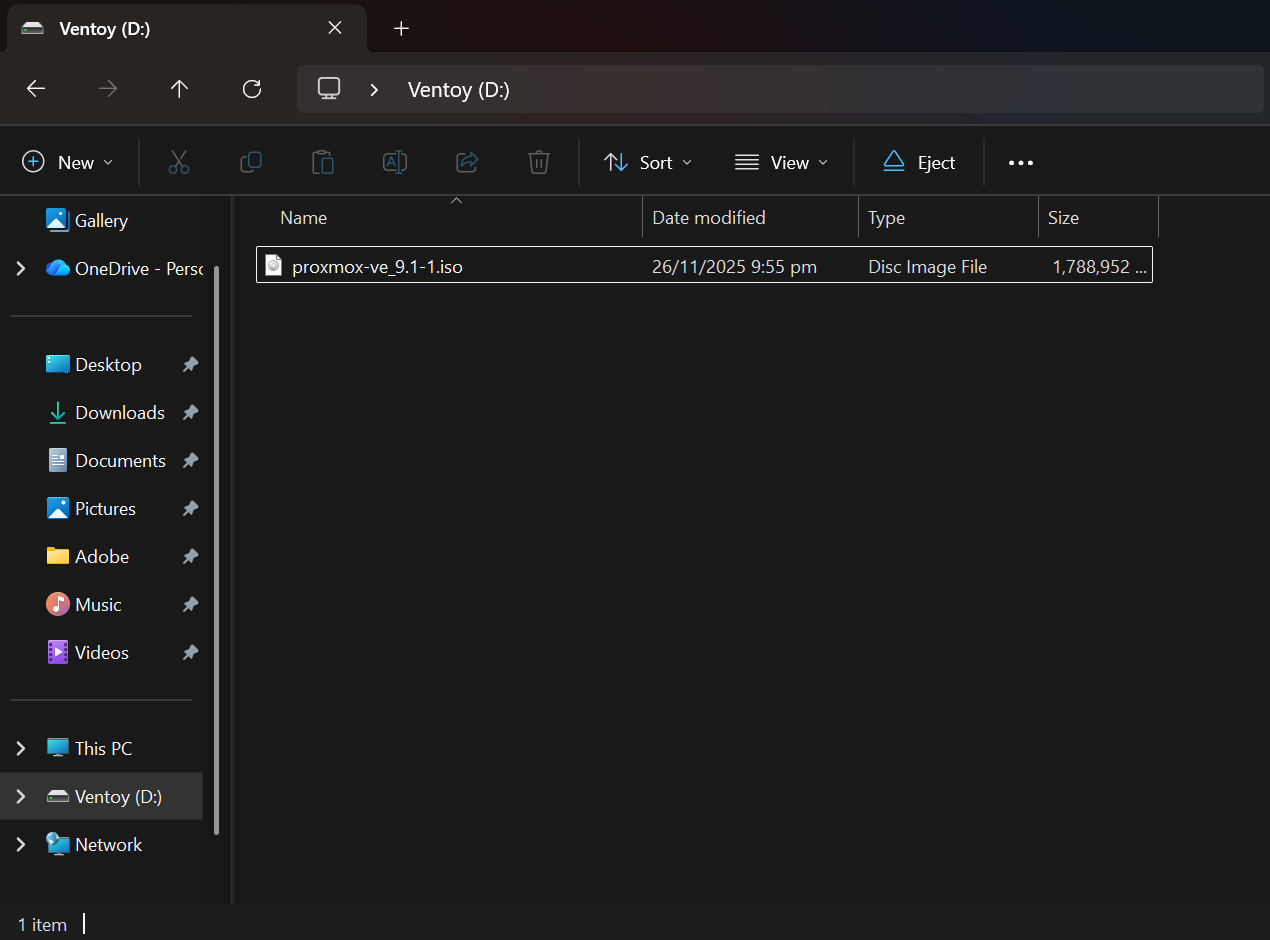
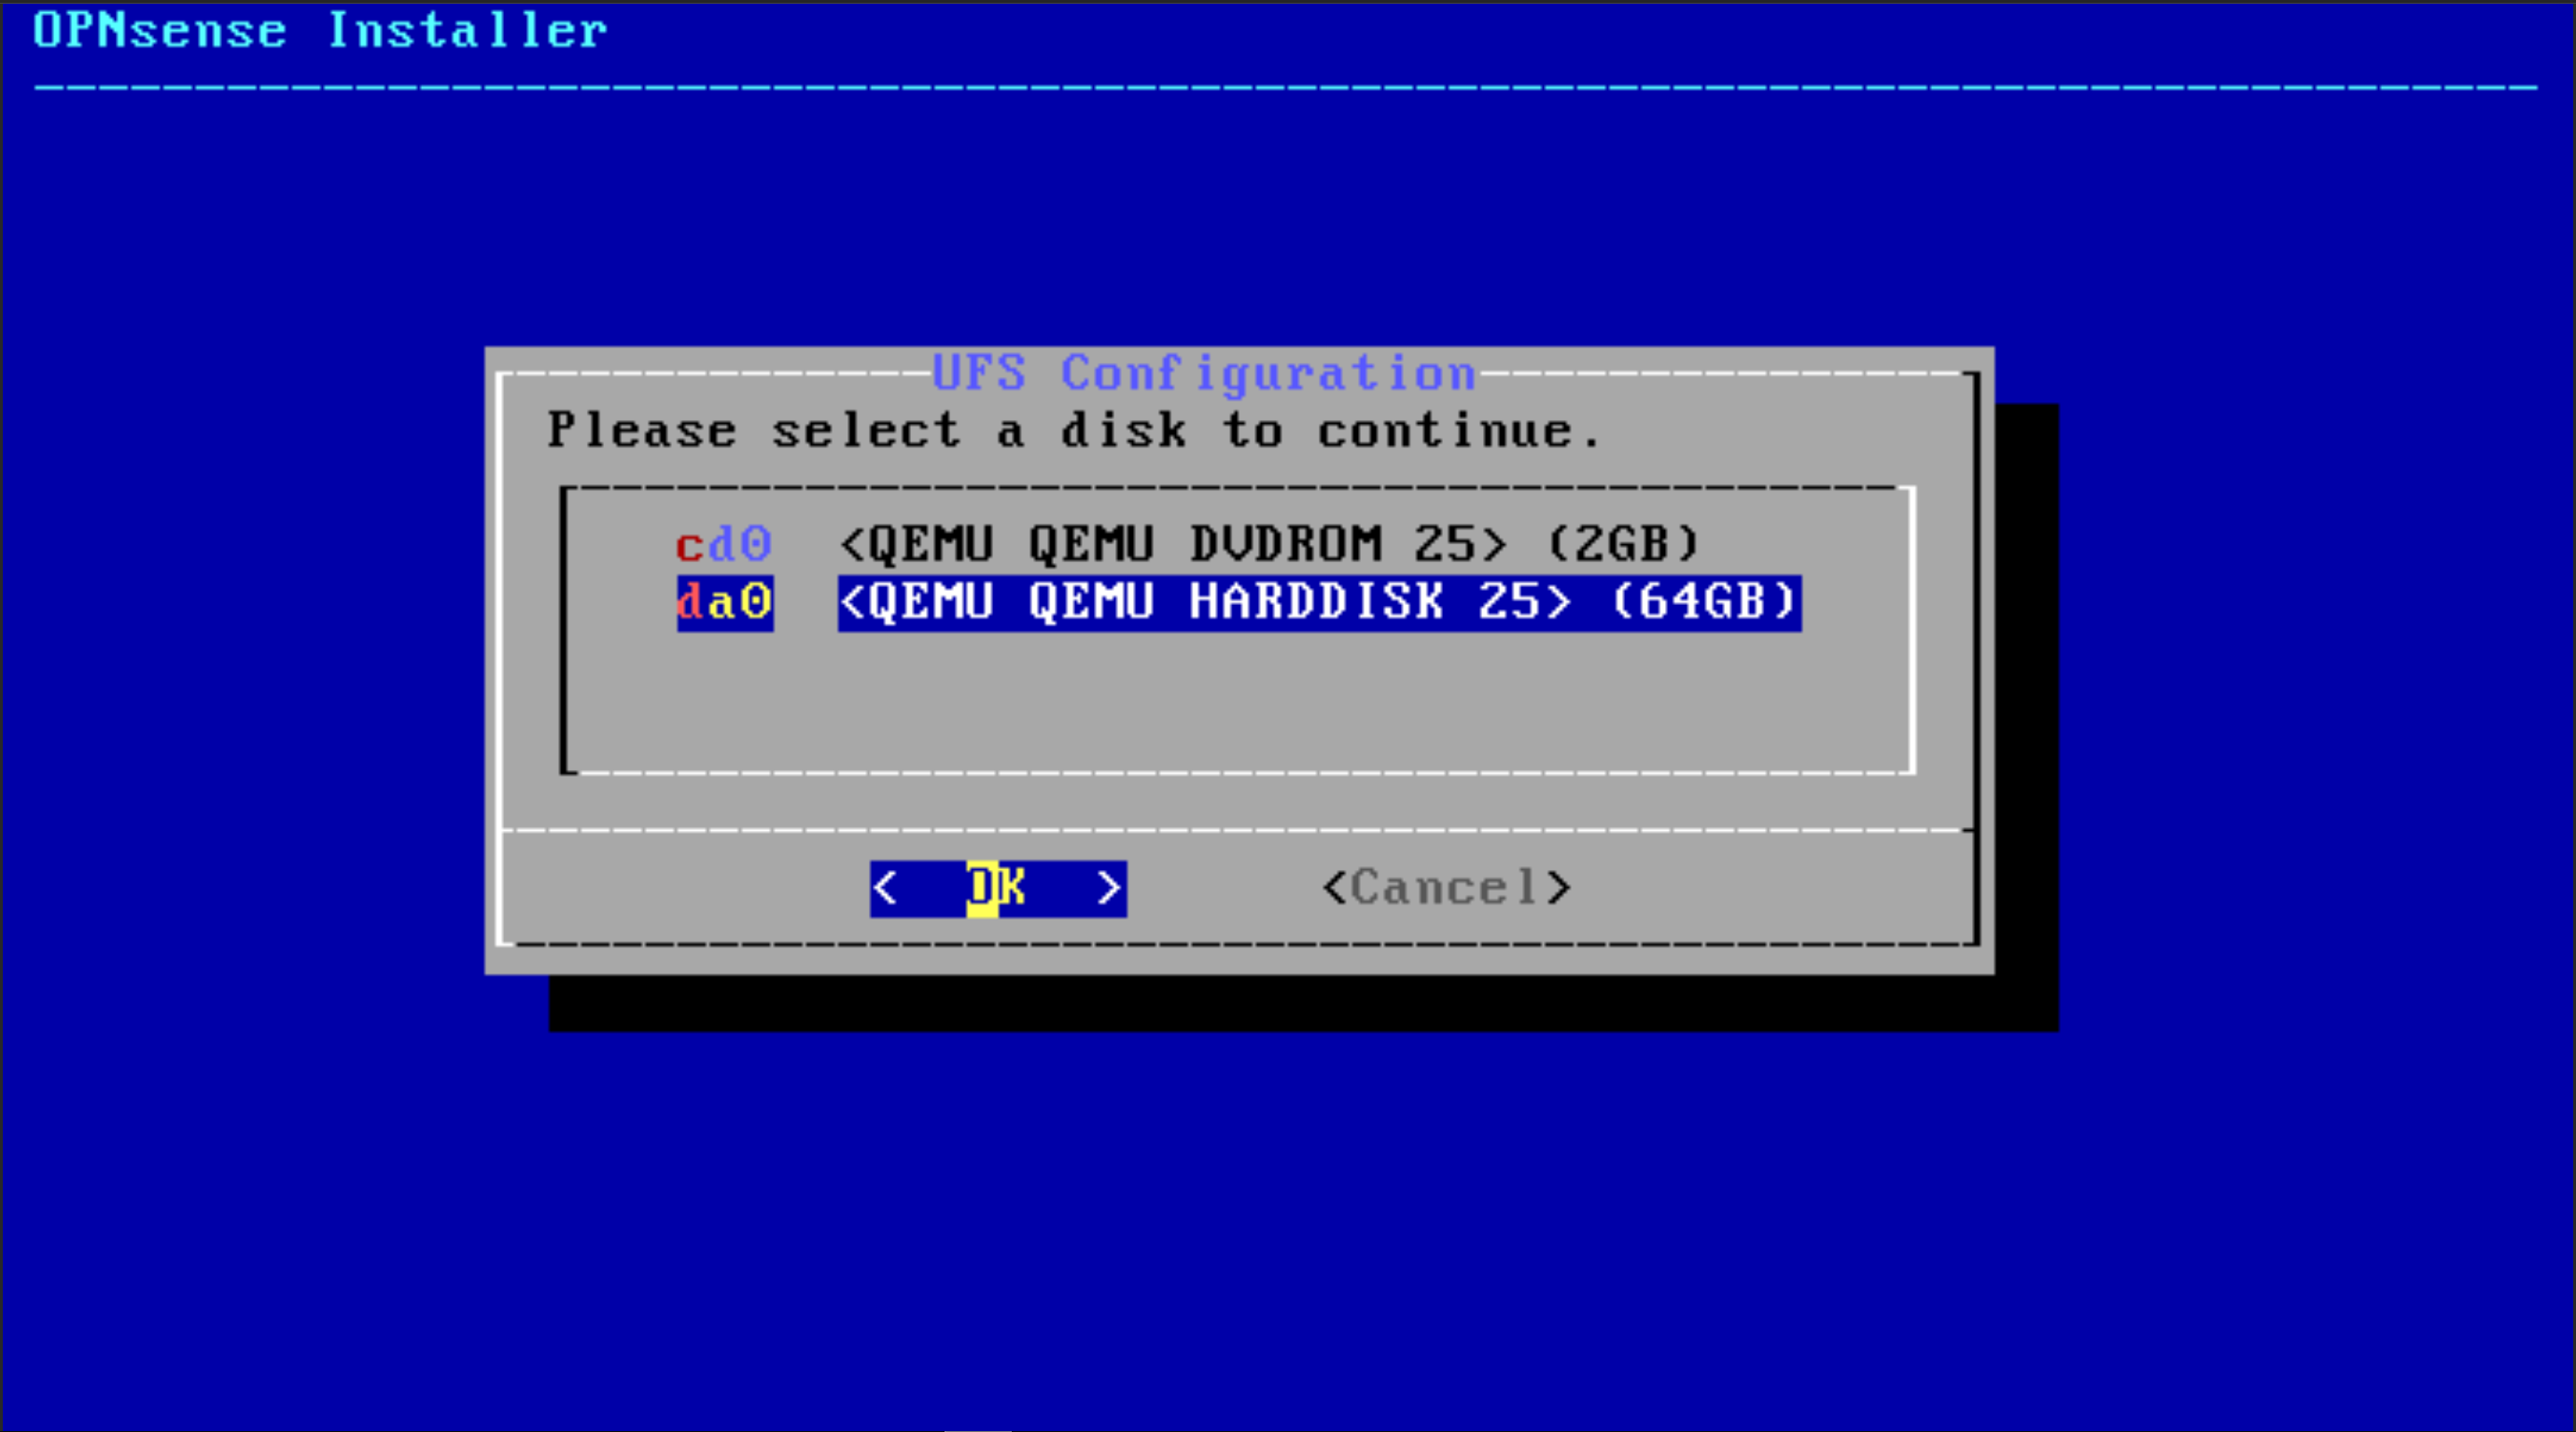
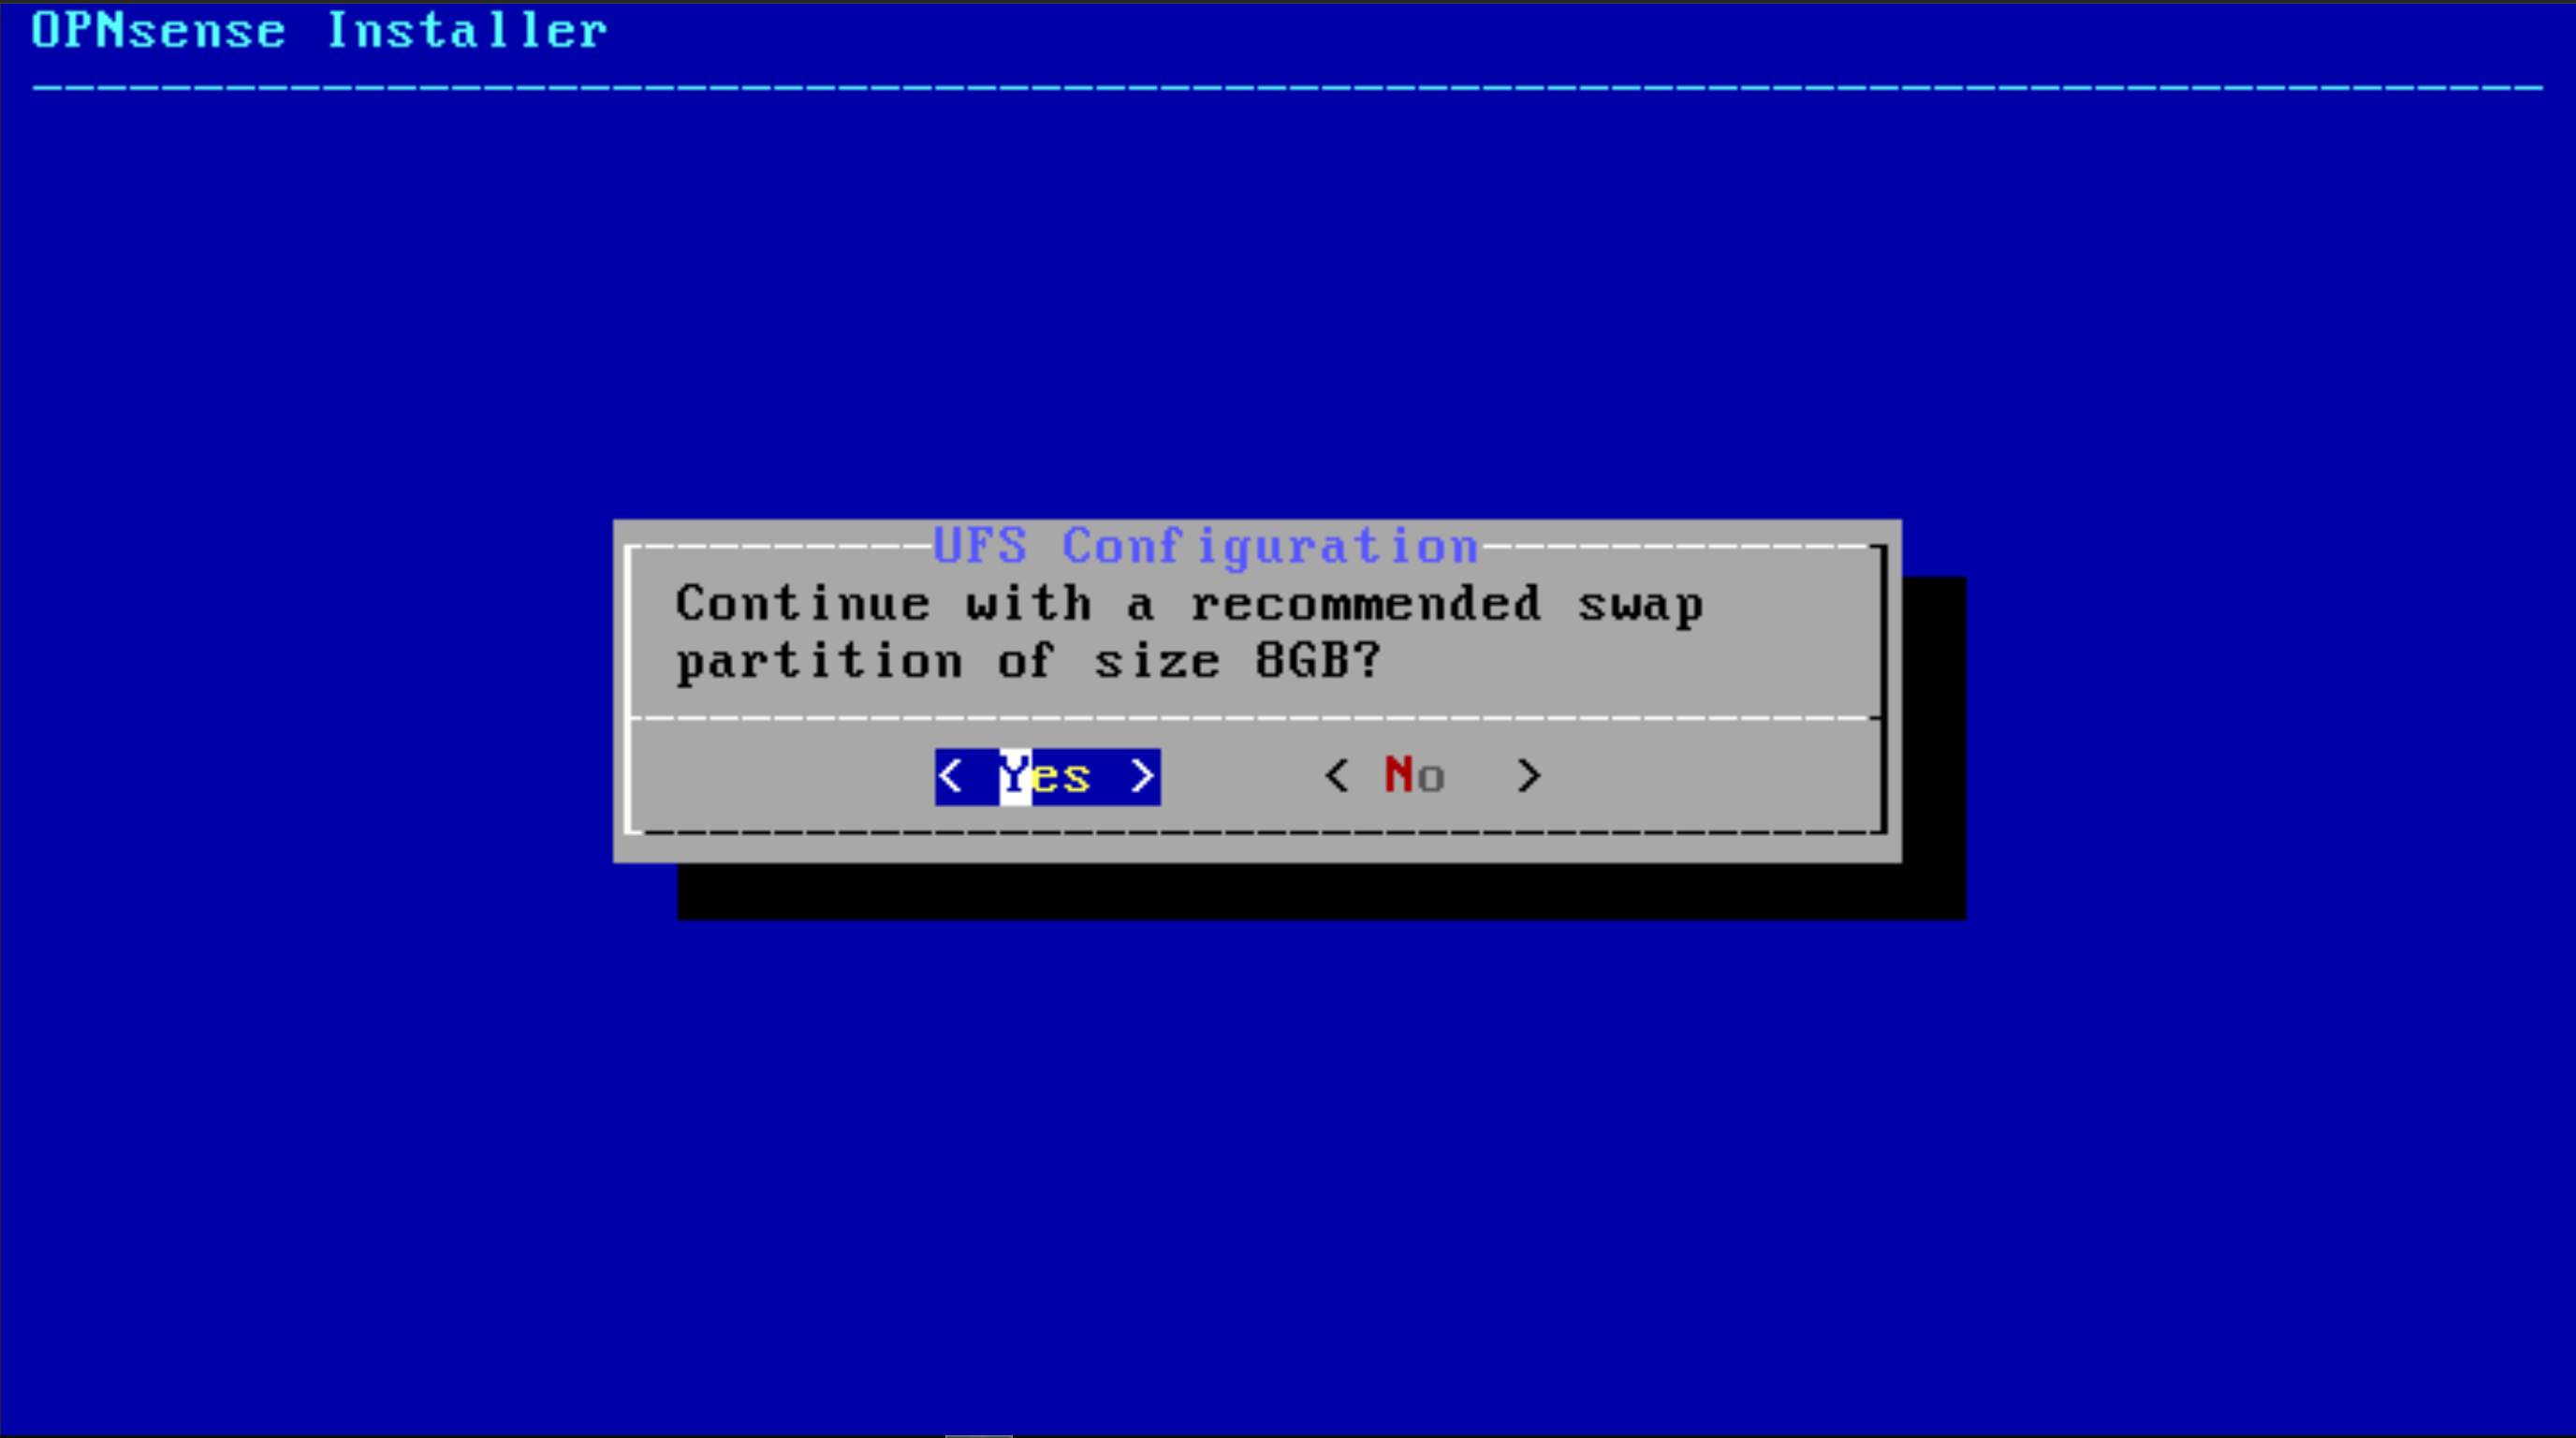
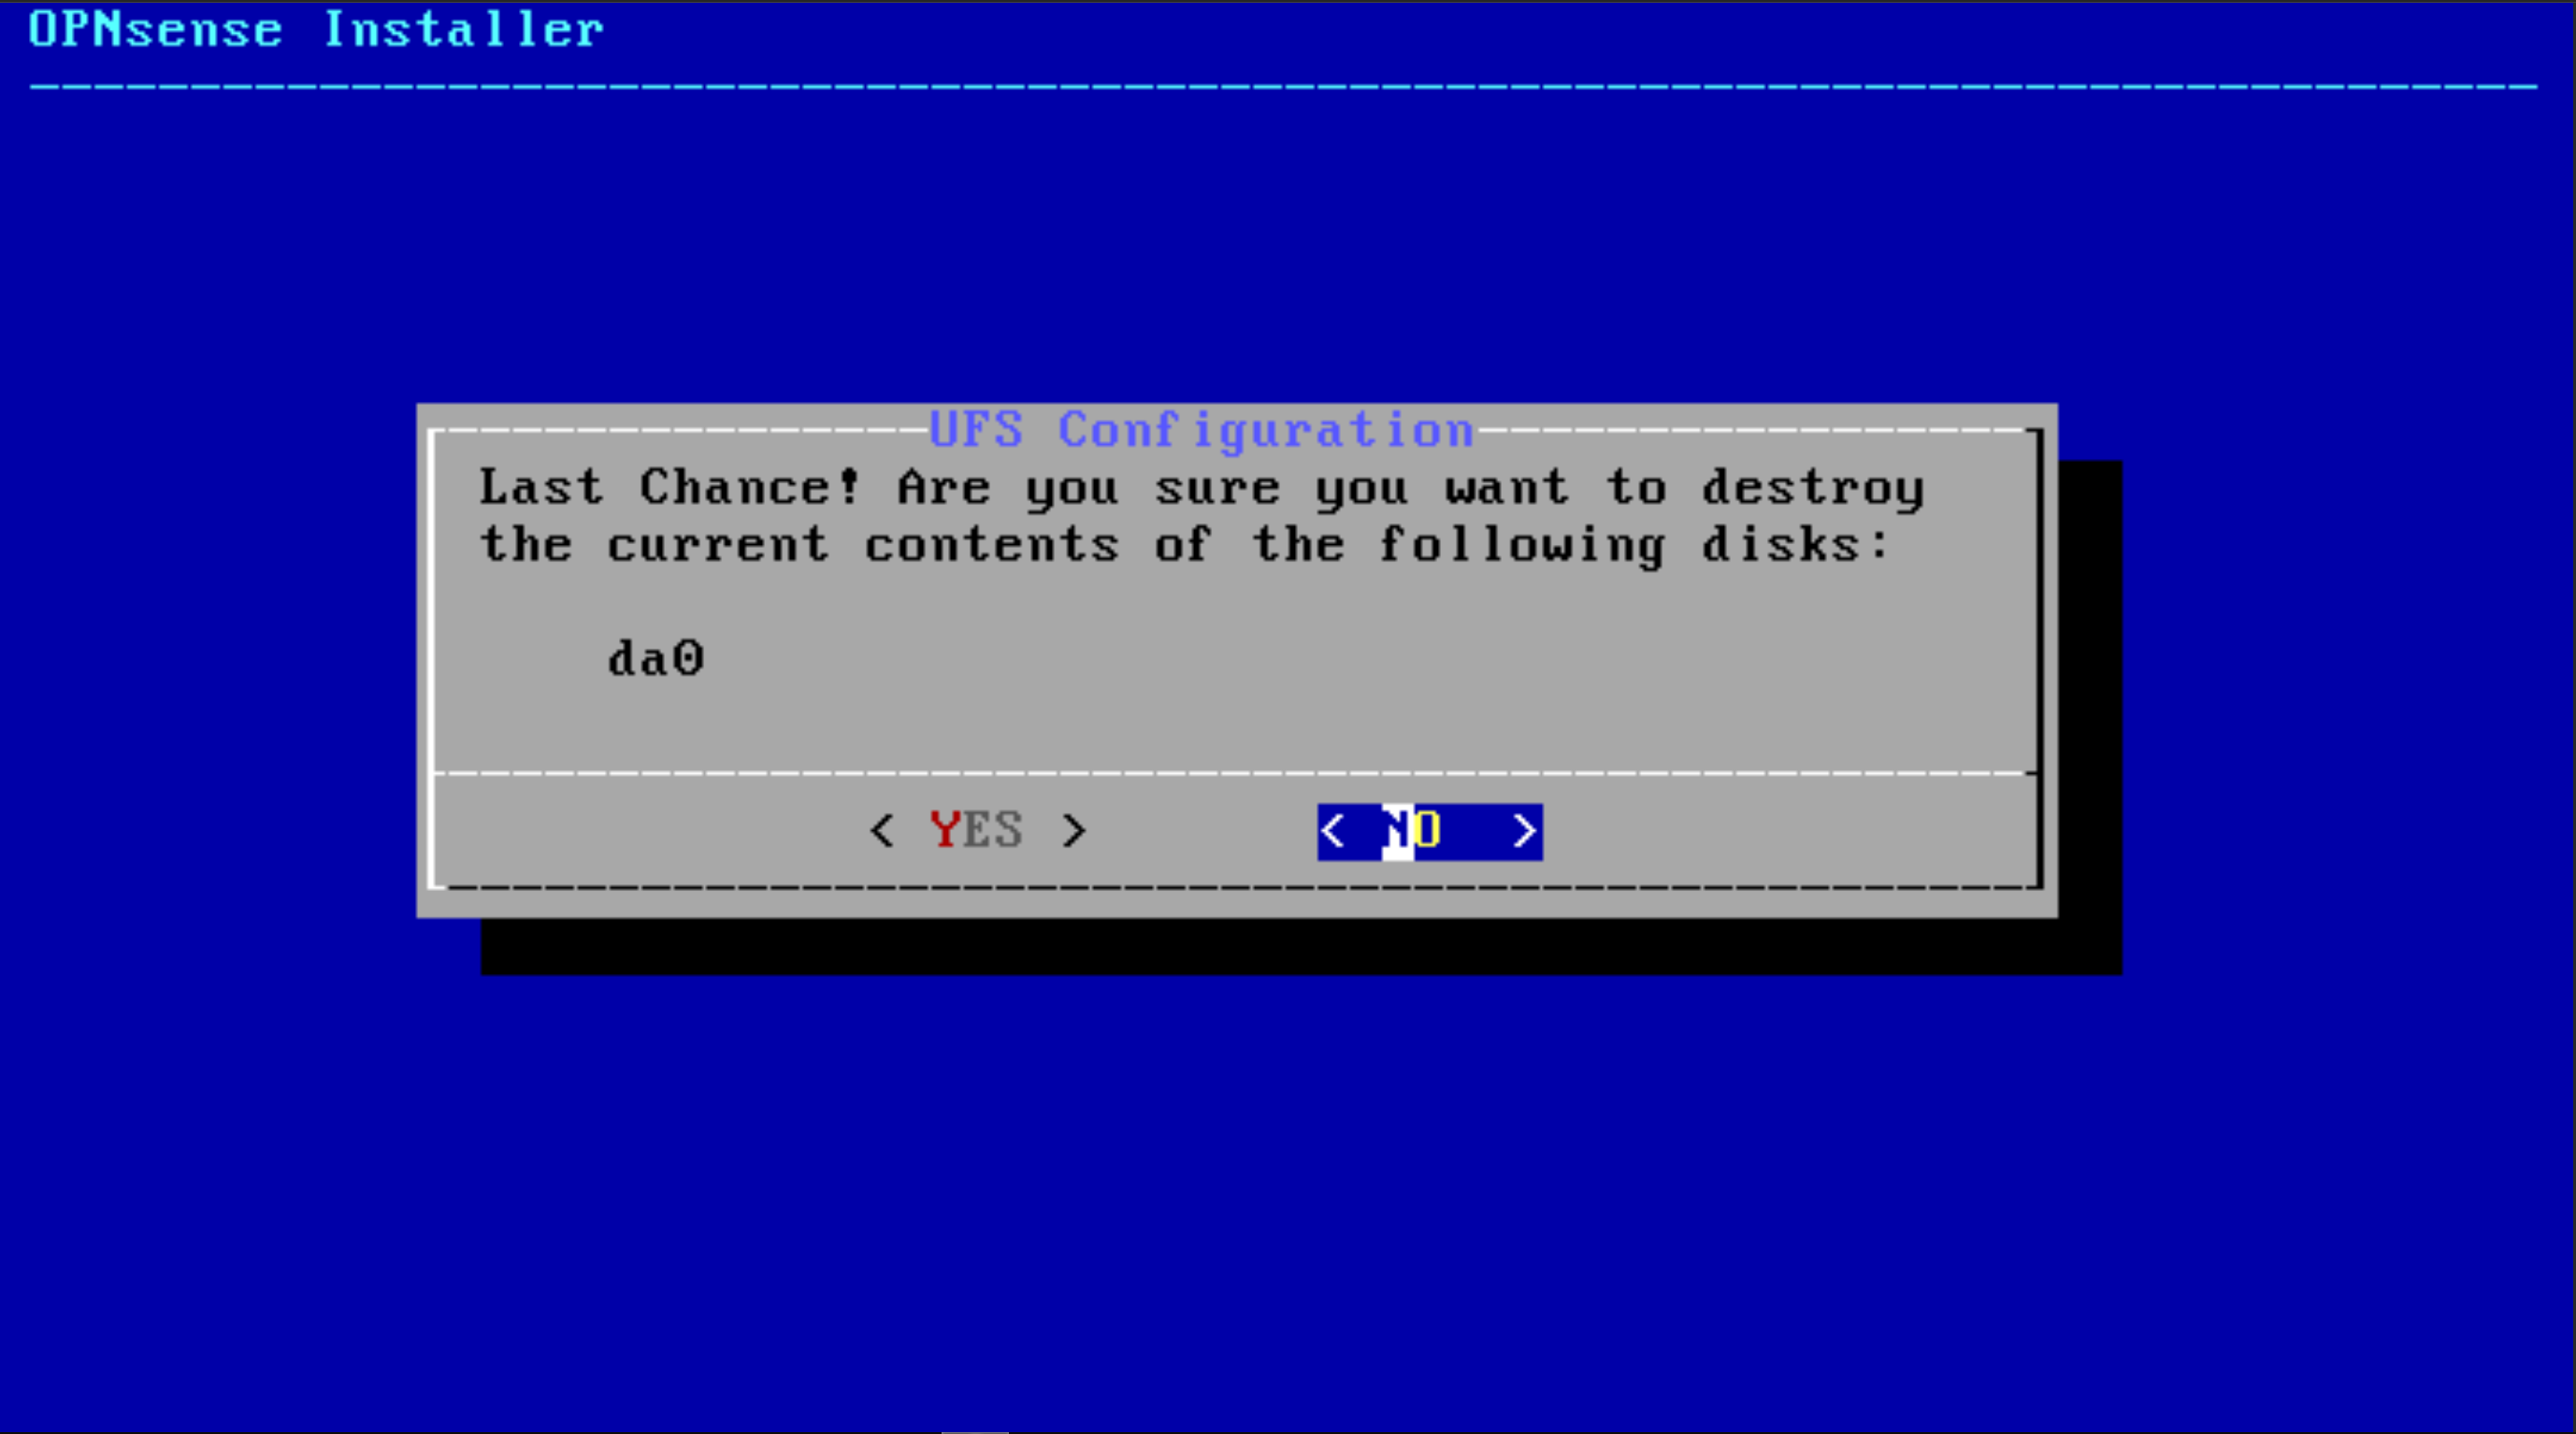
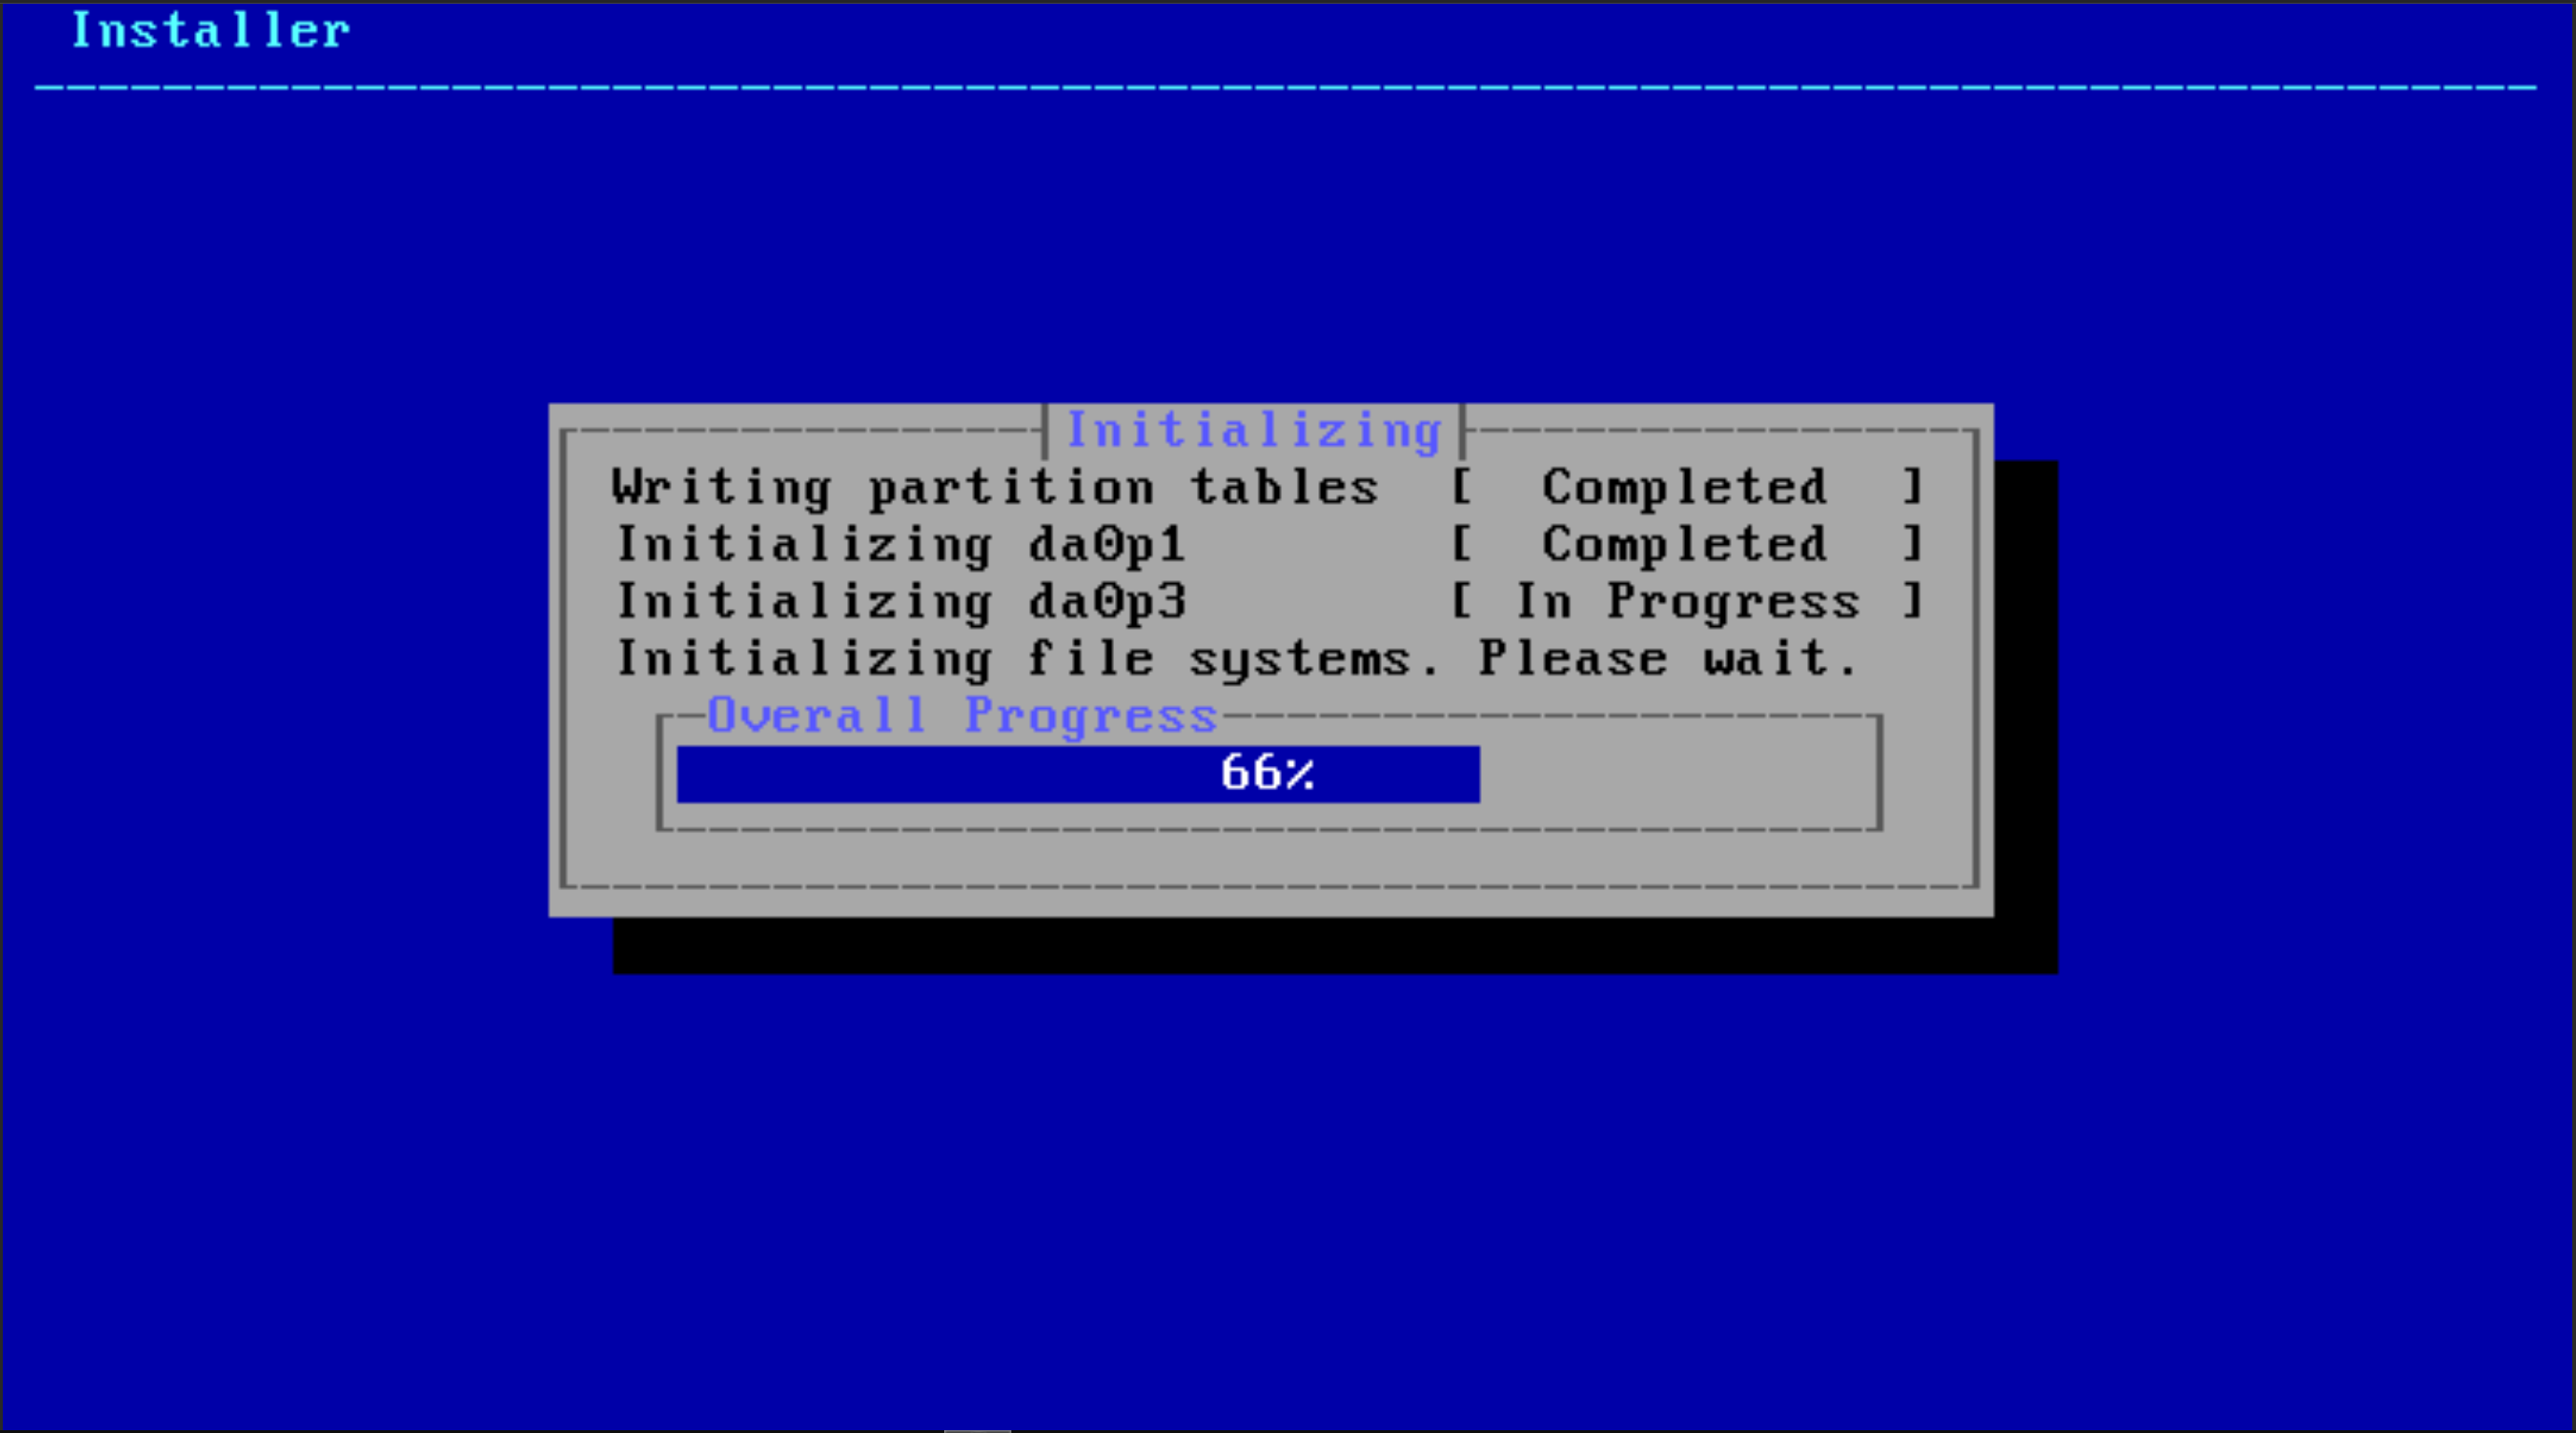
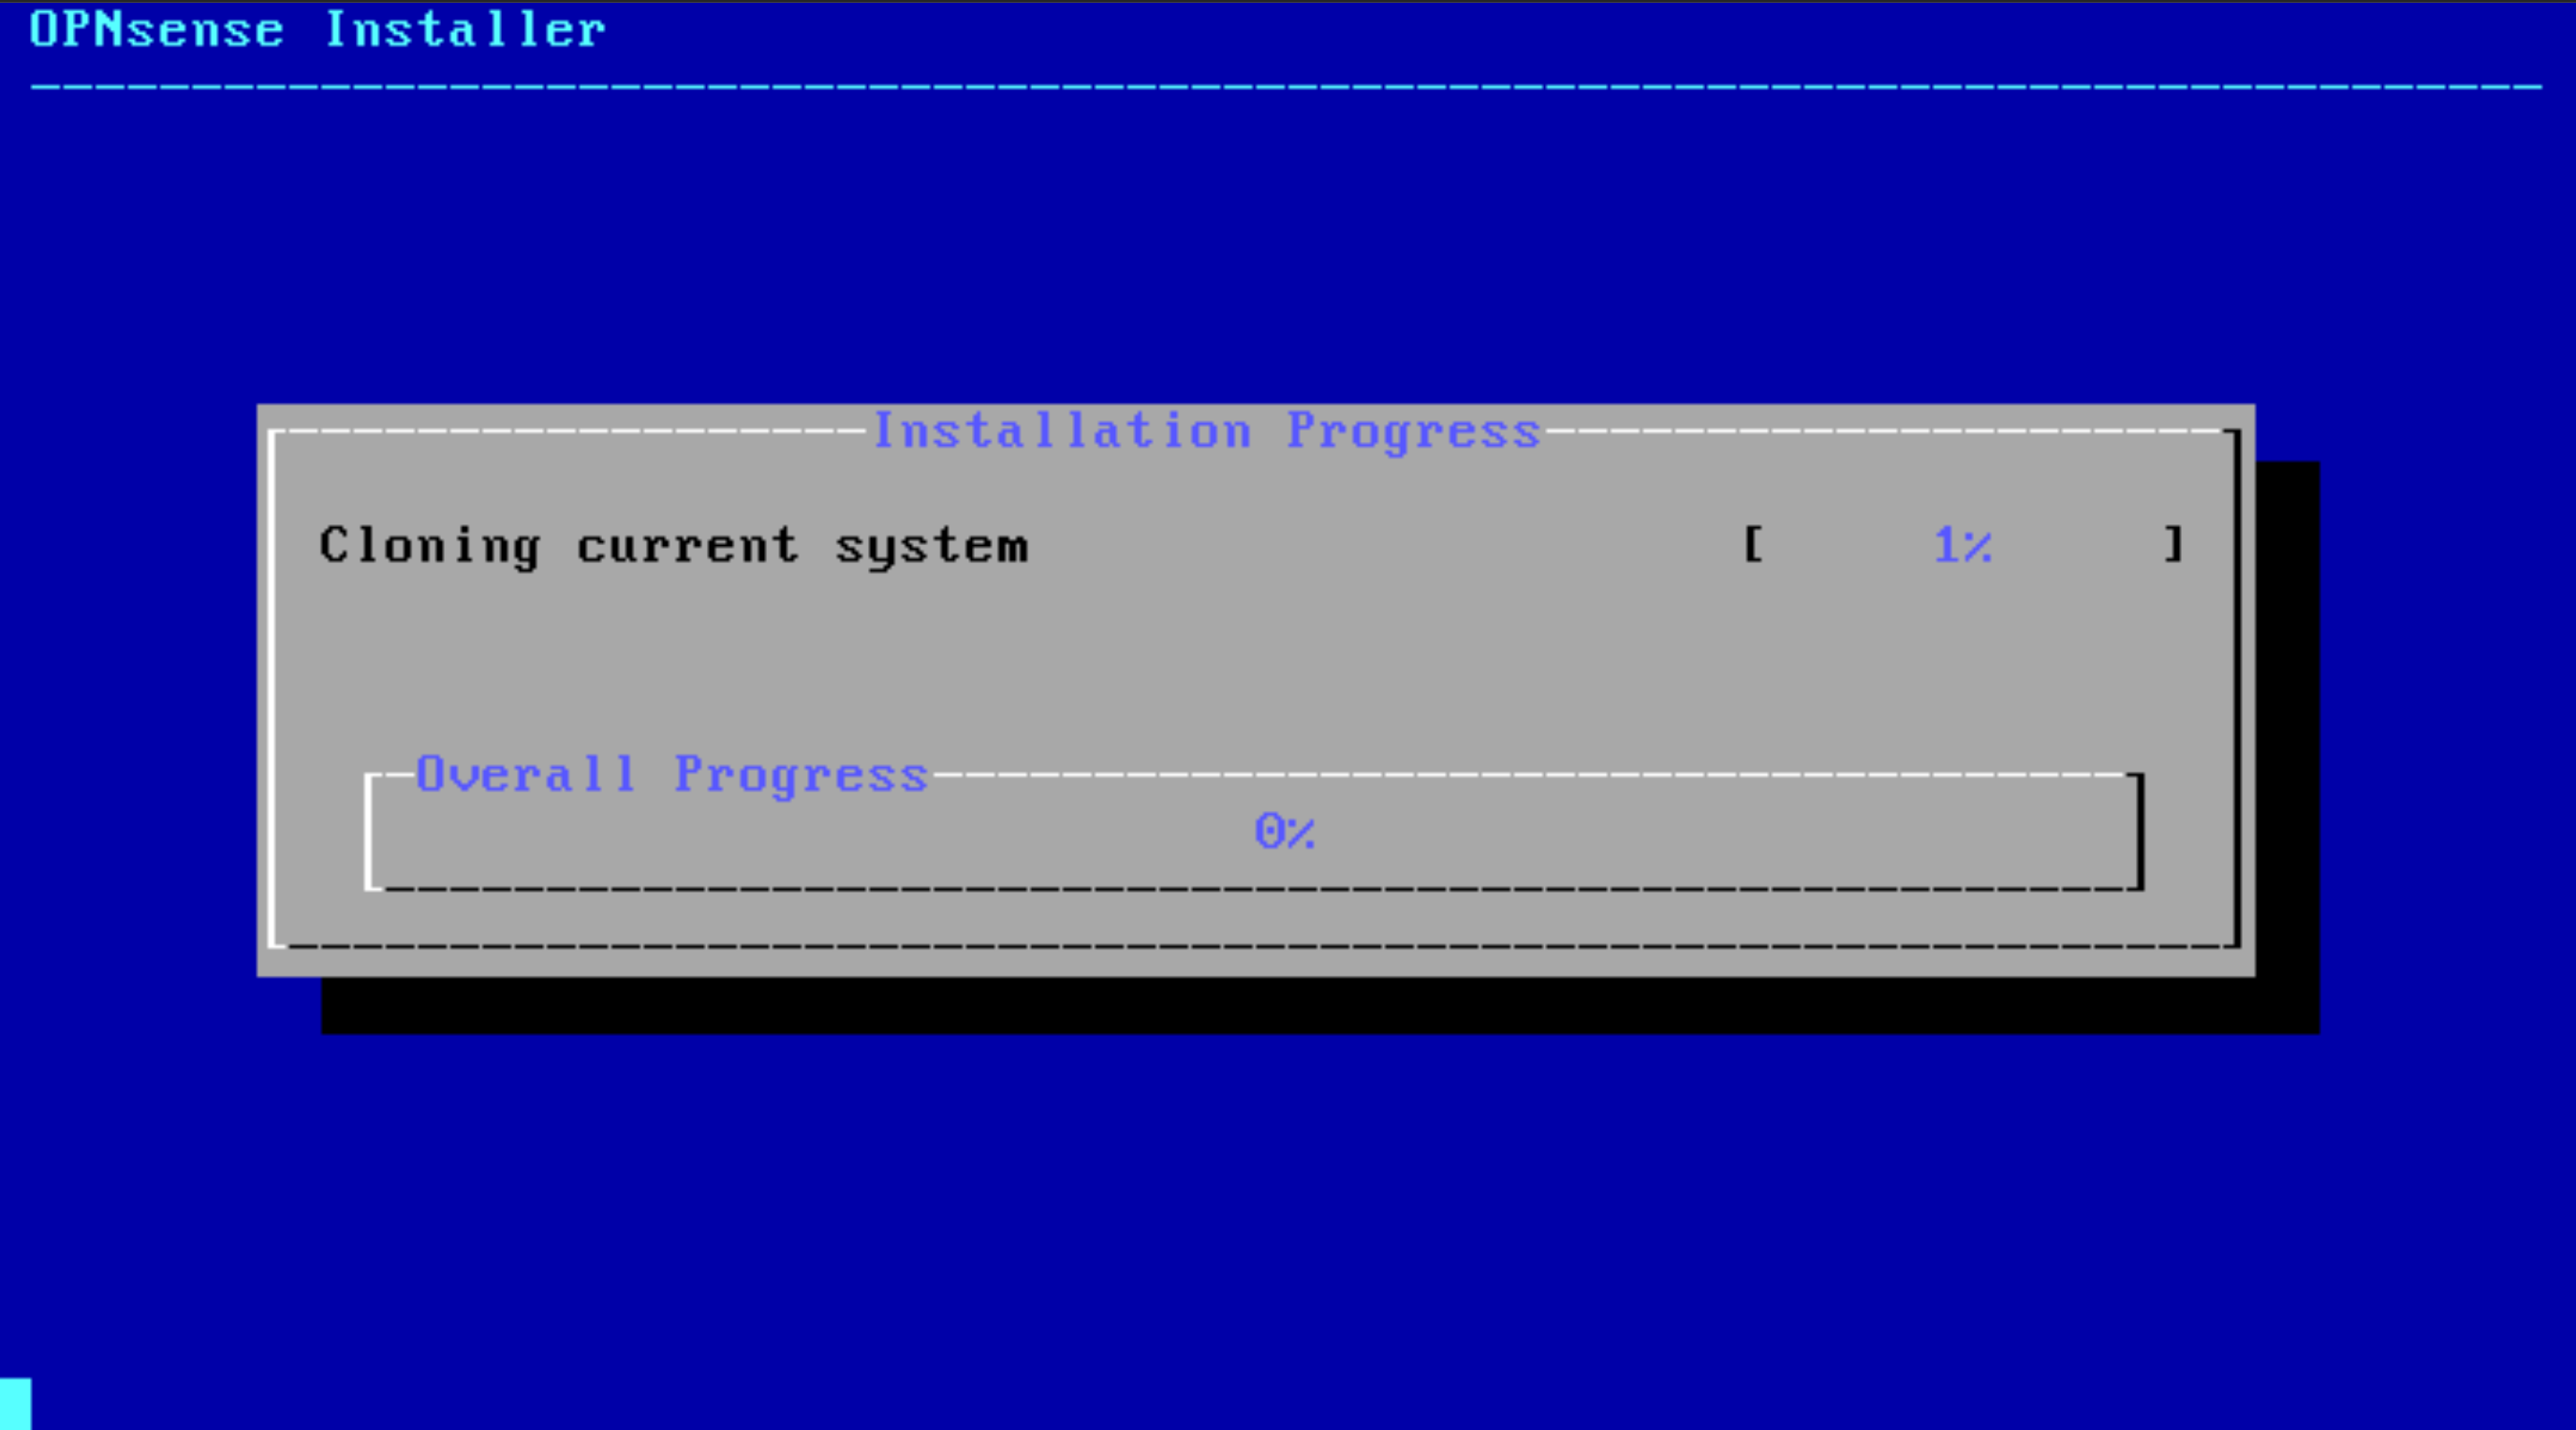
Now onto Proxmox, this was chosen as the hypervisor as I was going to be using linux based VM's. The process to getting it installed was a bit of a headache to begin with... I initially wanted to use Rufus to create a bootable drive for Proxmox but soon found out fast that it didn't seem to enjoy doing that, after a few moments of trying to get it to work, decided that wasn't the smartest idea since ventoy would allow multiple ISO files on the dirve instead of just one. Once I learnt my lesson I created the ventoy drive, put the Proxmox ISO file into it & plugged it into the back of the server.
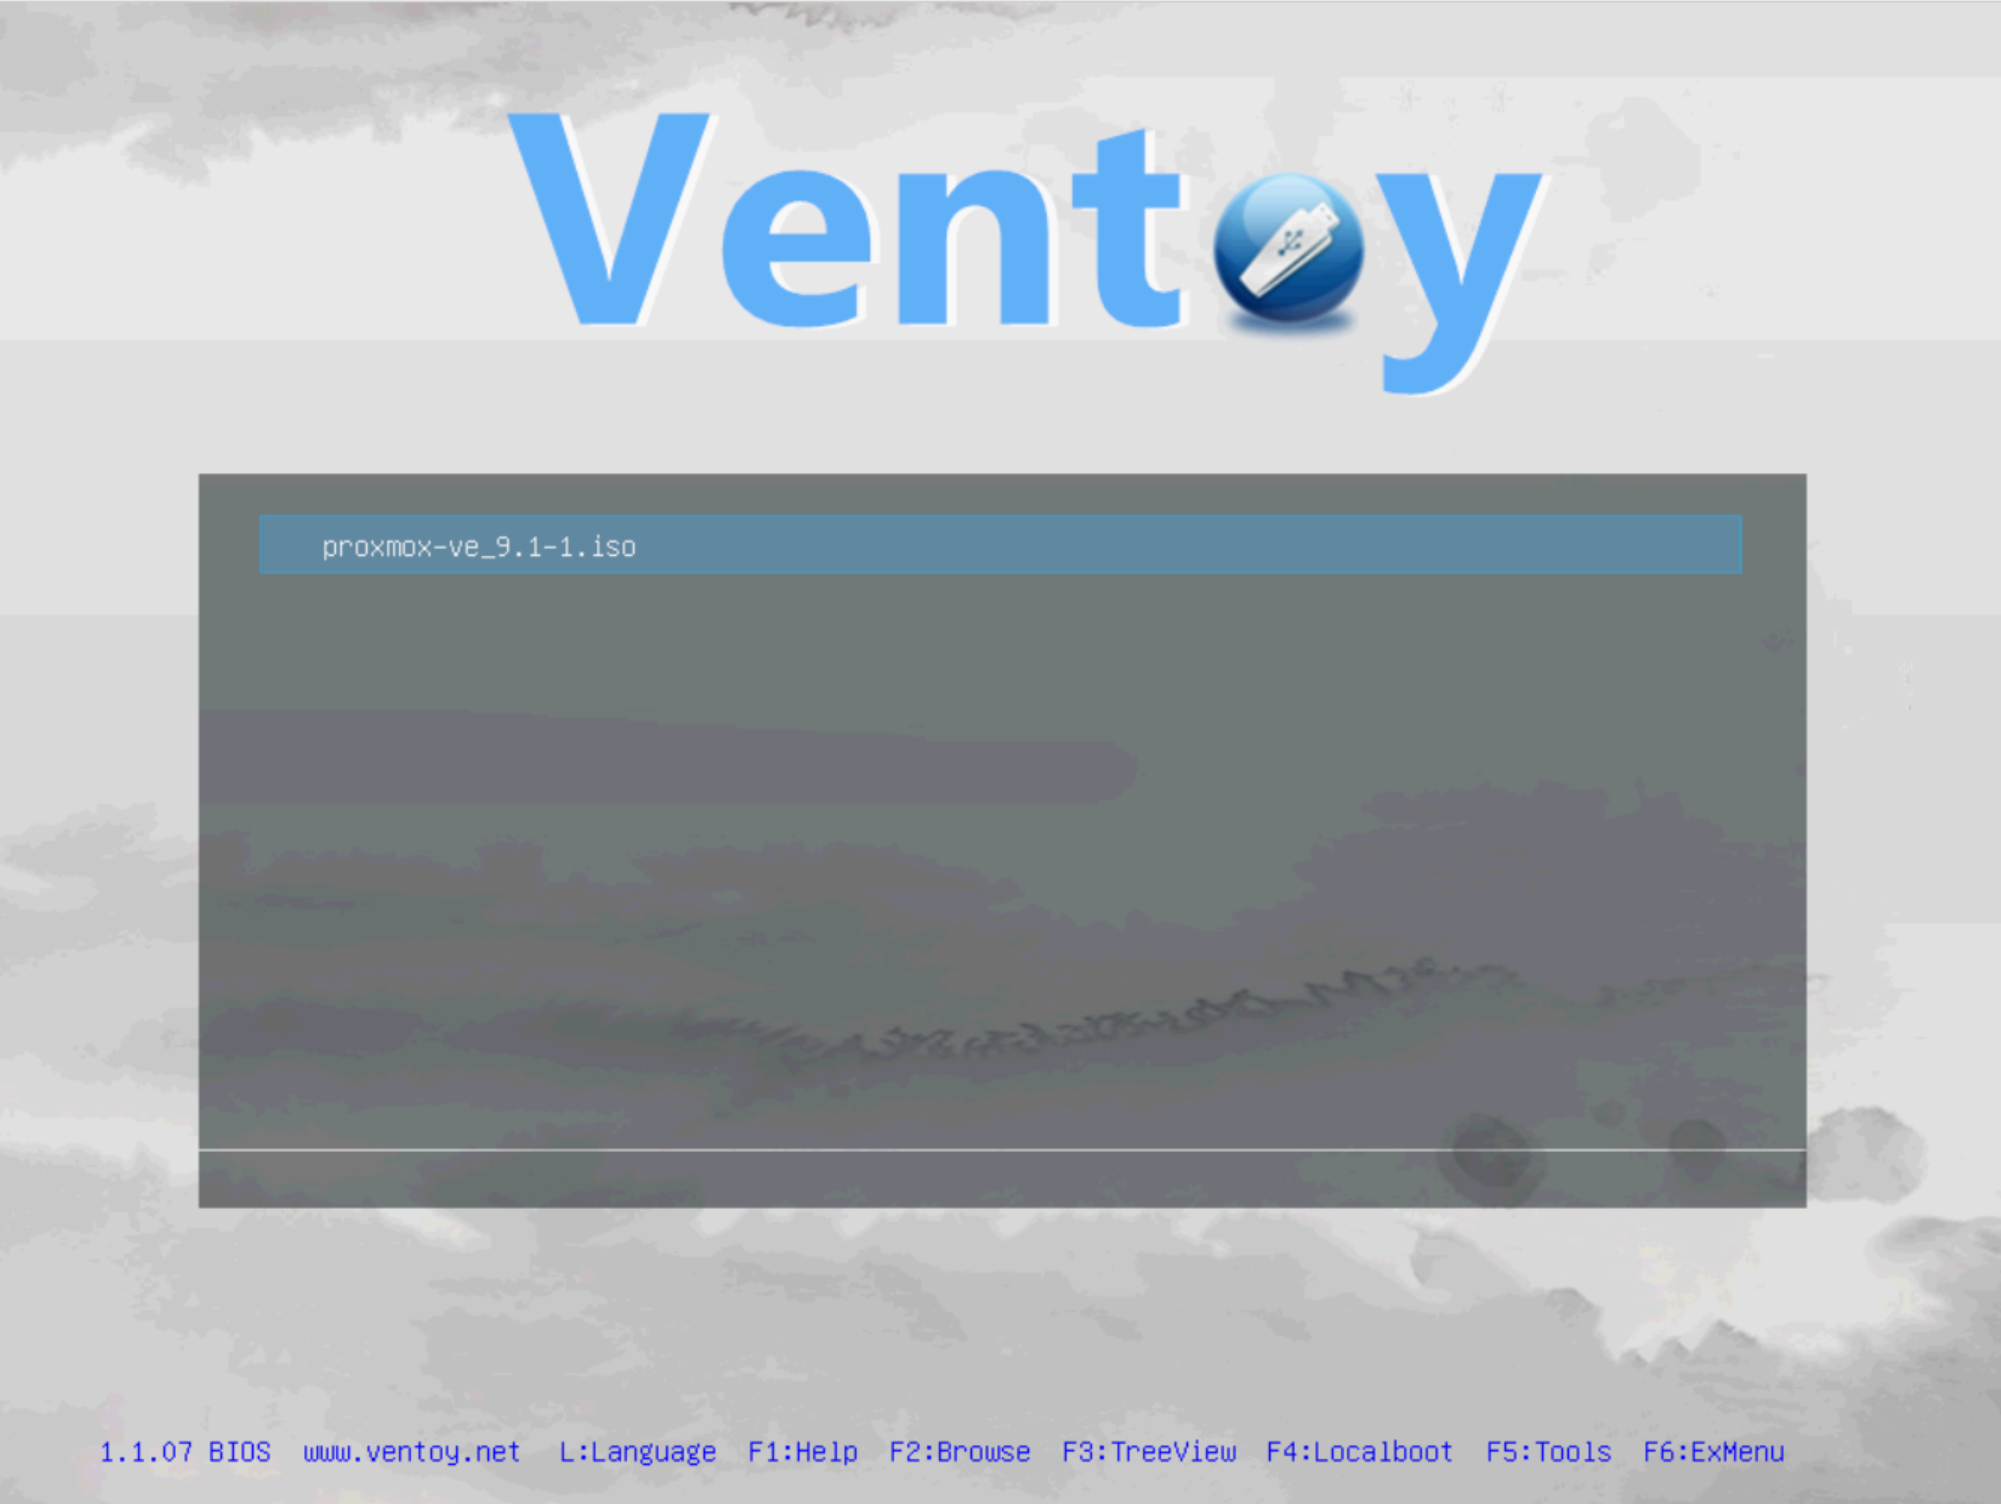
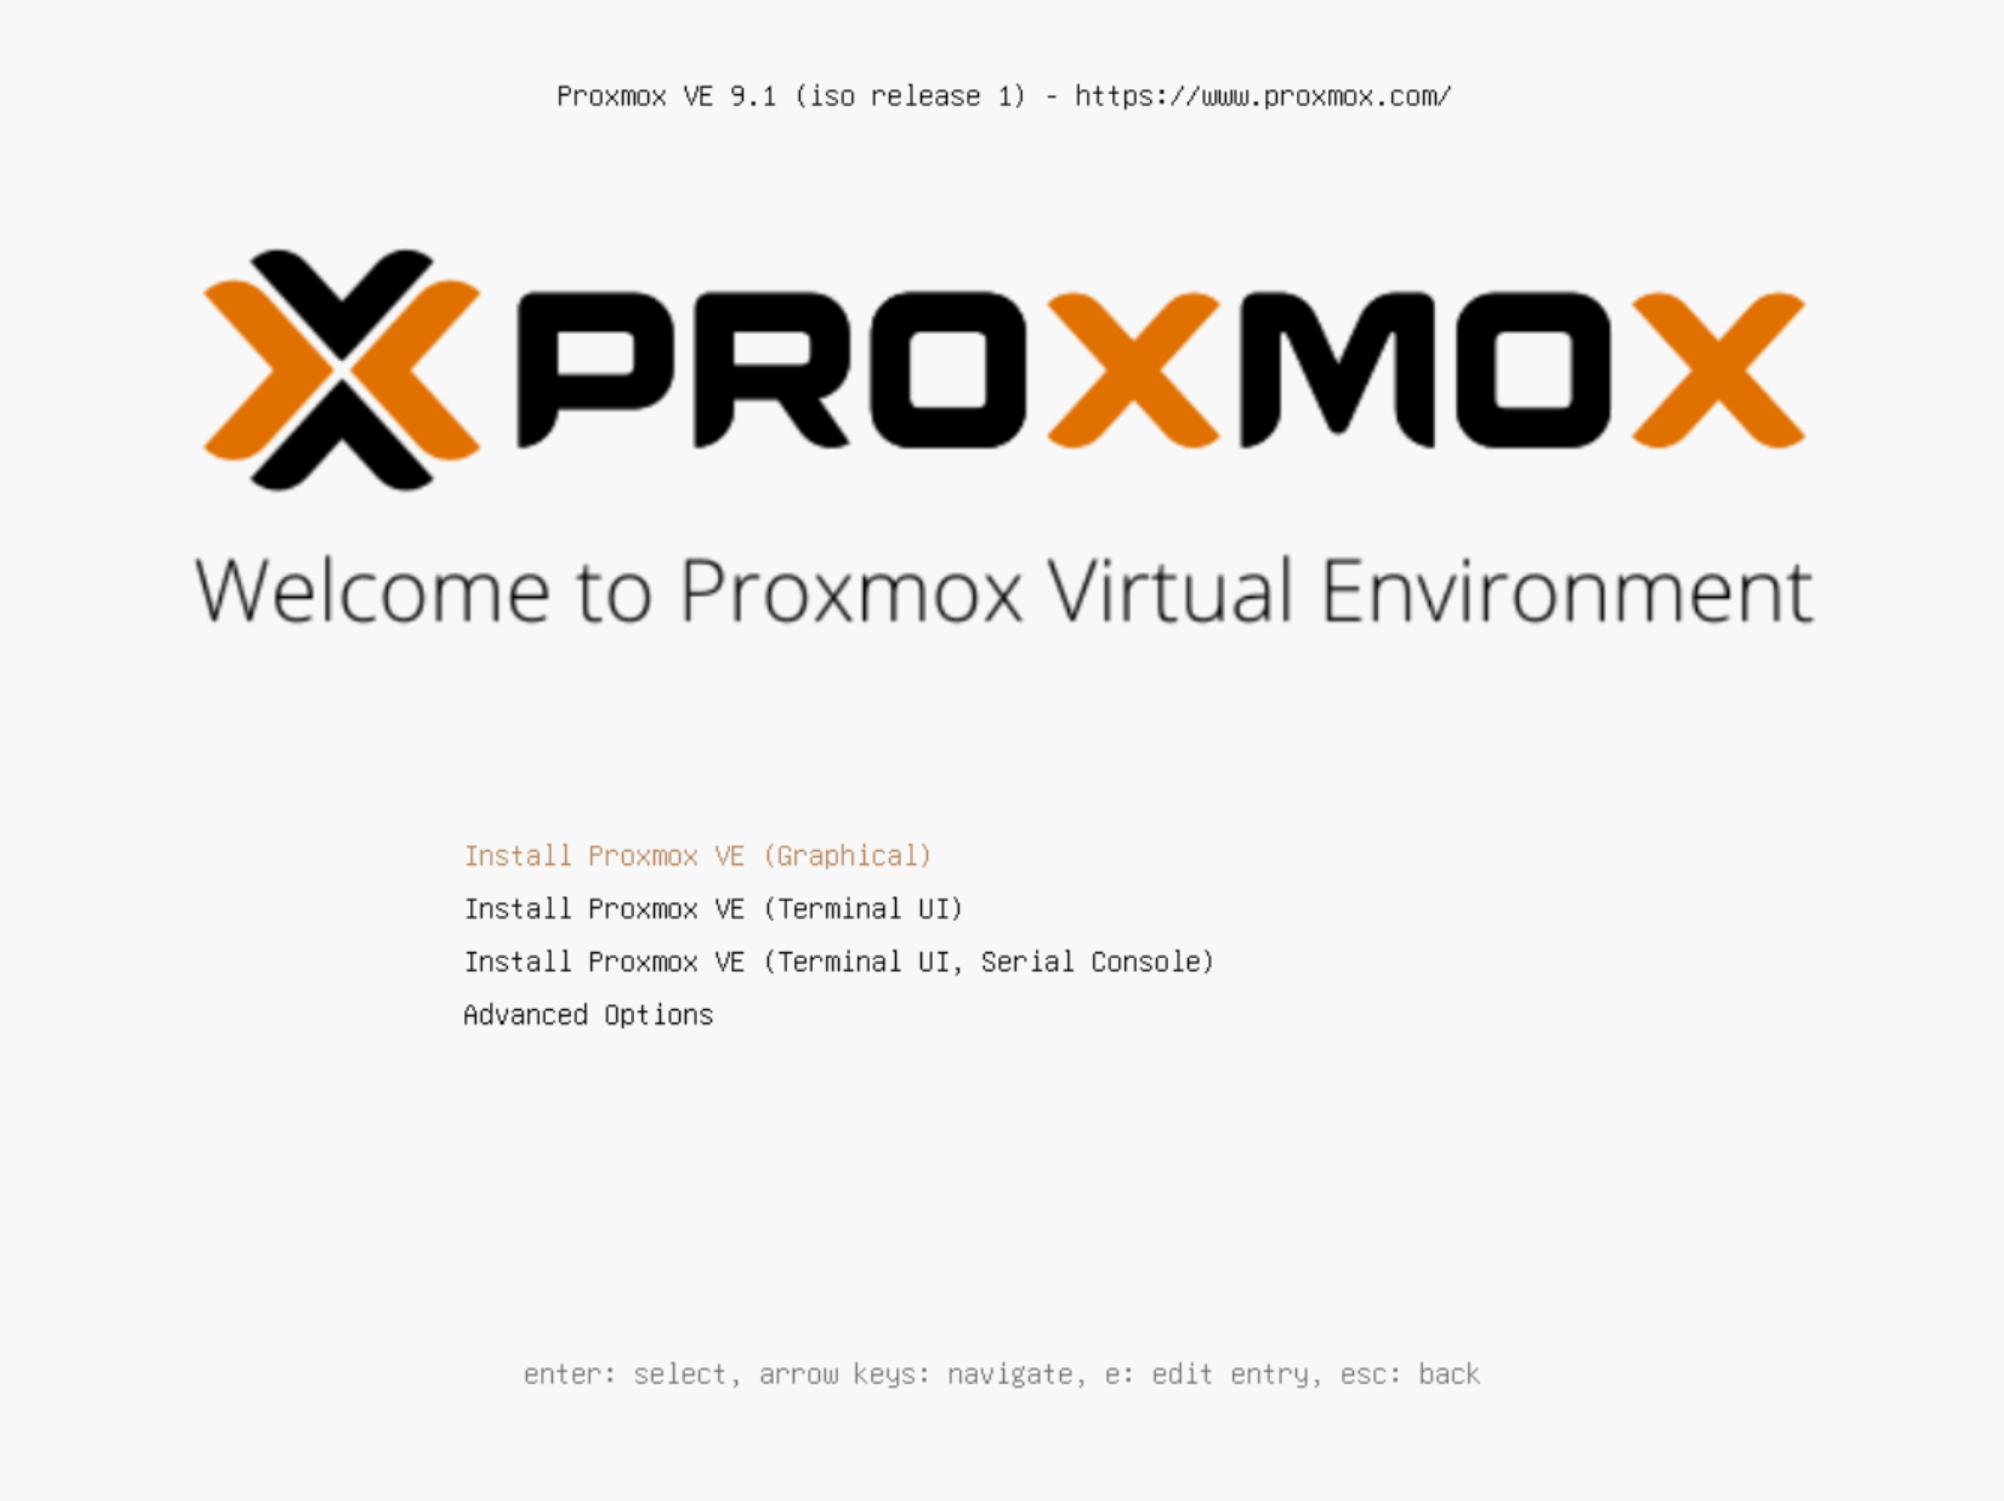

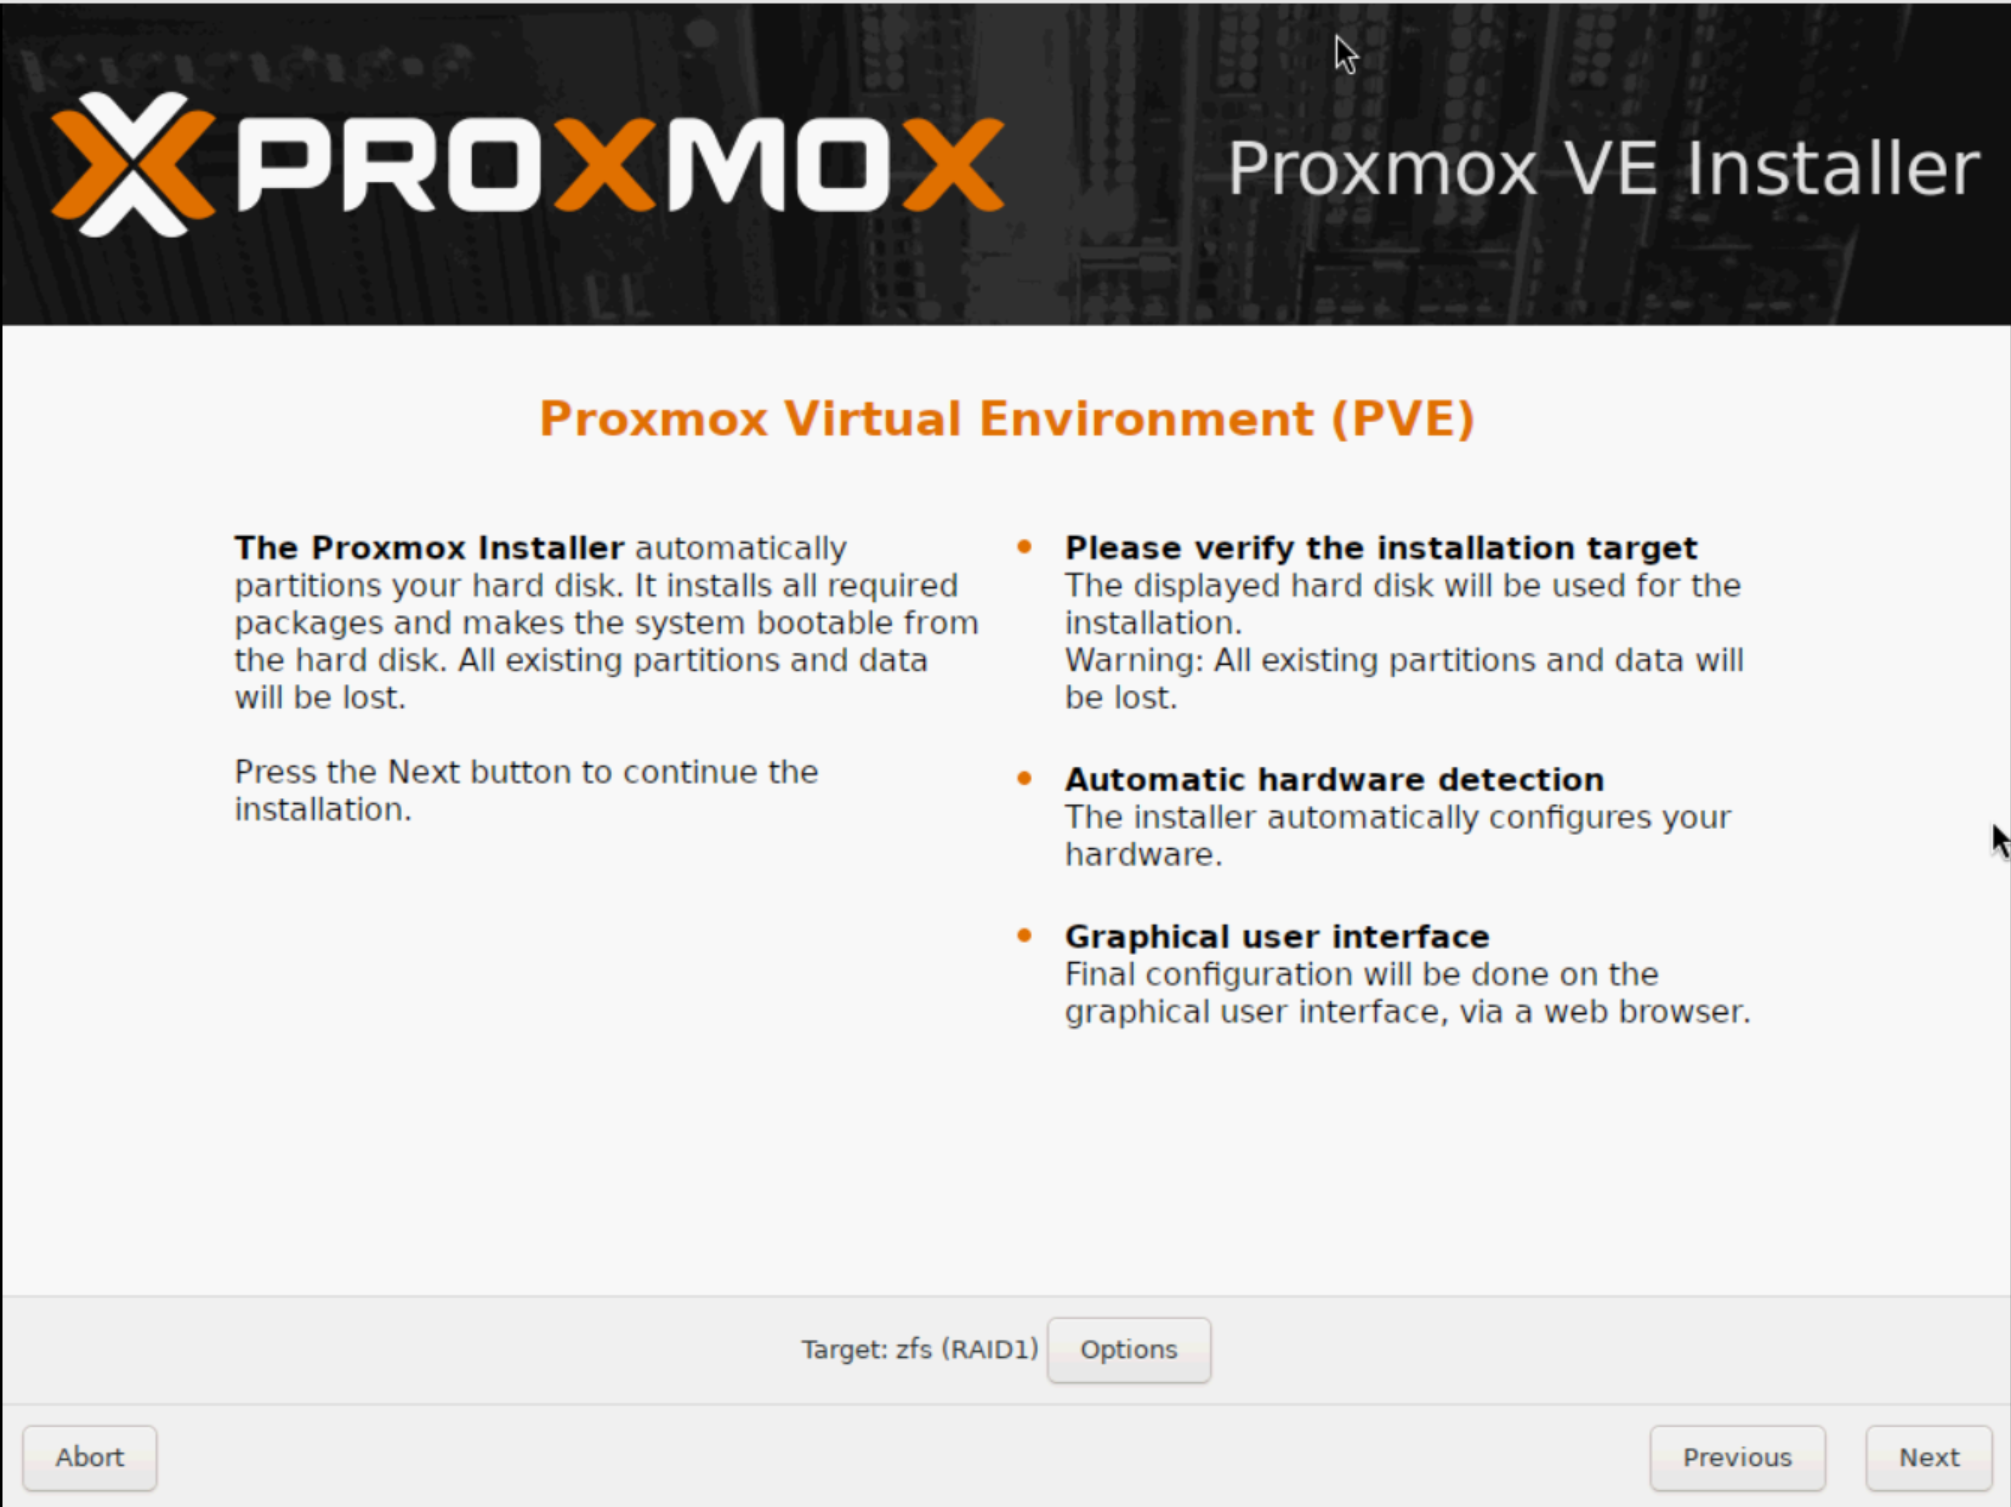
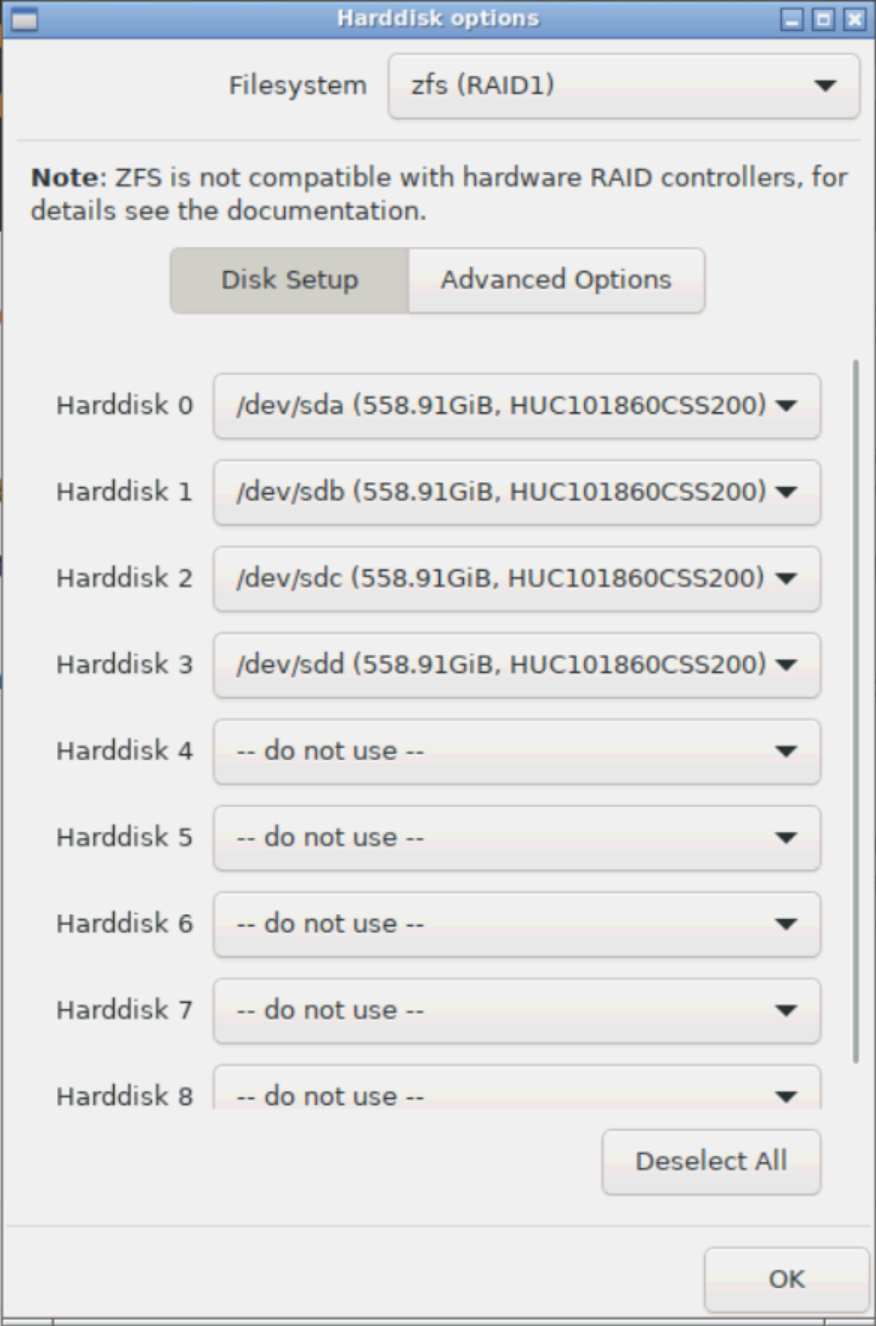
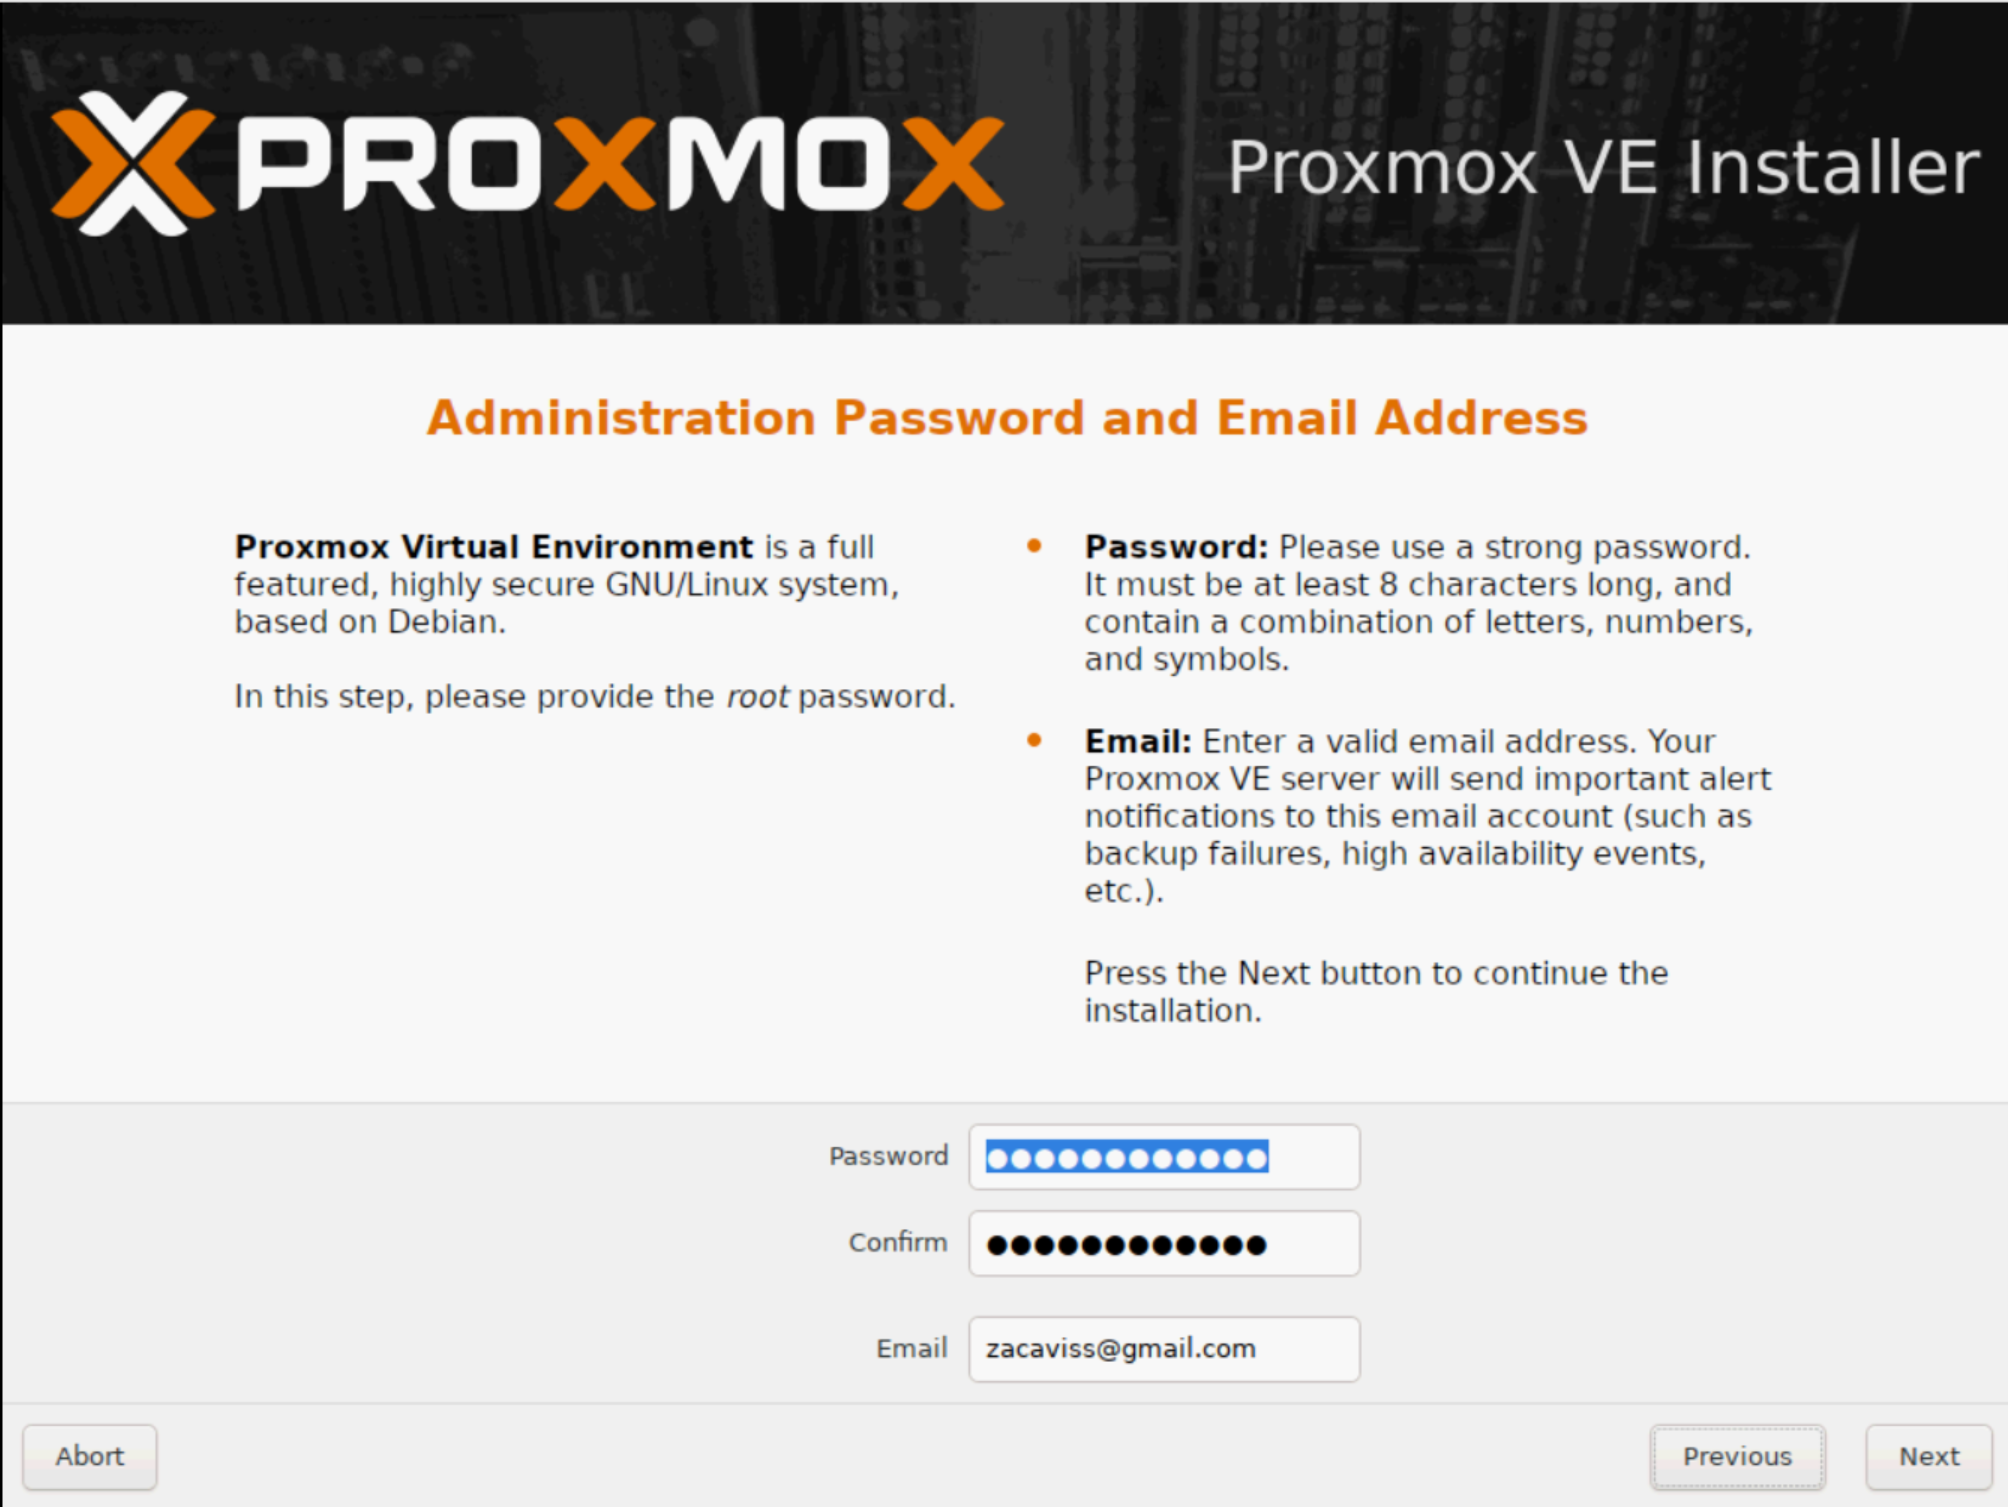
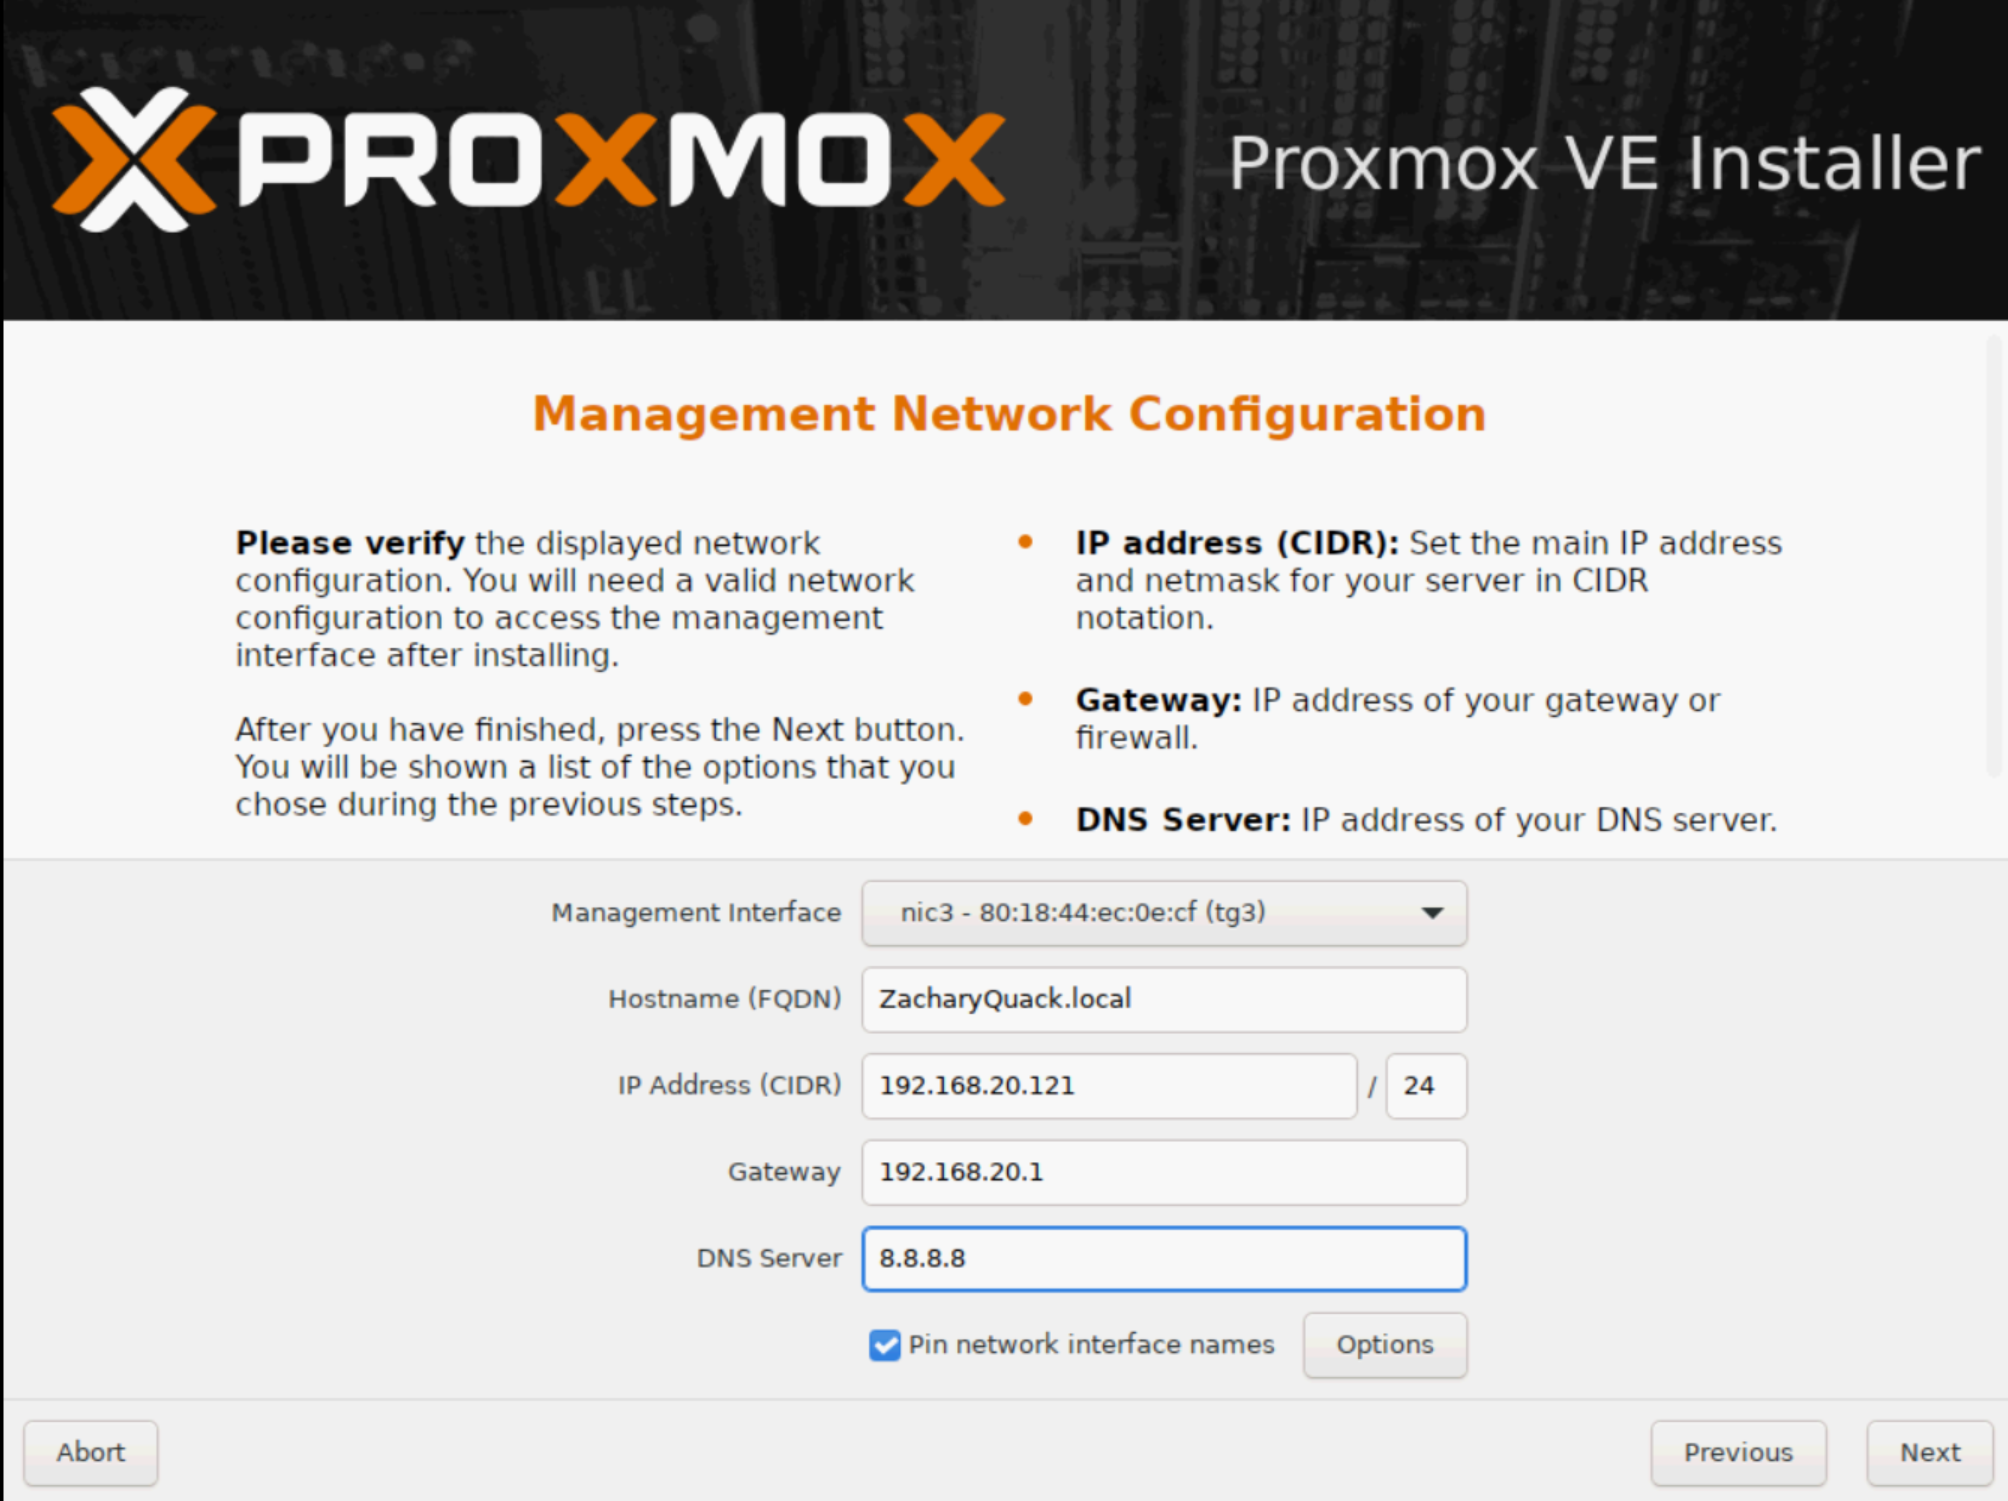
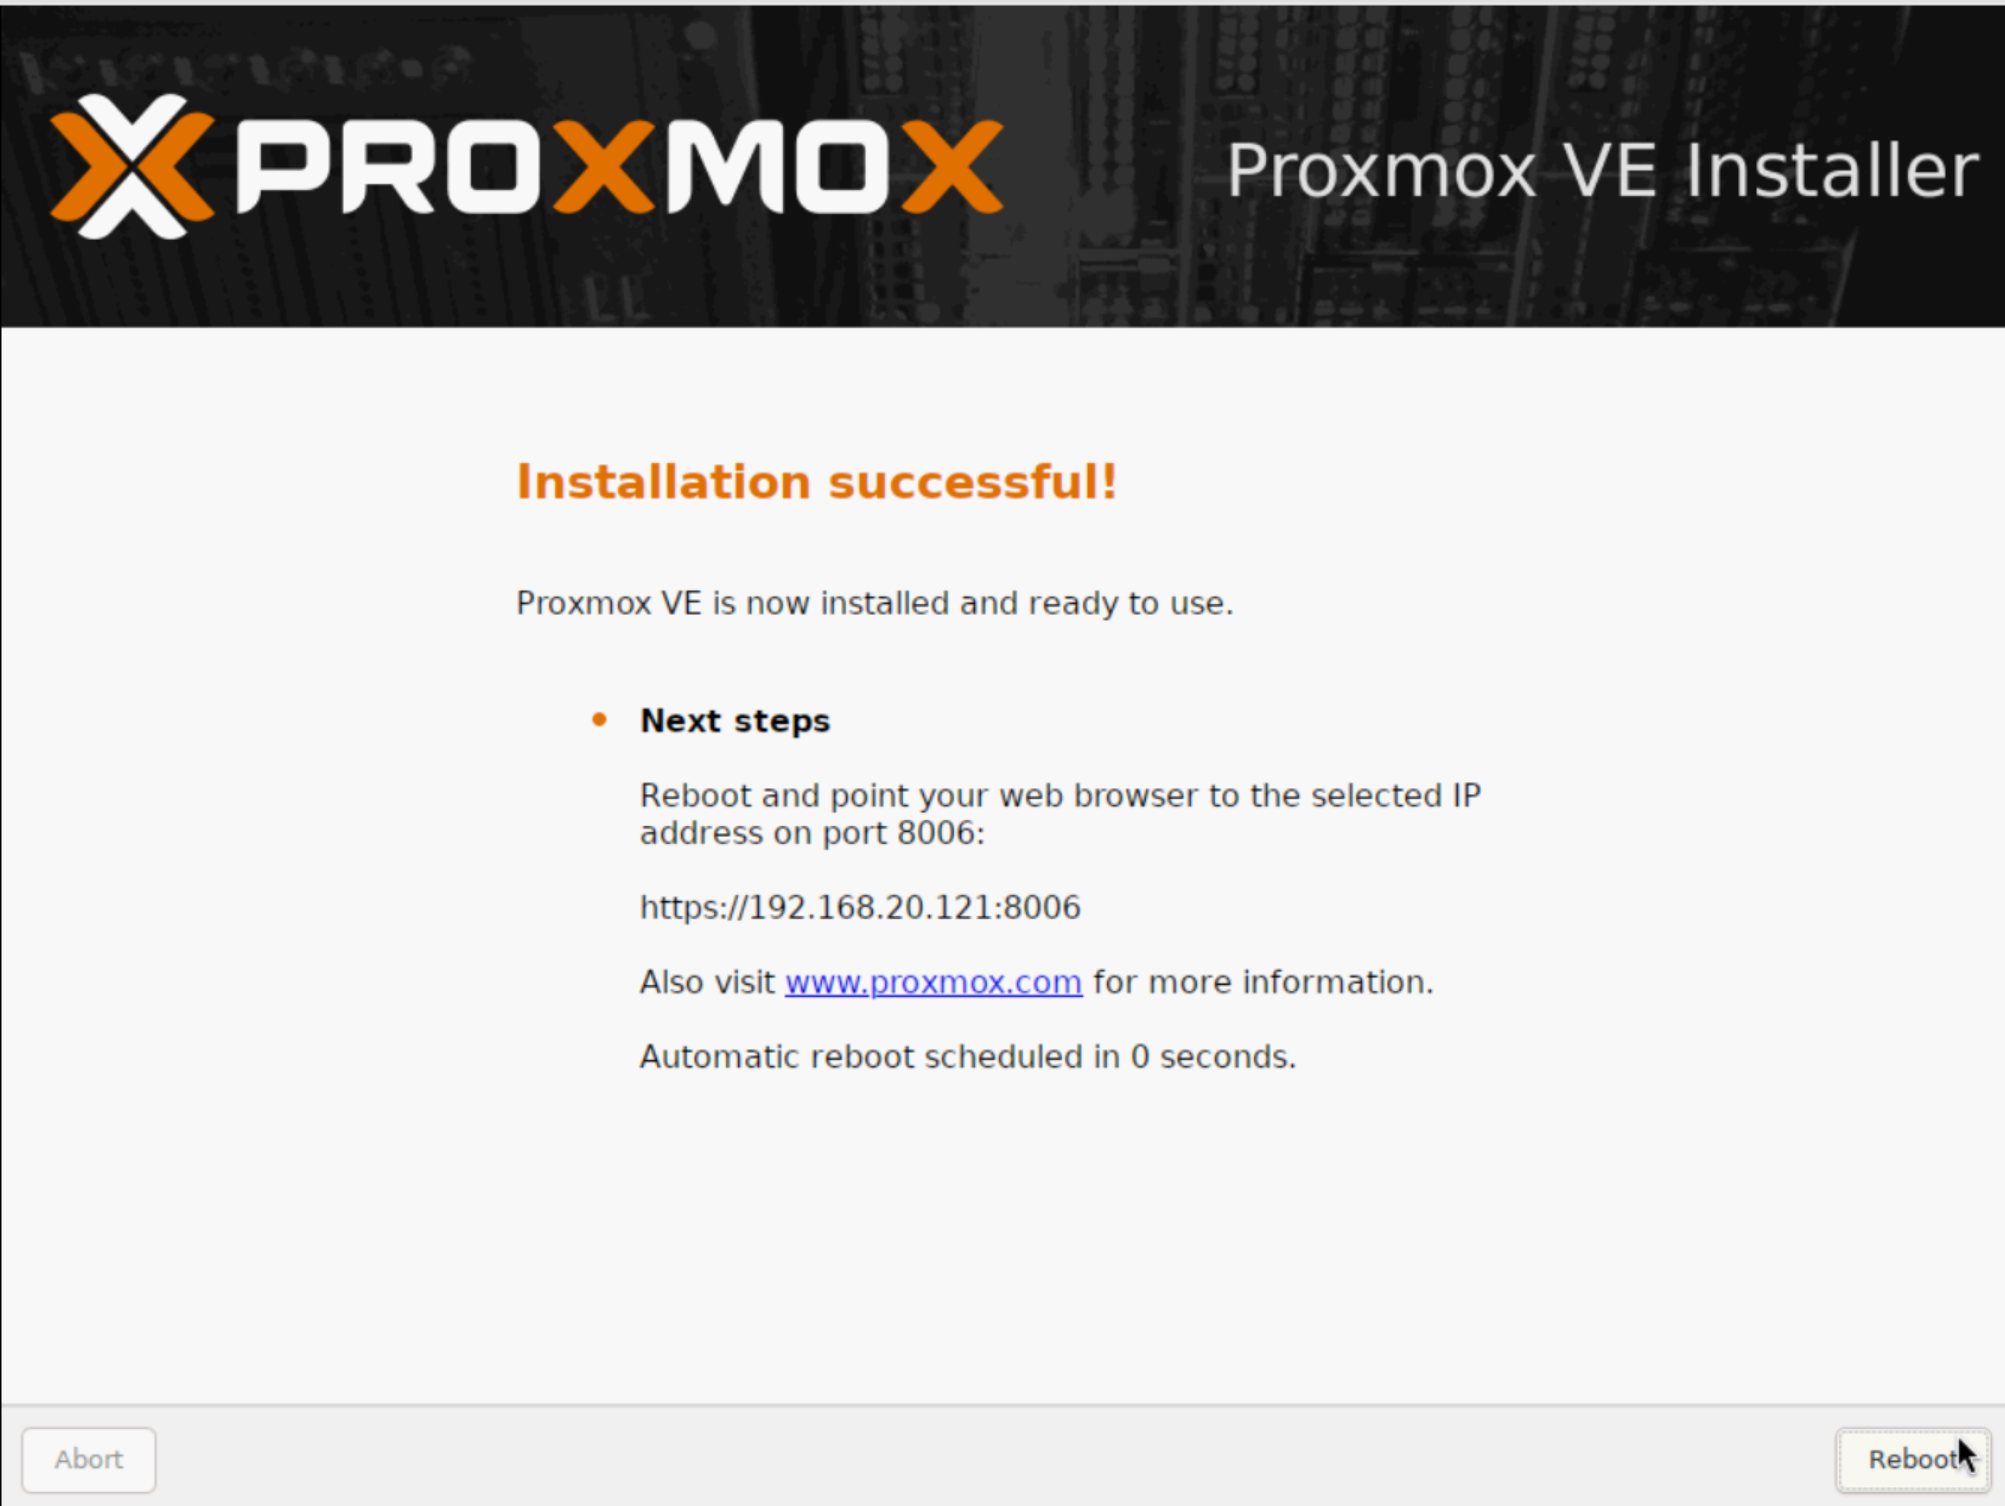
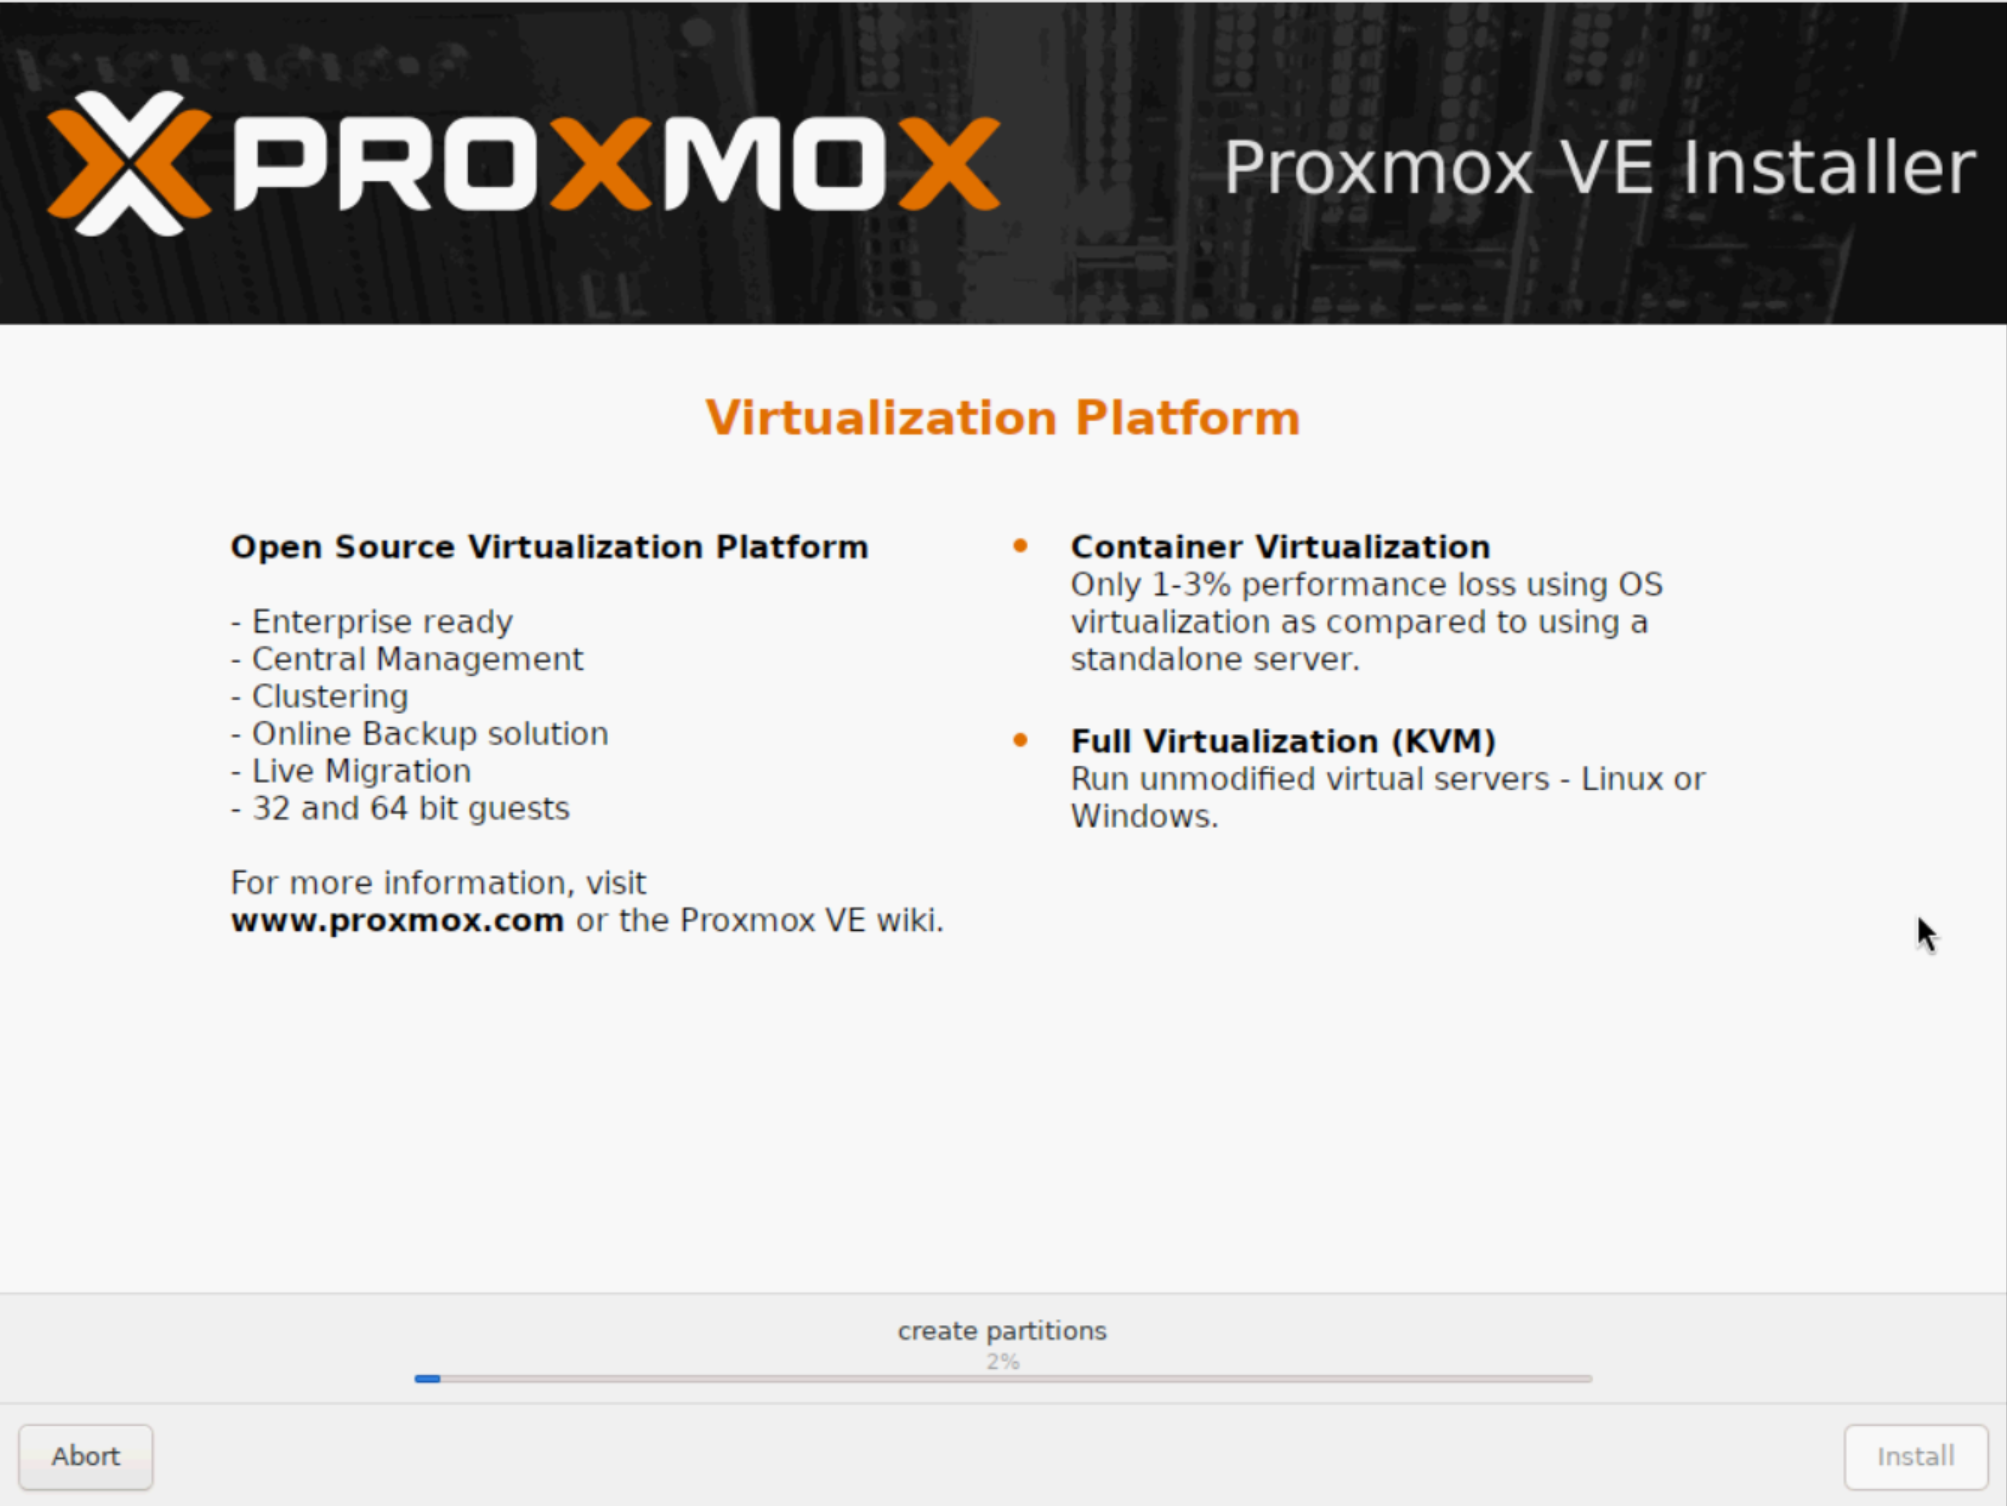

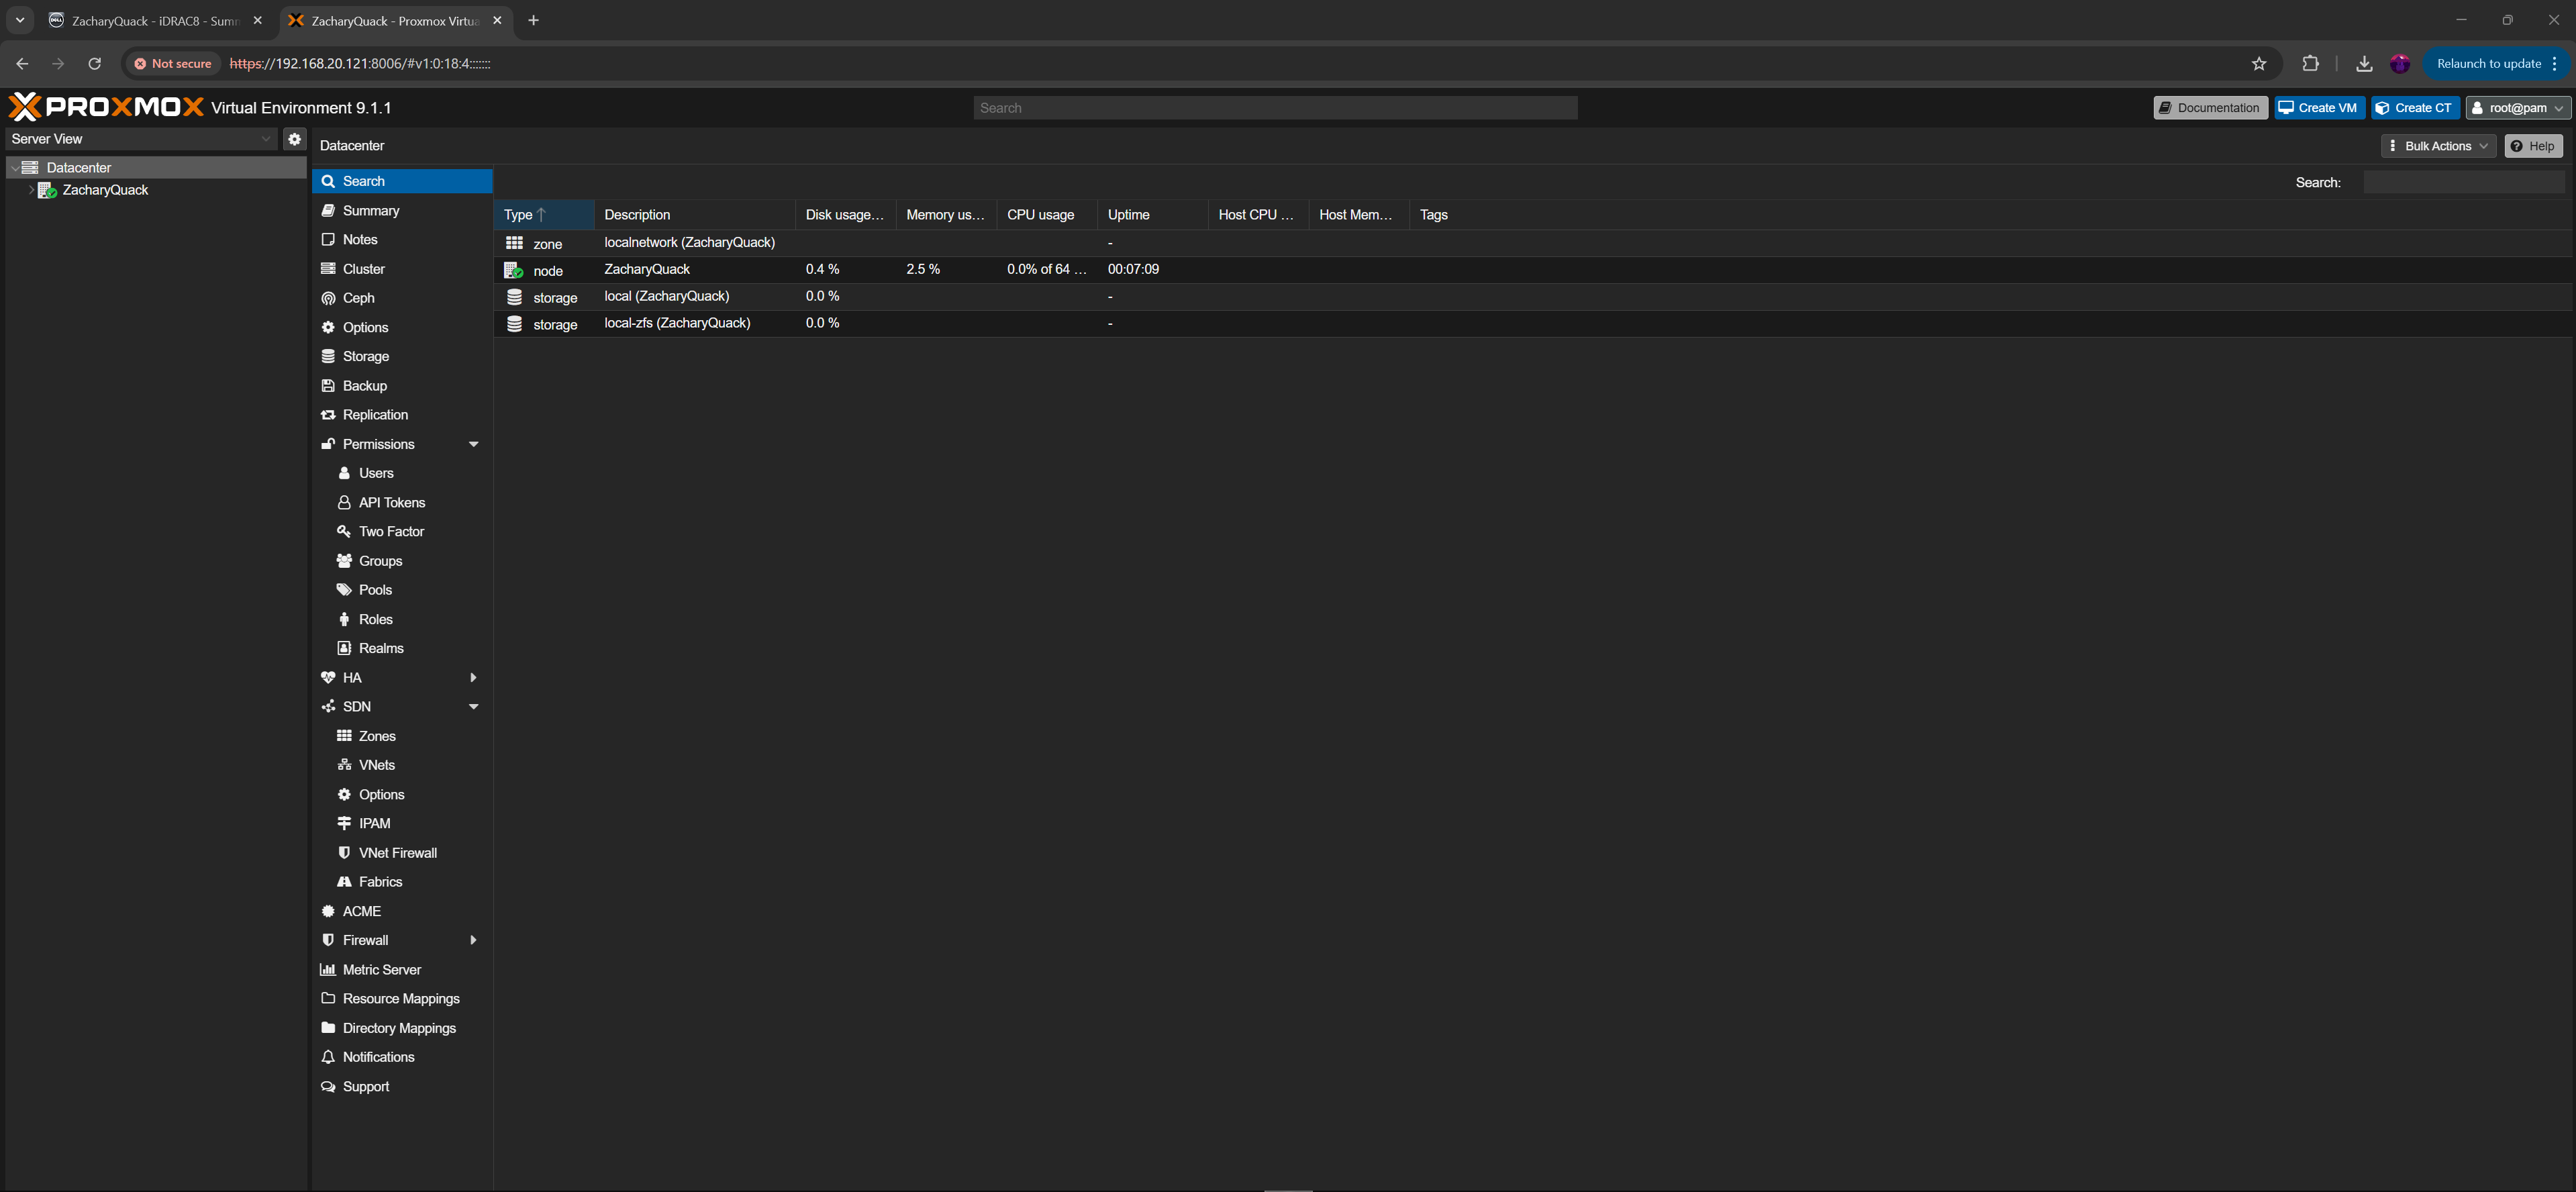
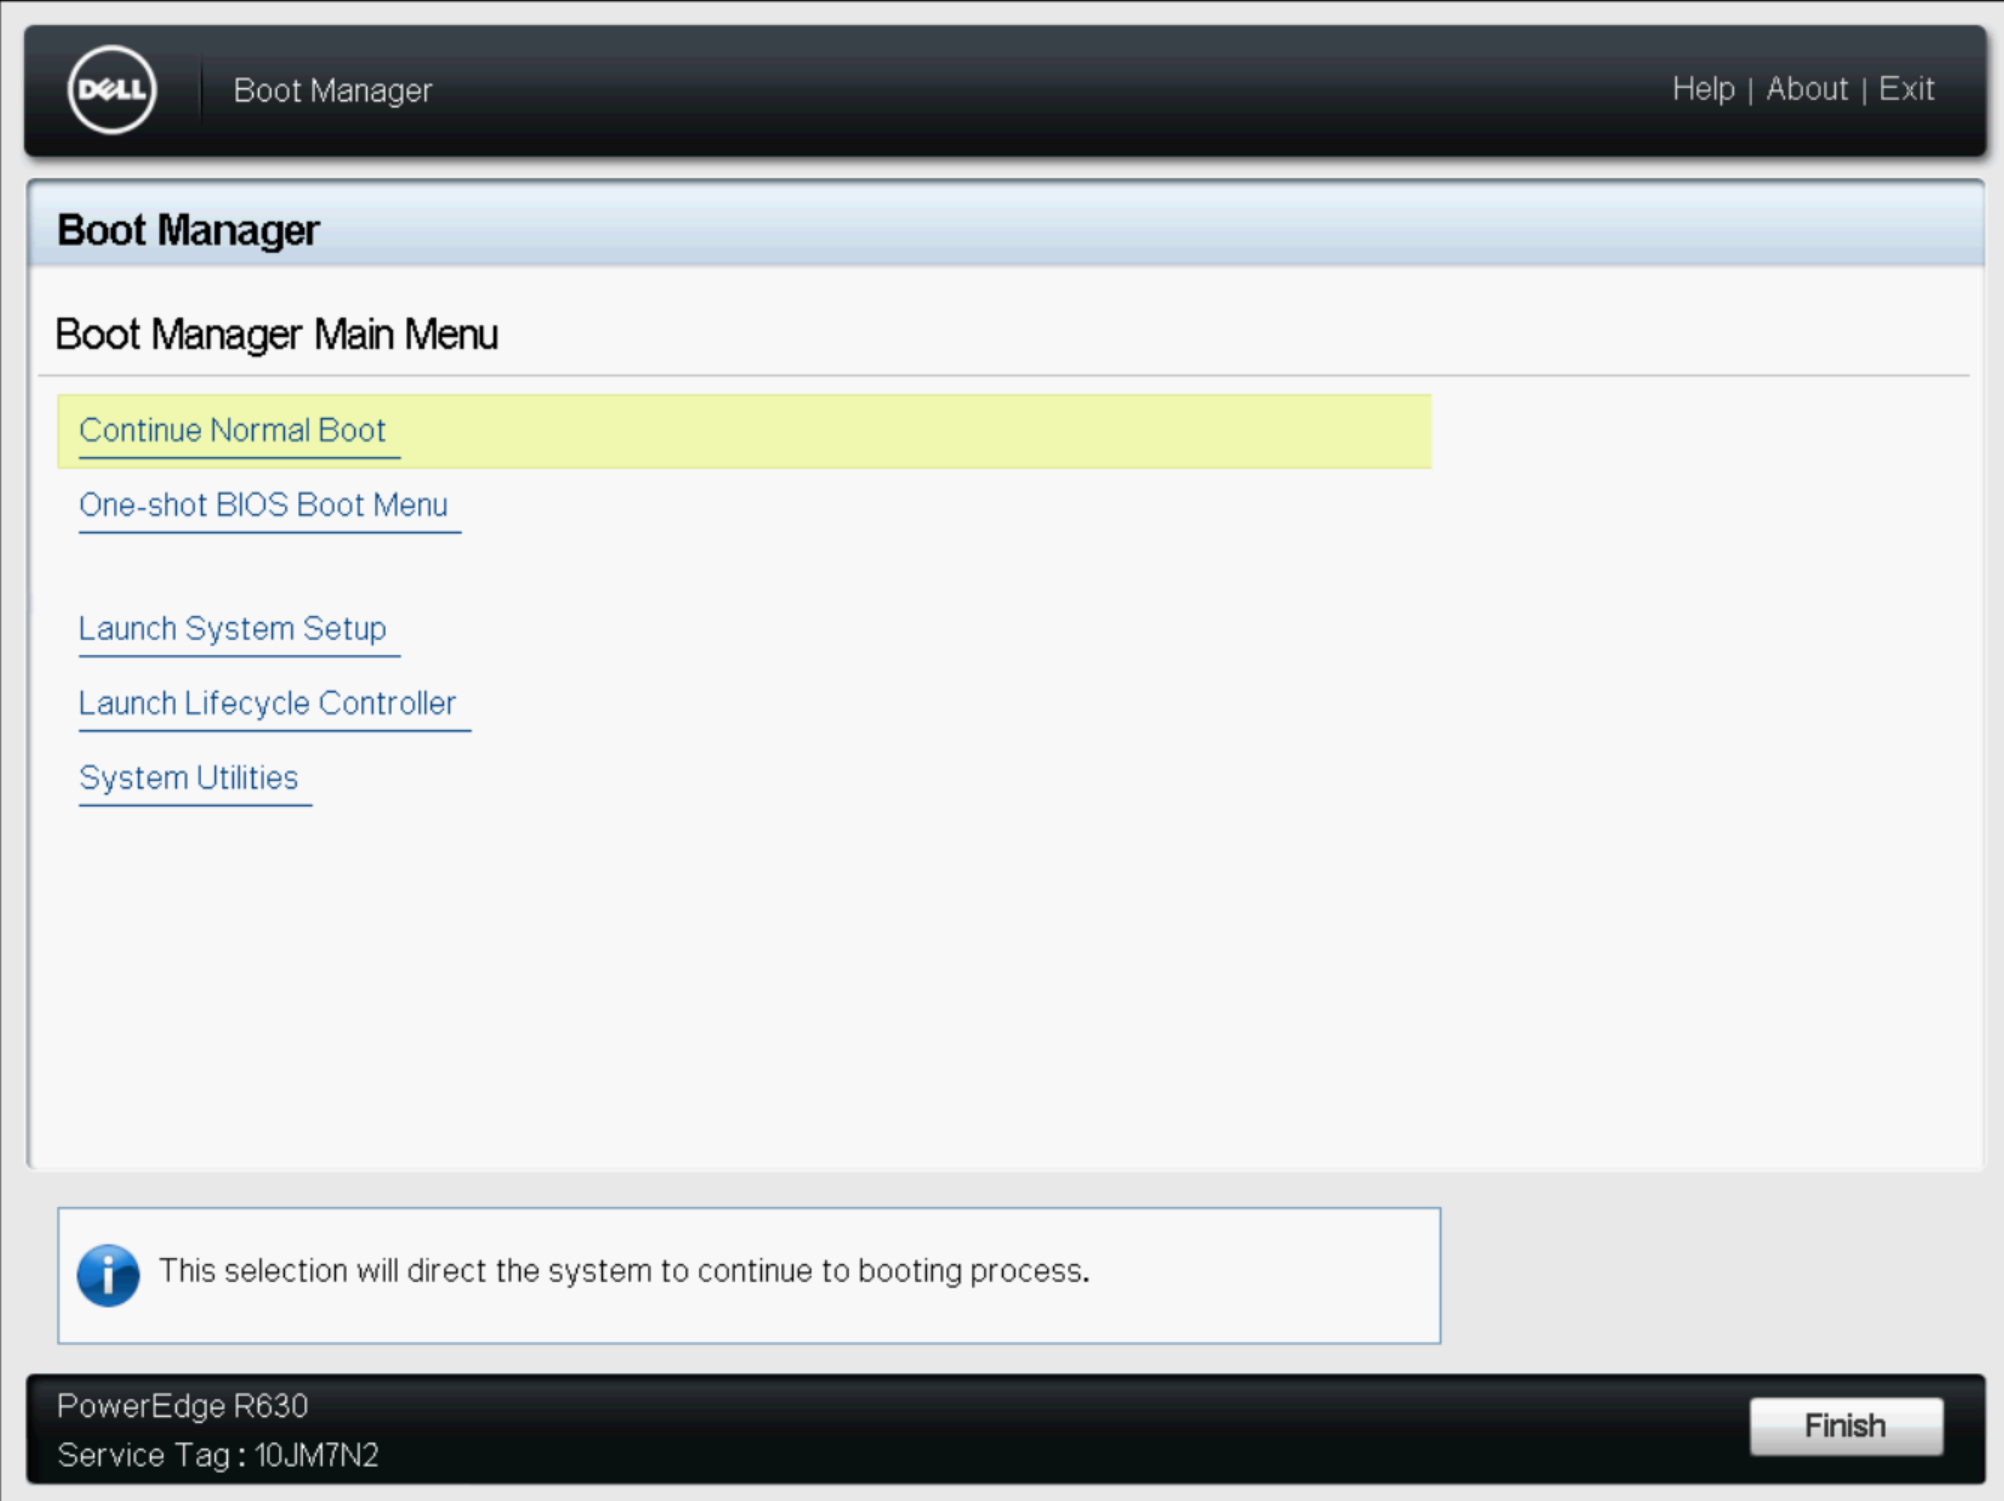
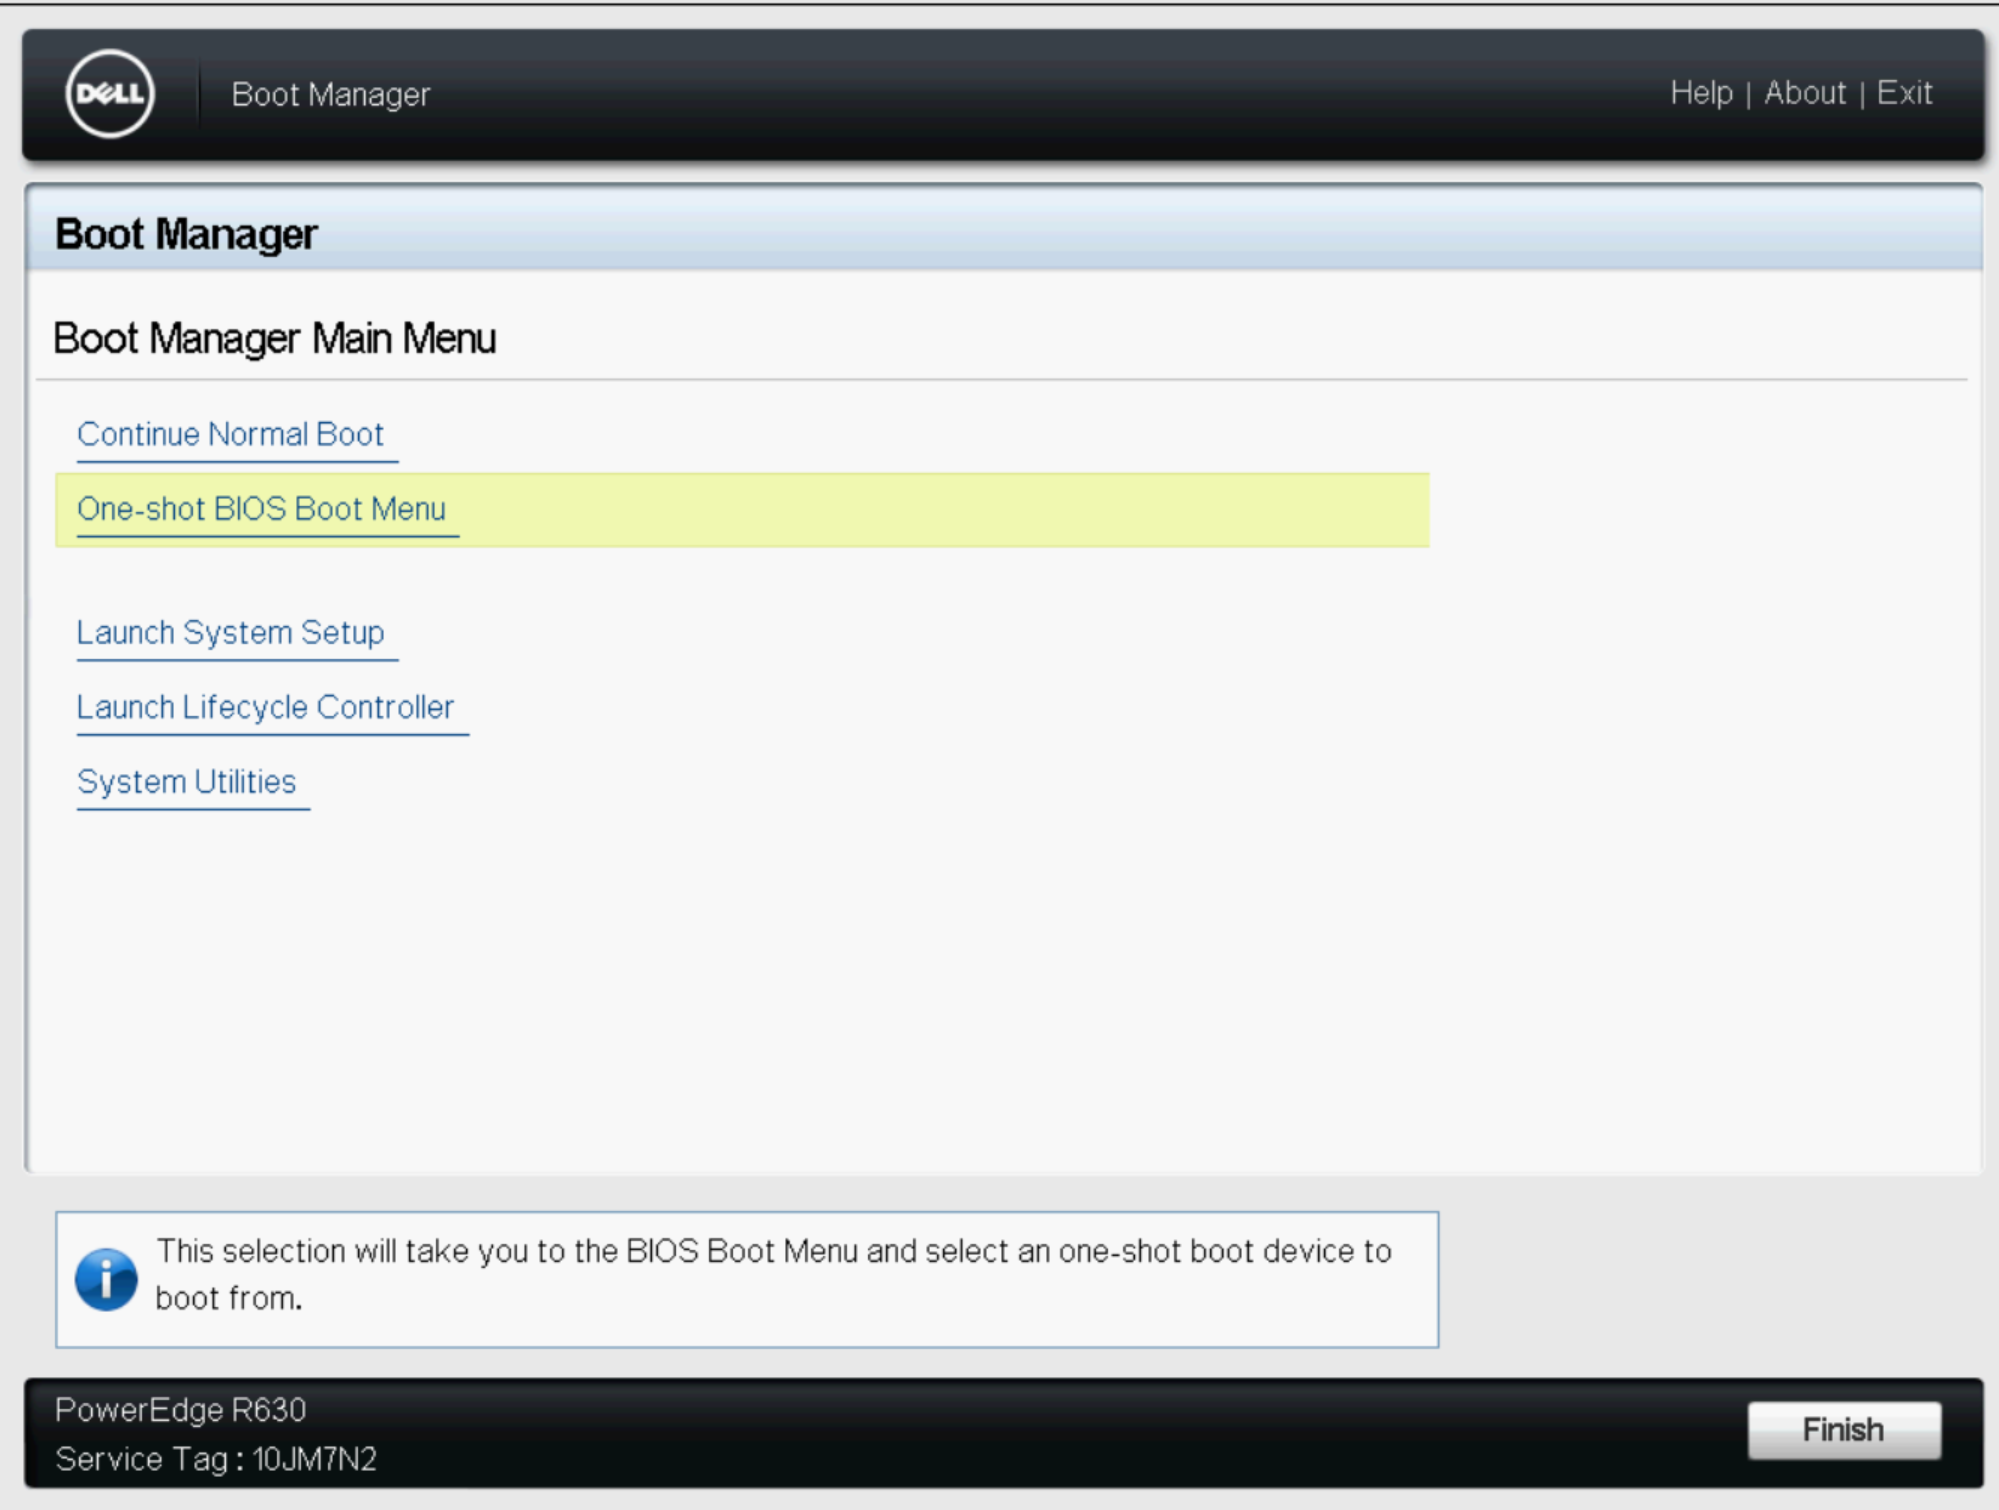
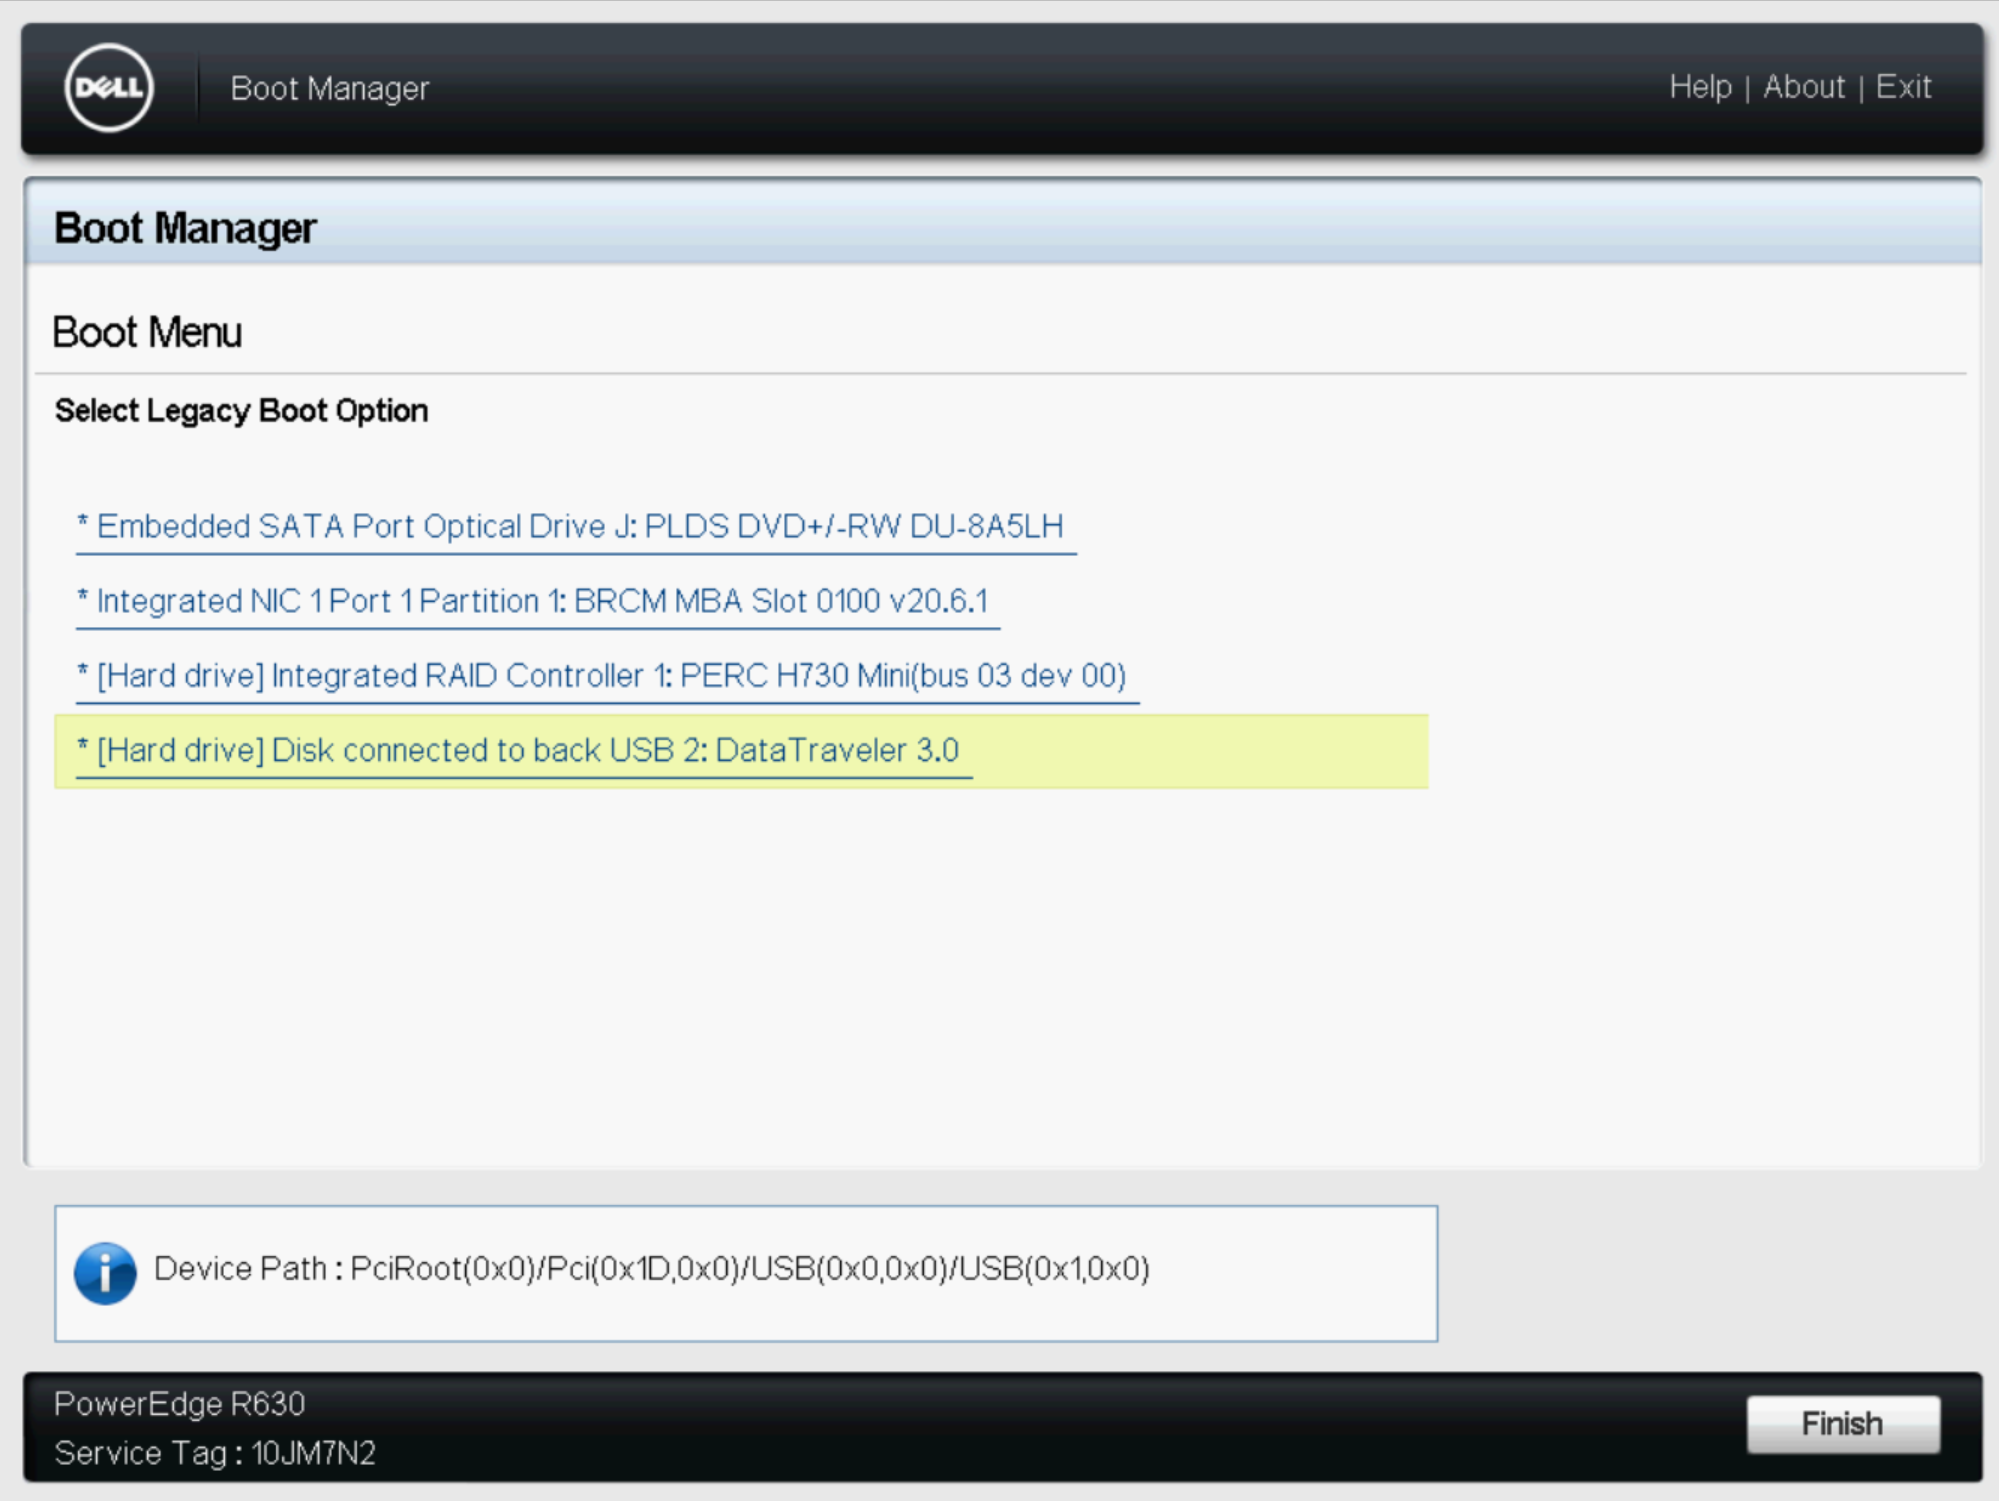
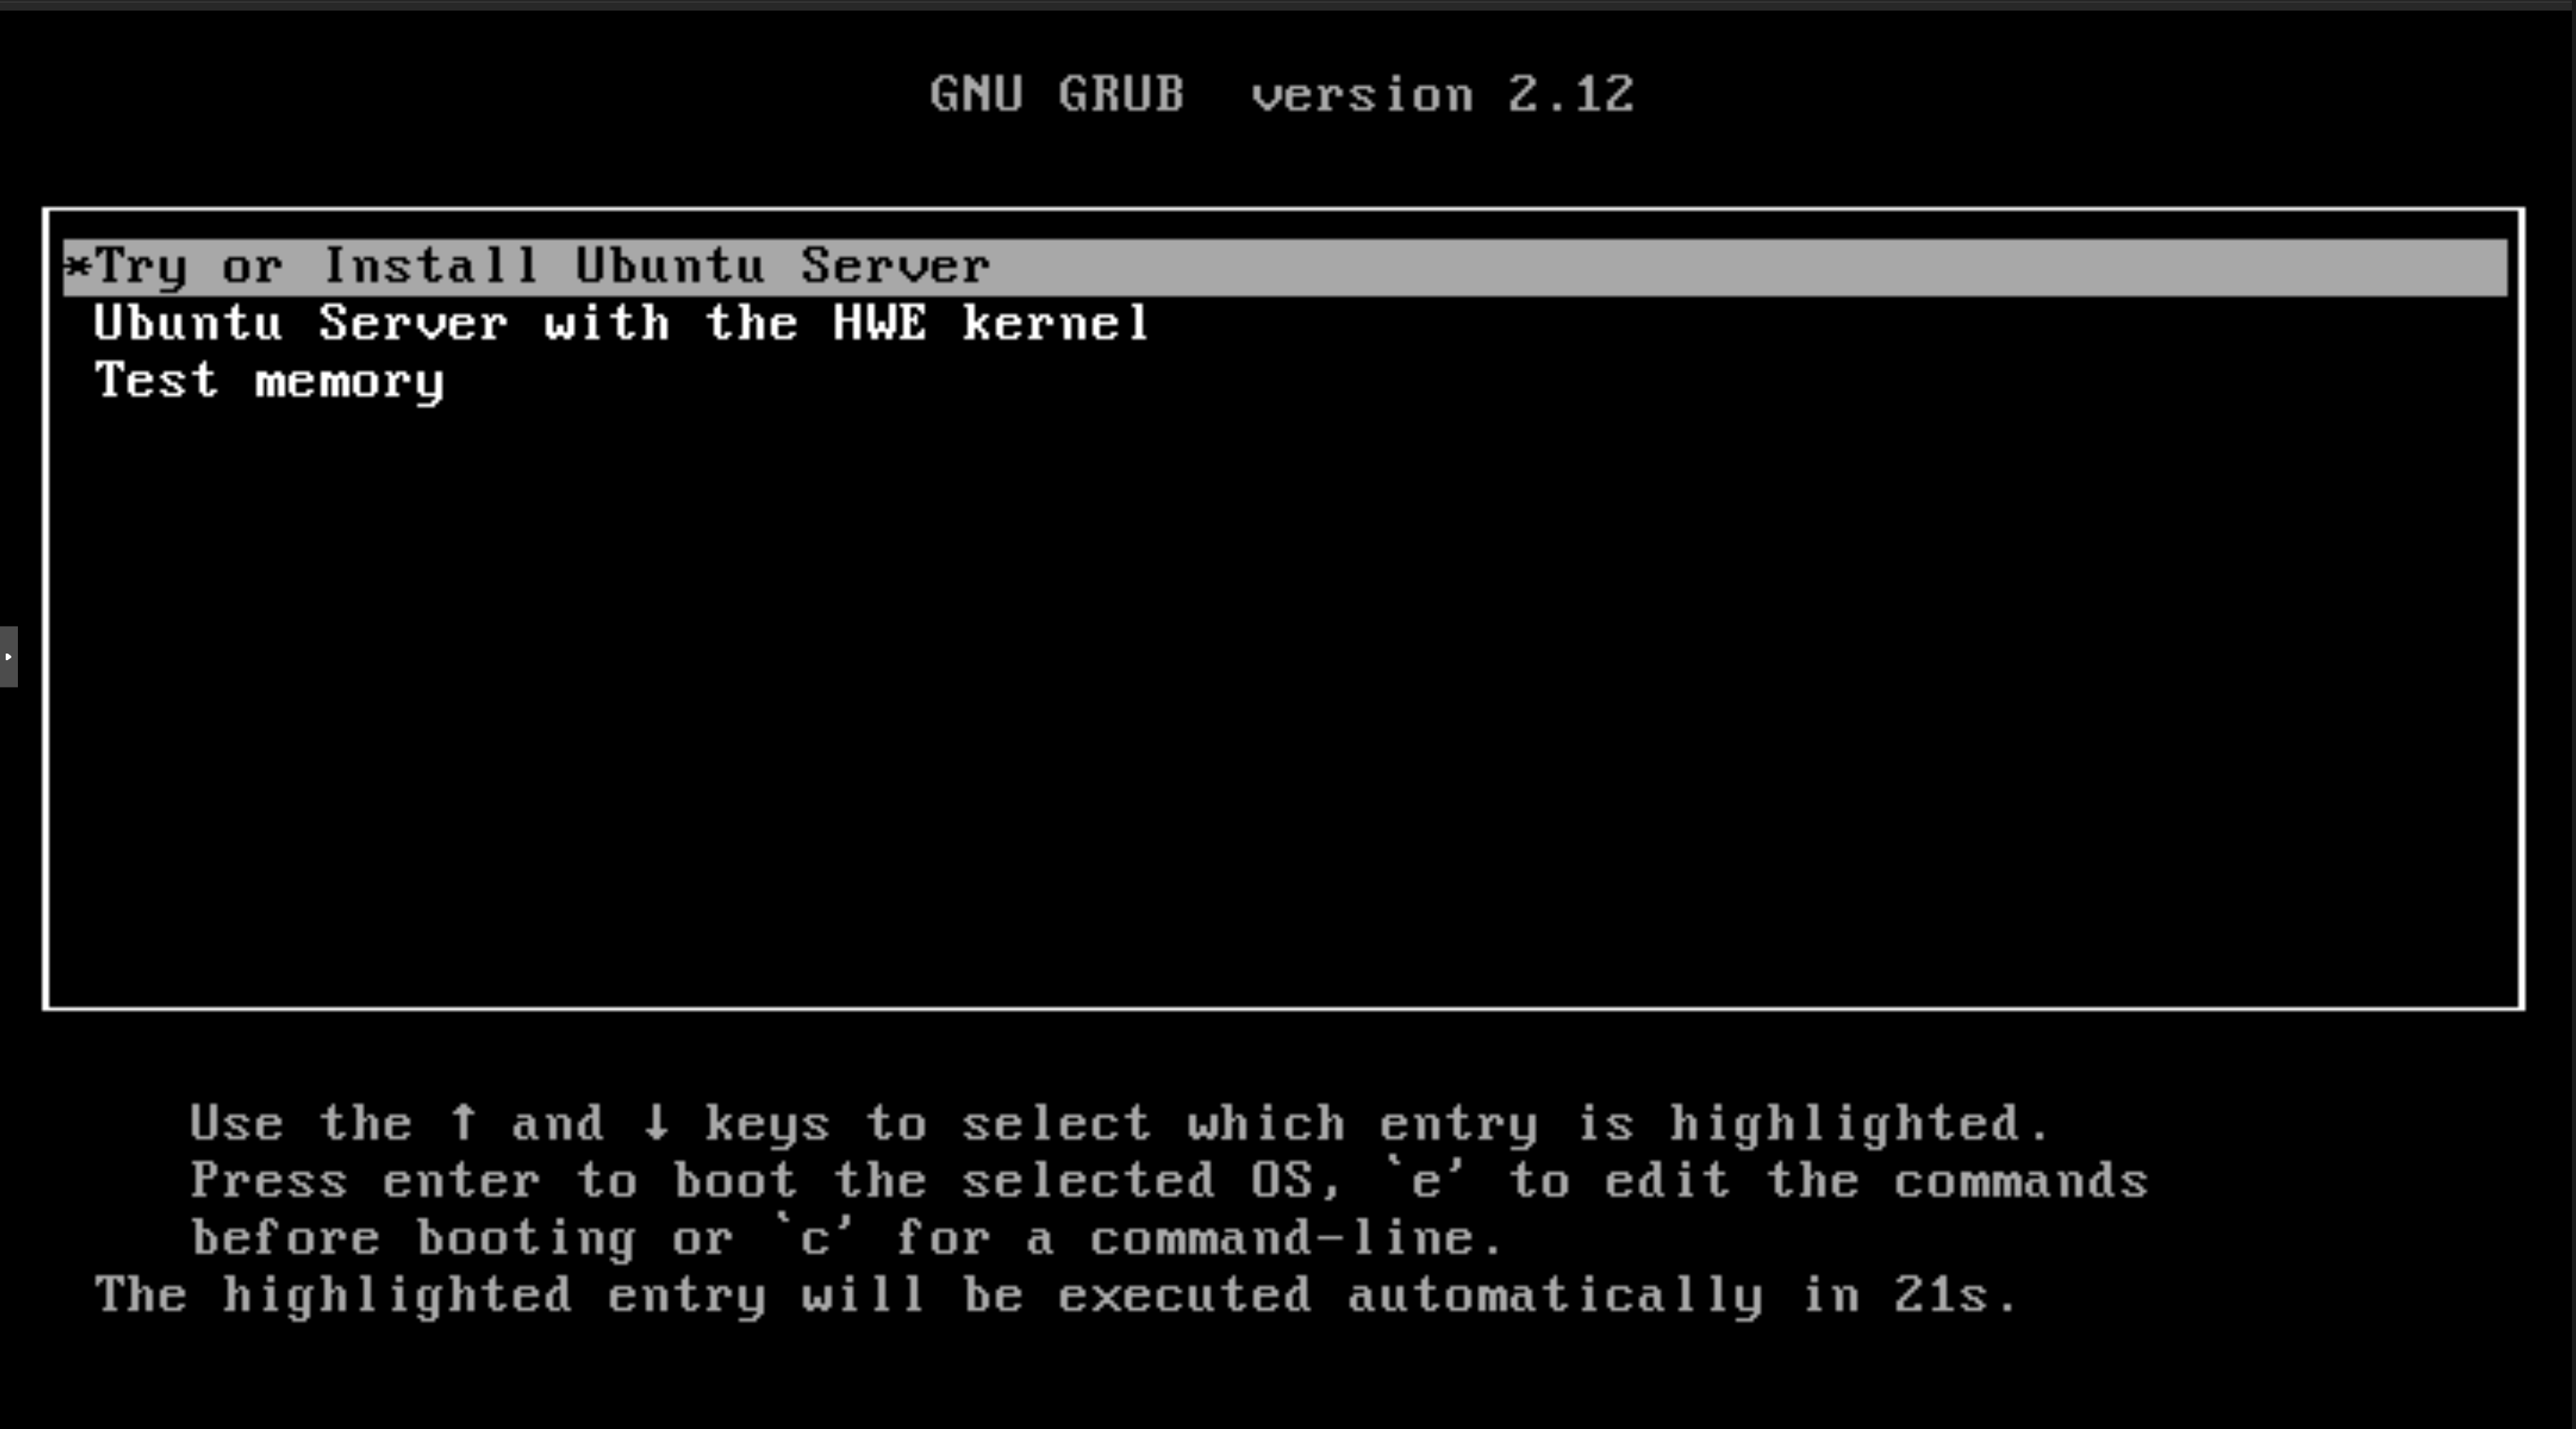
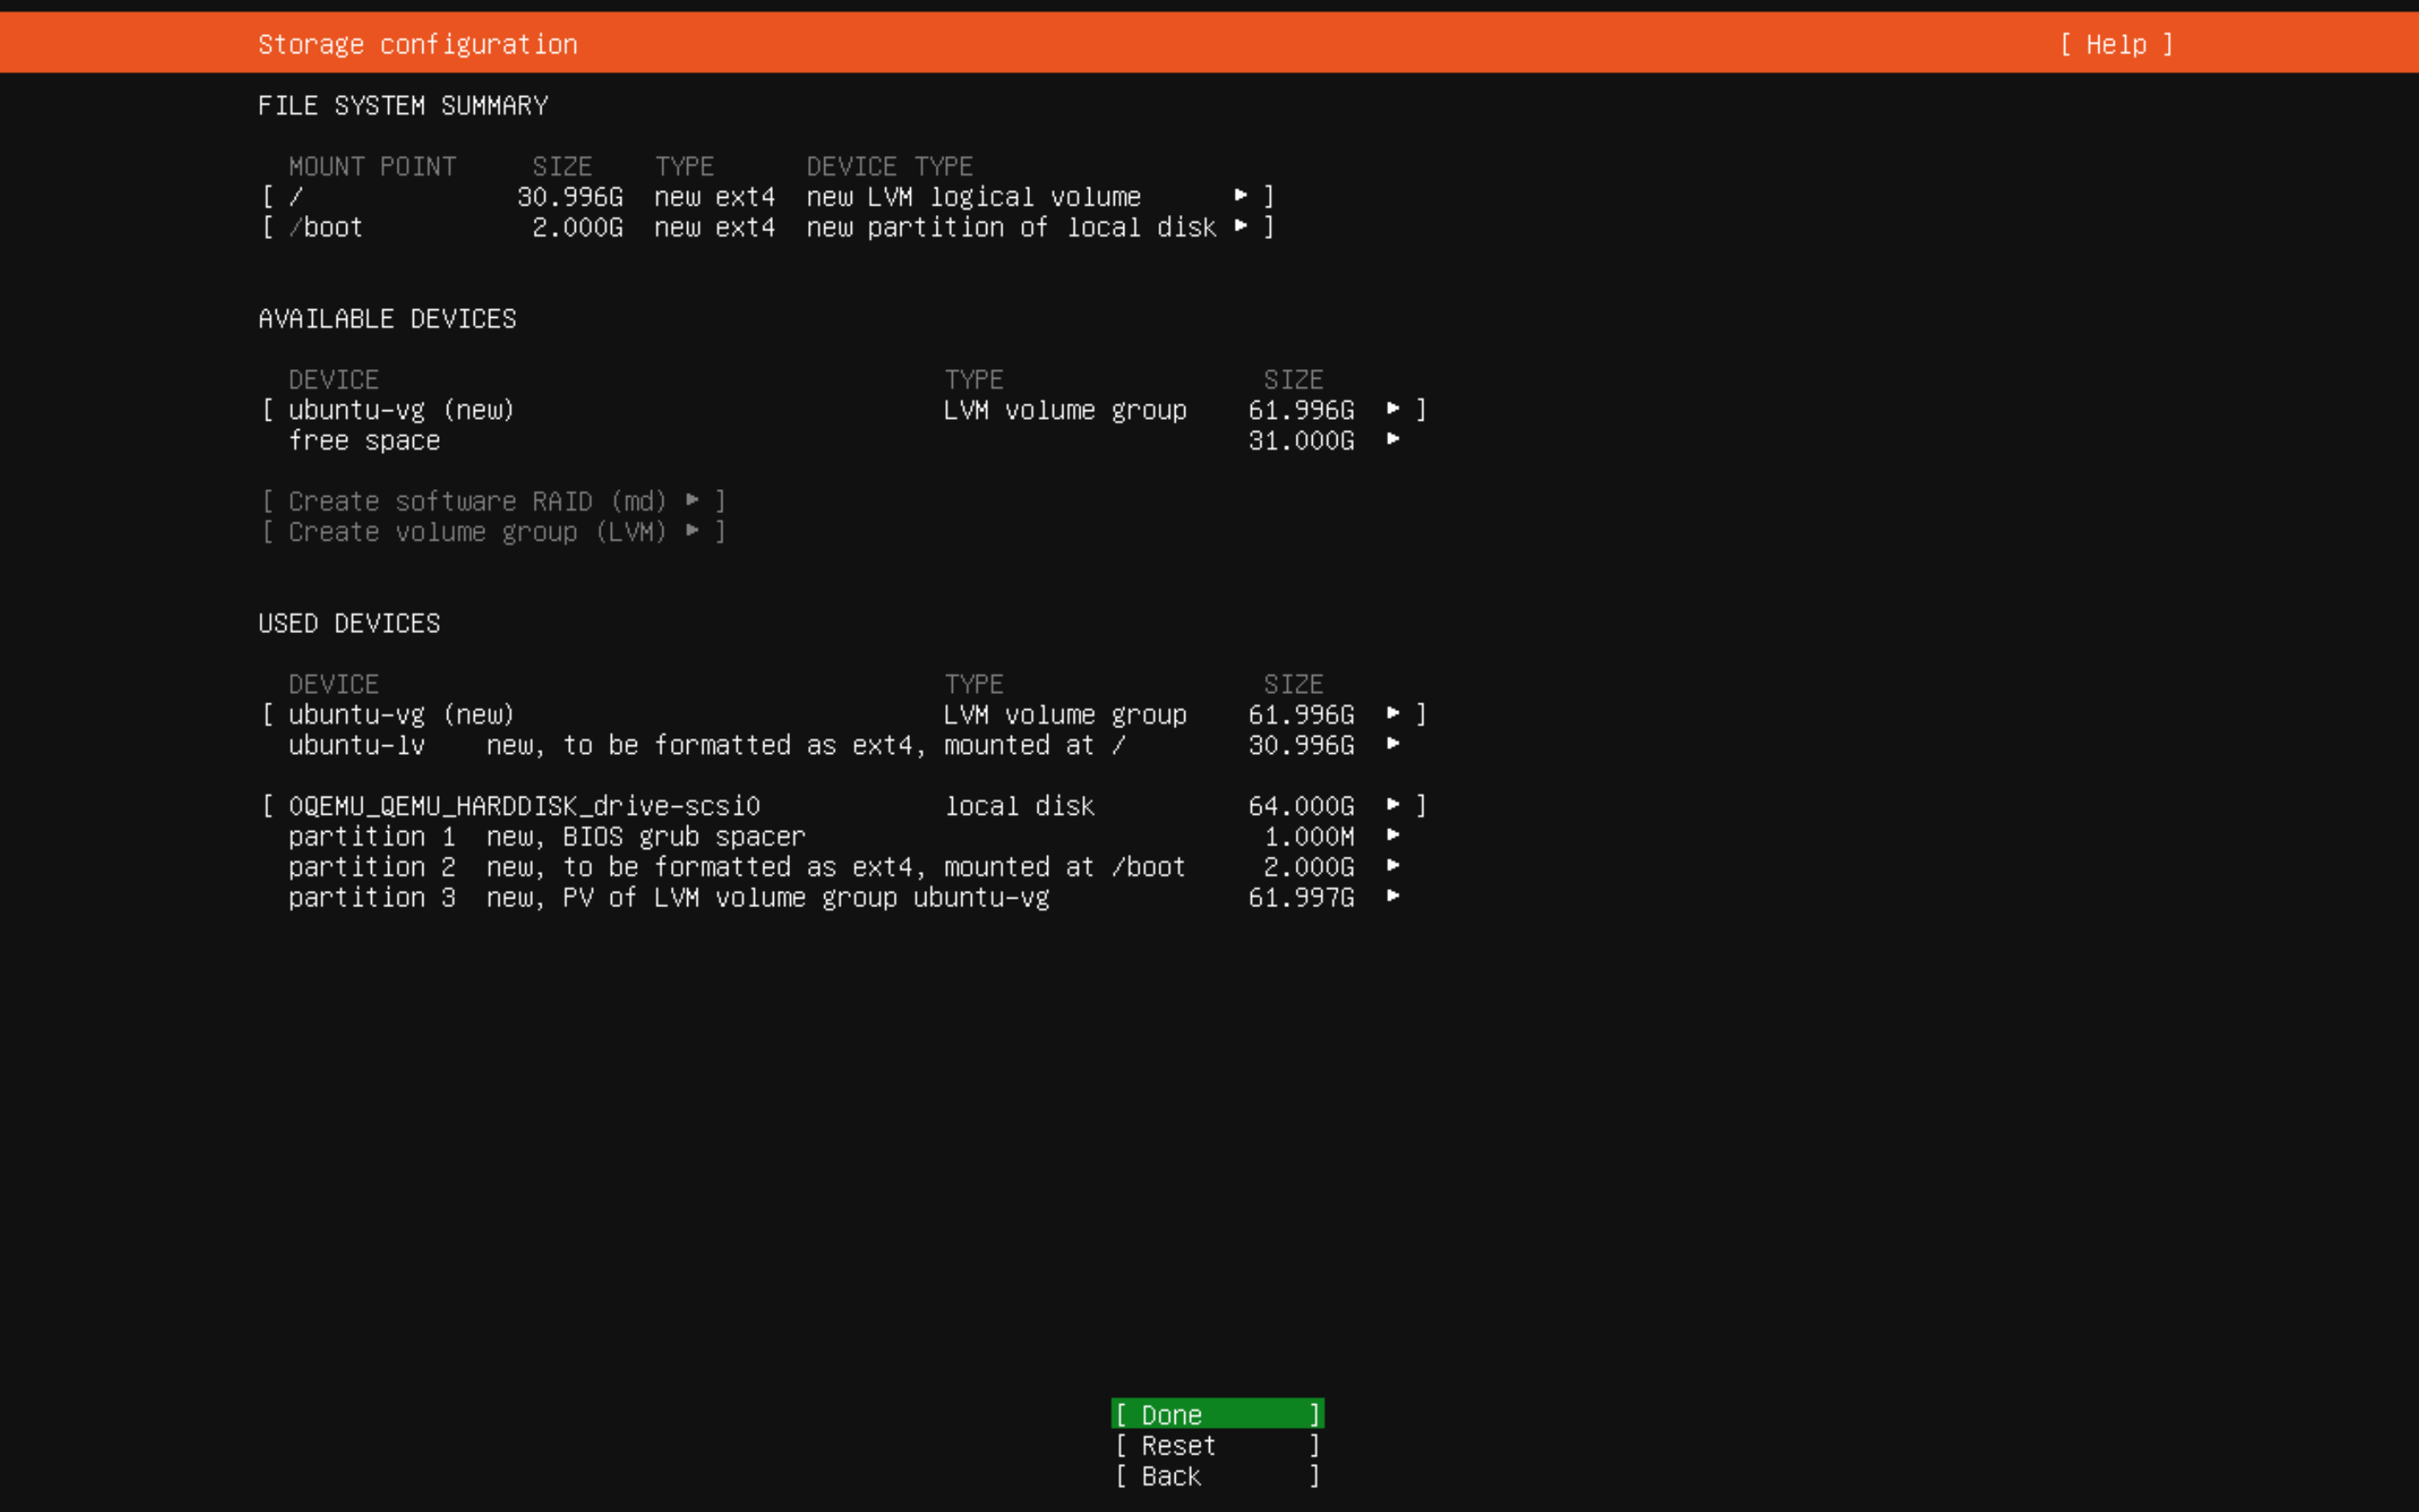
Turning on the server & going into Boot Manager by holding F11 & booting from the flash drive, I was then greeted with the ventoy screen & selected Proxmox. I ran through all the set up process, selecting RAID 1 for 4/8 drives available, giving it an IP of 192.168.20.121 (this would also be changed to match with the management VLAN) as well as the router's gateway & after everything - BAM - we have promox running! I was able to login with the root credentials then could create a new user & login with that!
OPNSense & Cisco Switch
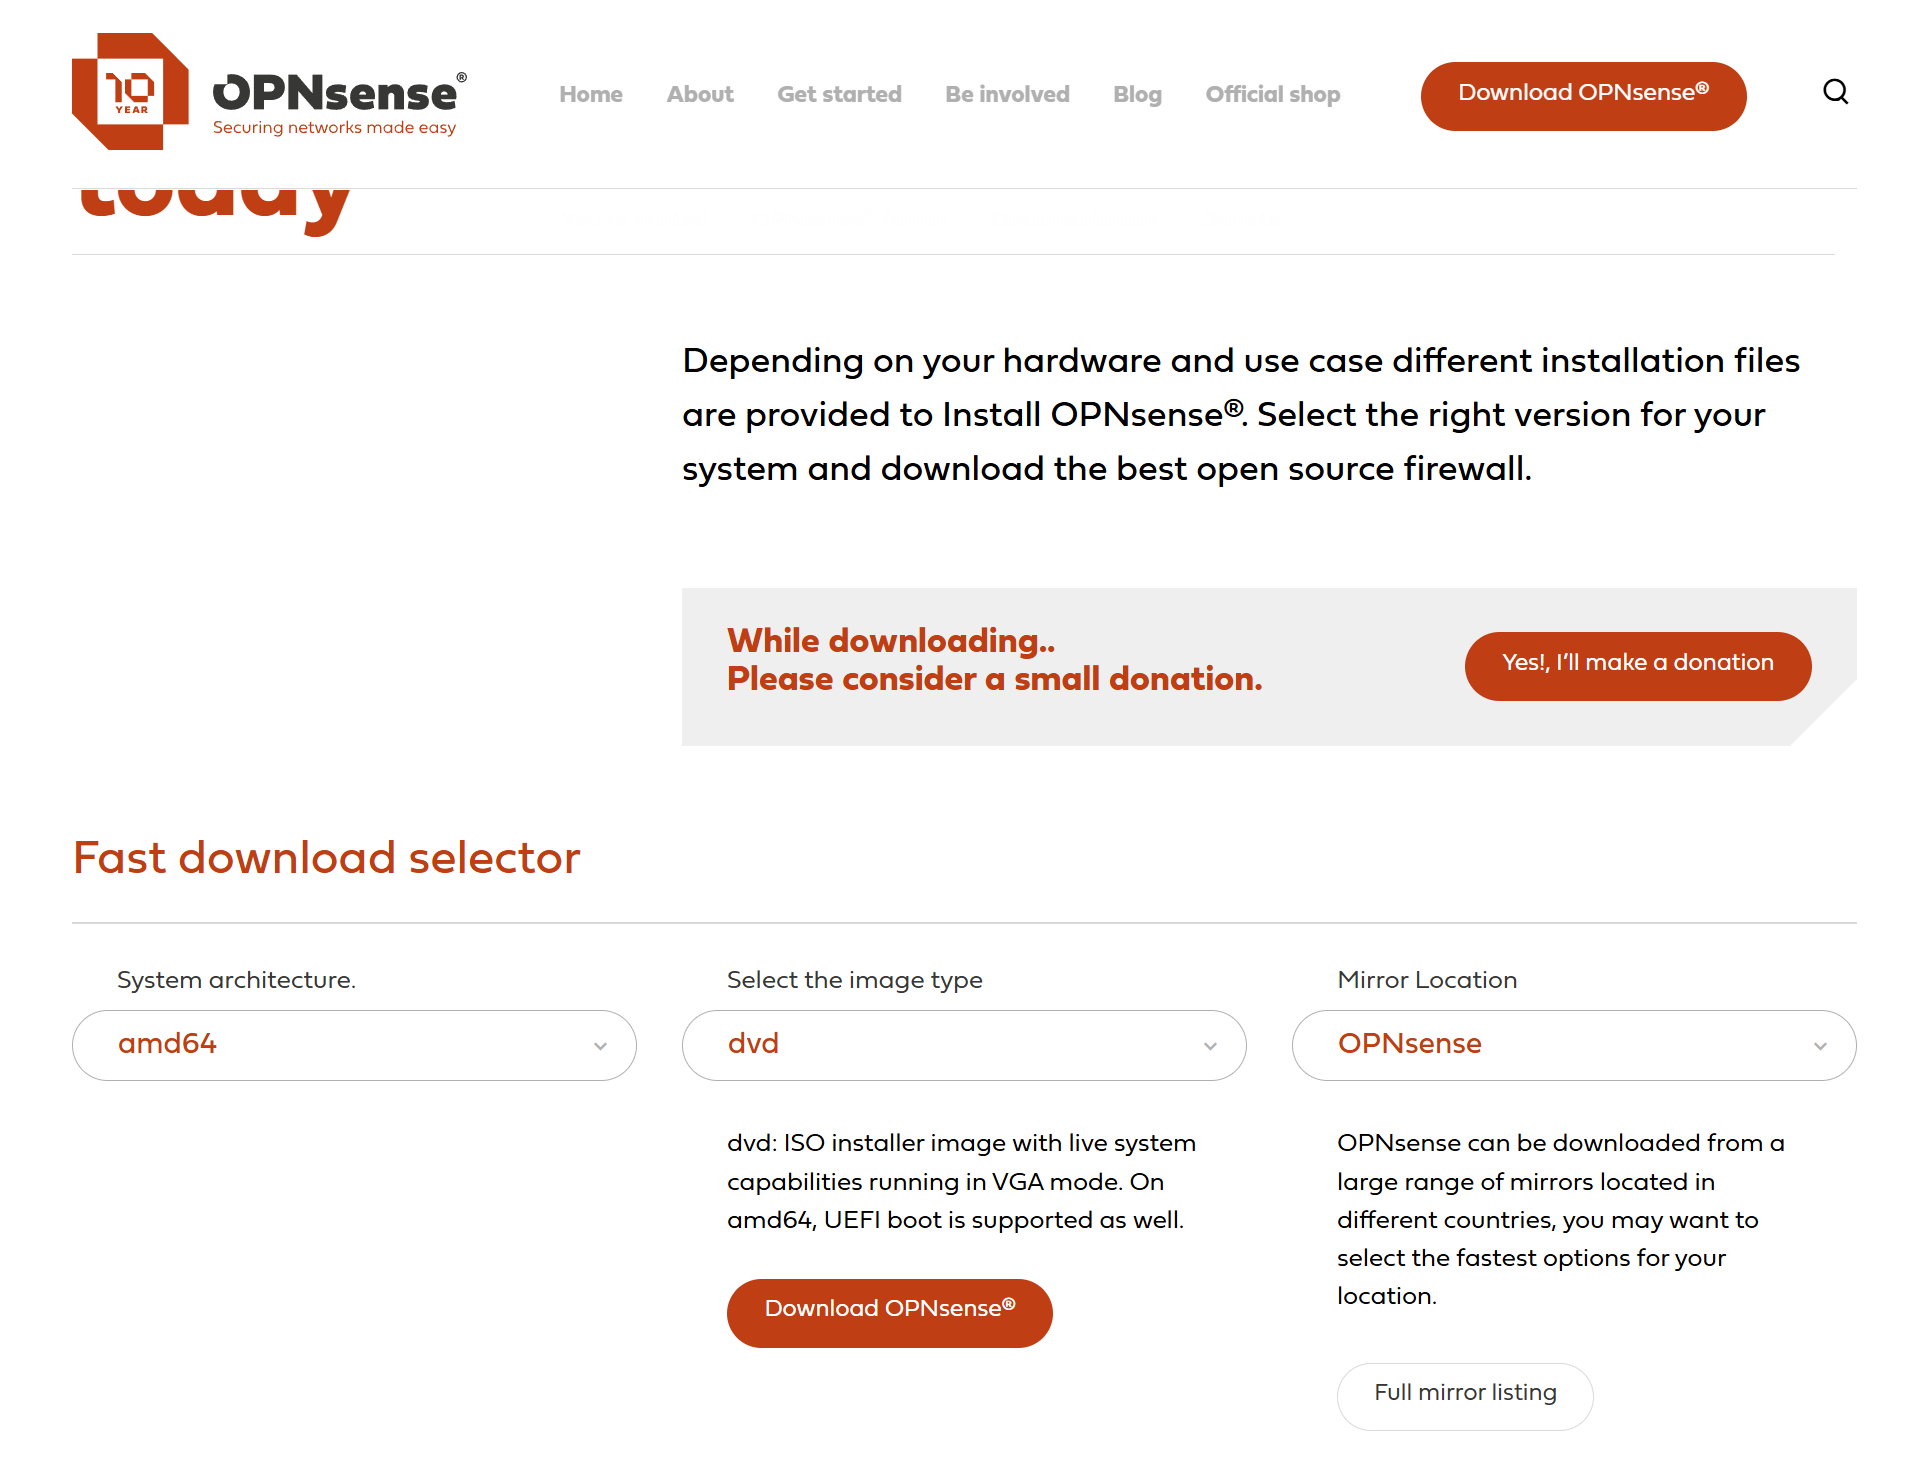
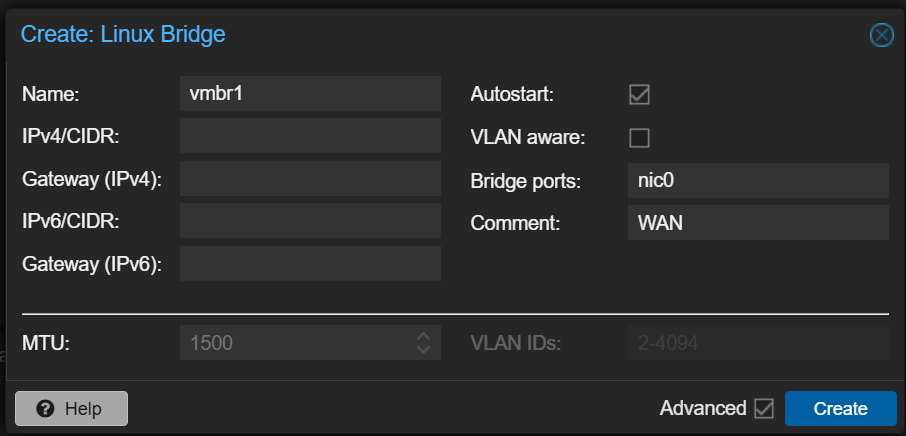
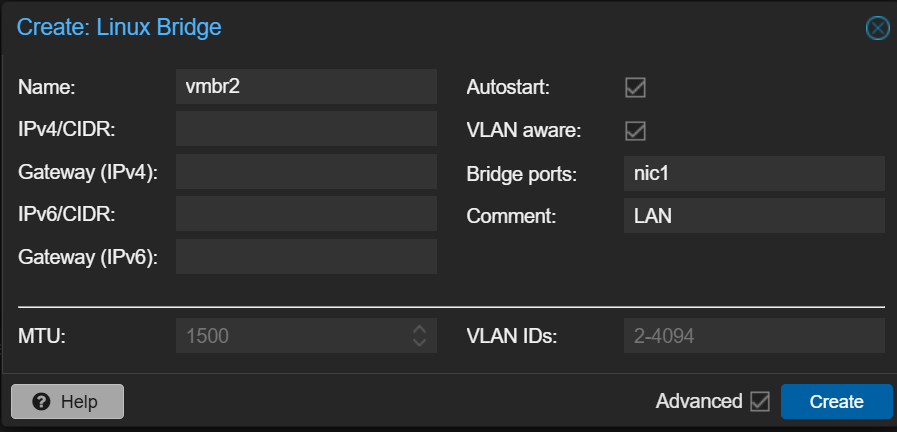
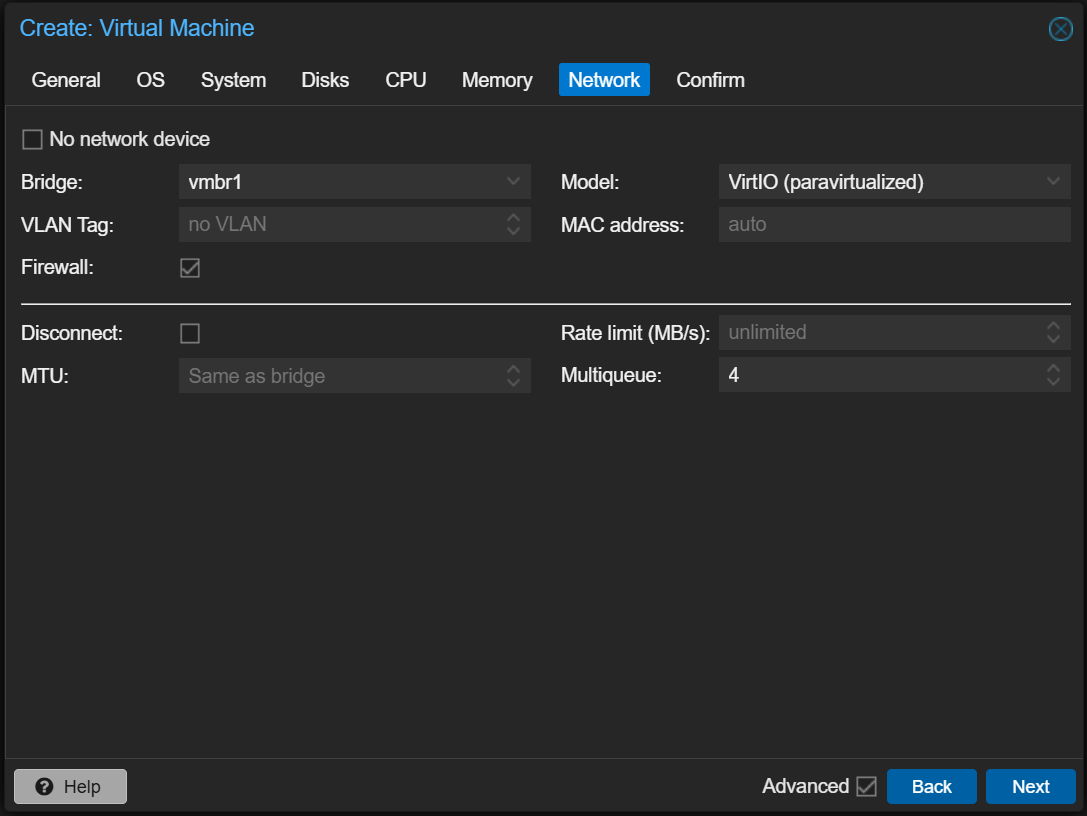
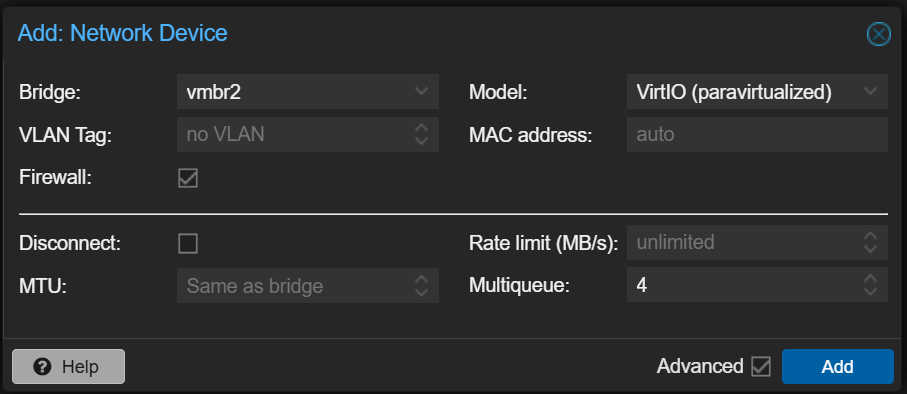
Promox was only the very beginning for this, the next step was create an OPNSense VM... I downloaded the OPNSense ISO file on my computer then uploaded it to Proxmox. I then created the 2 ports for the WAN & LAN connection by creating two VMBR bridges.
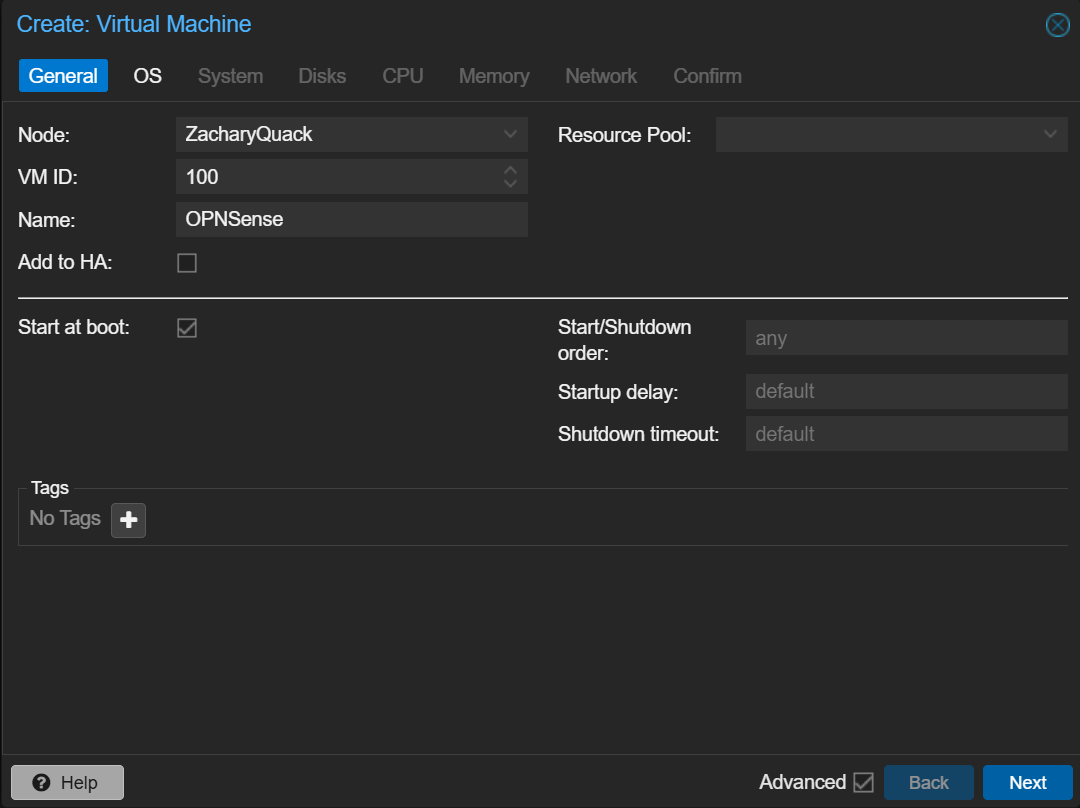
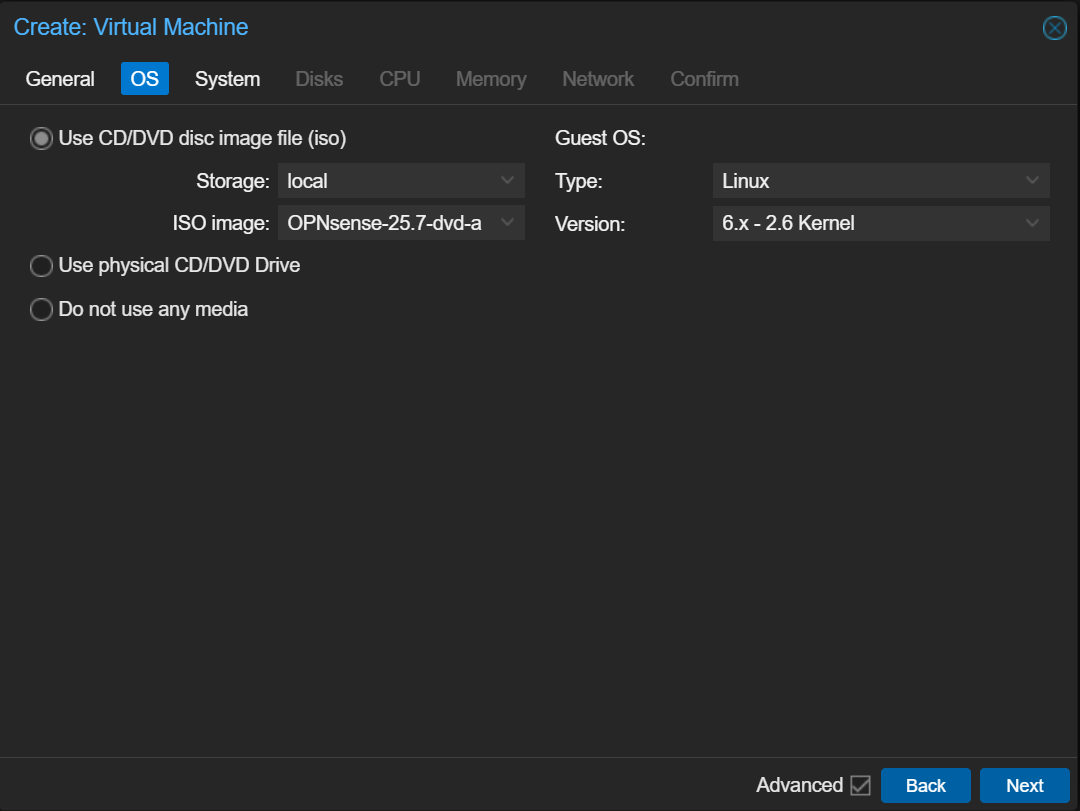
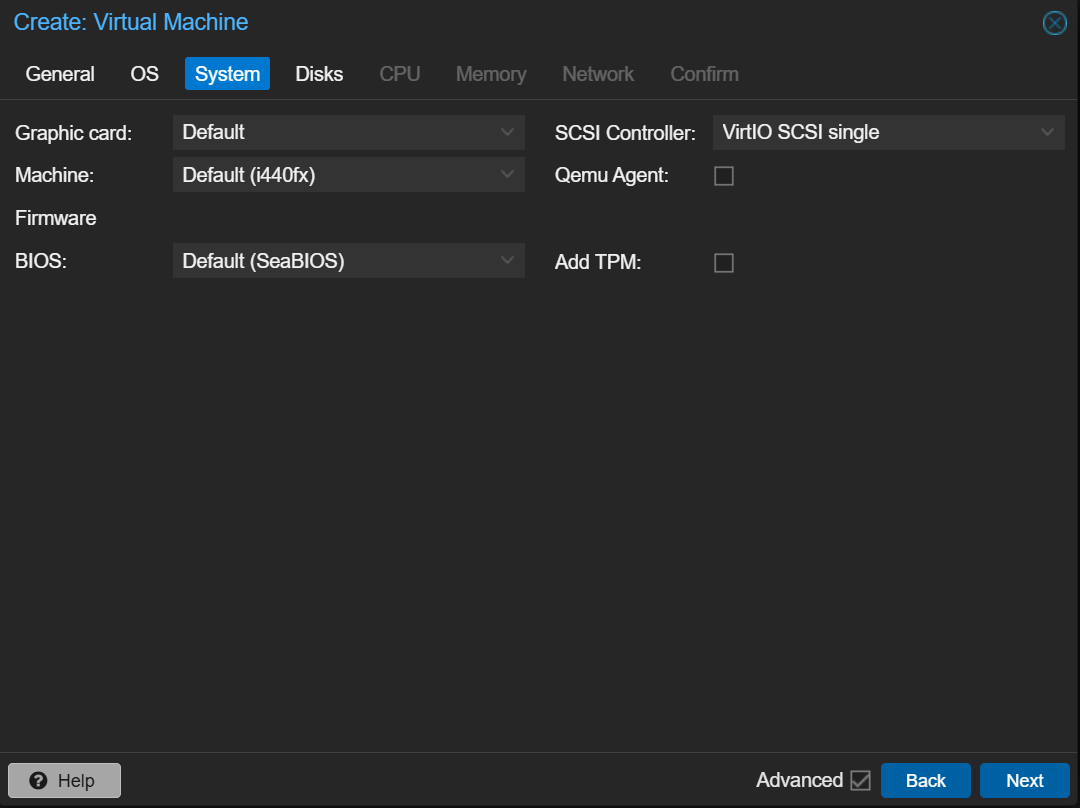
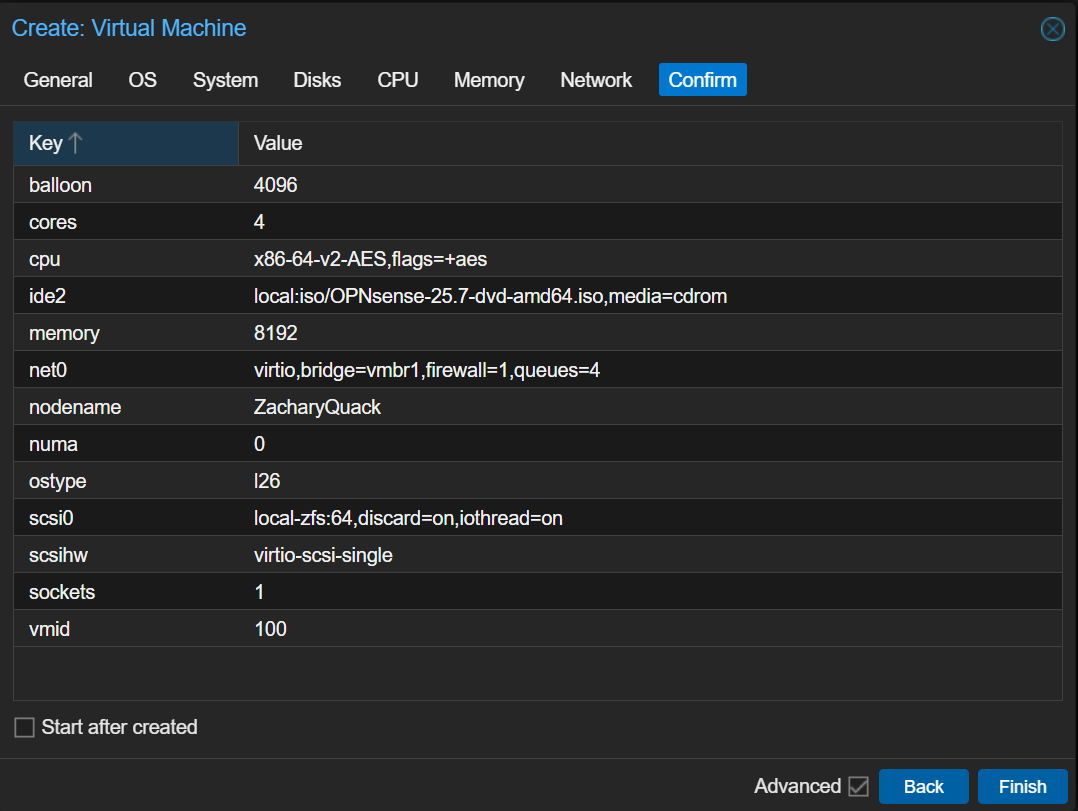
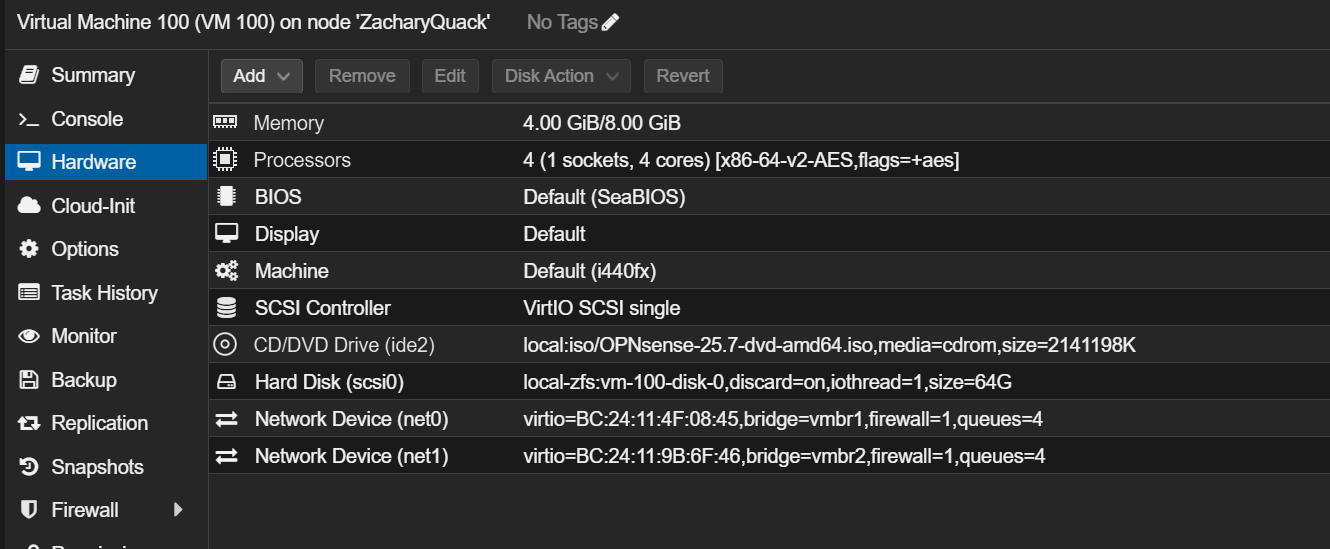
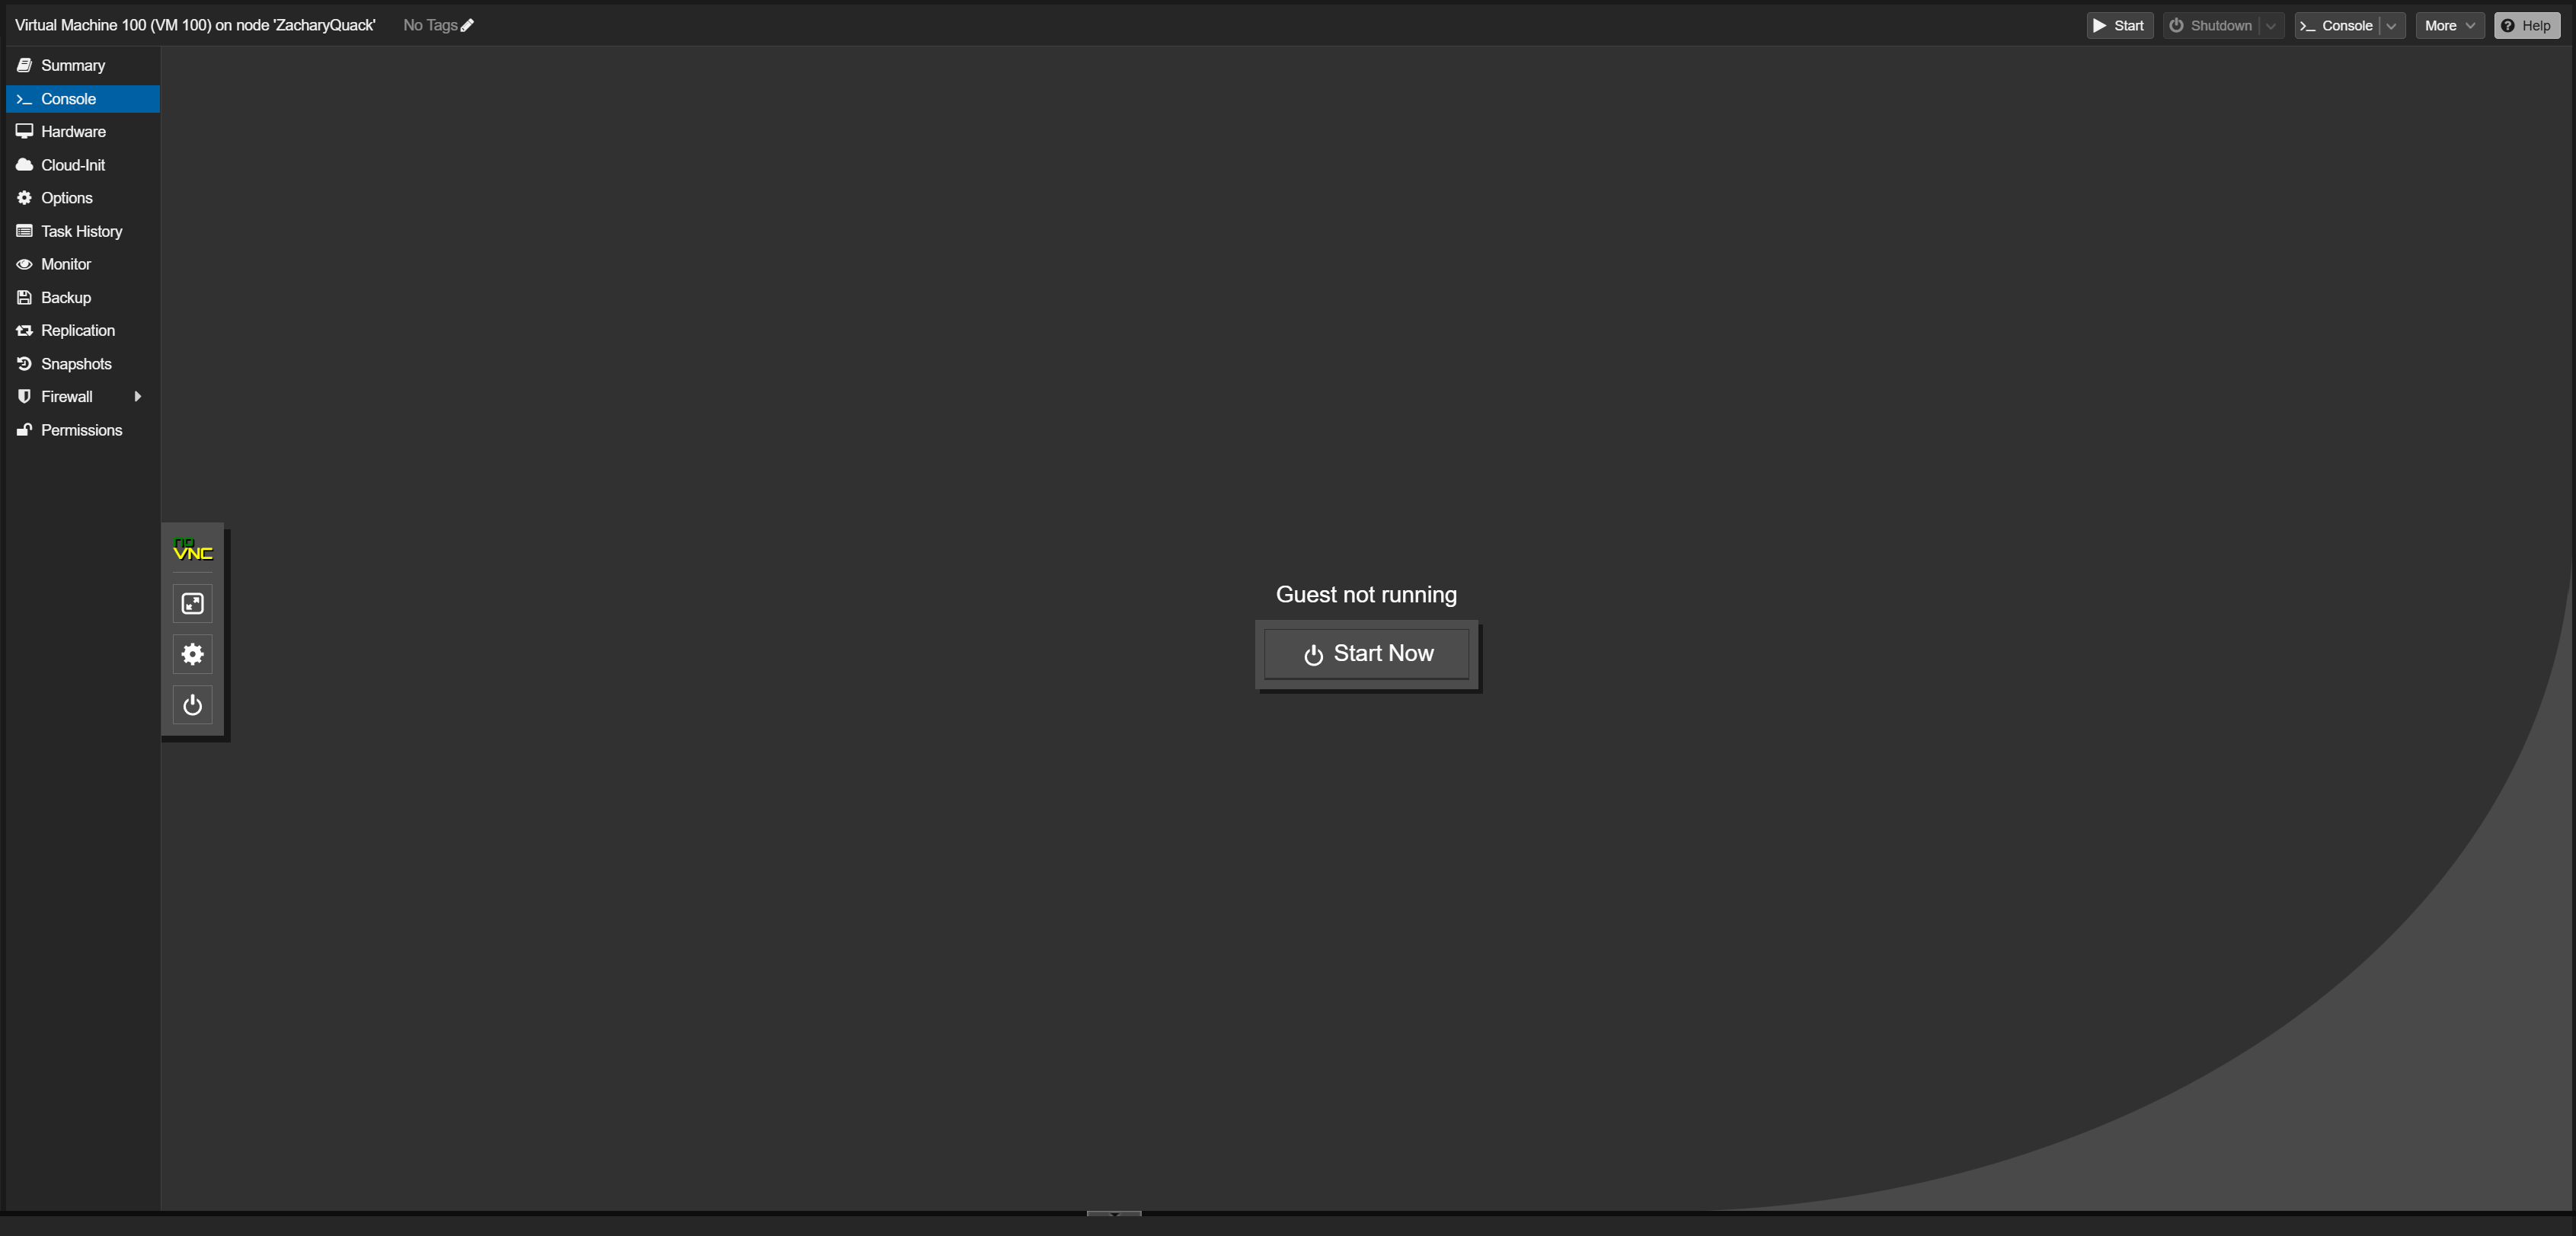
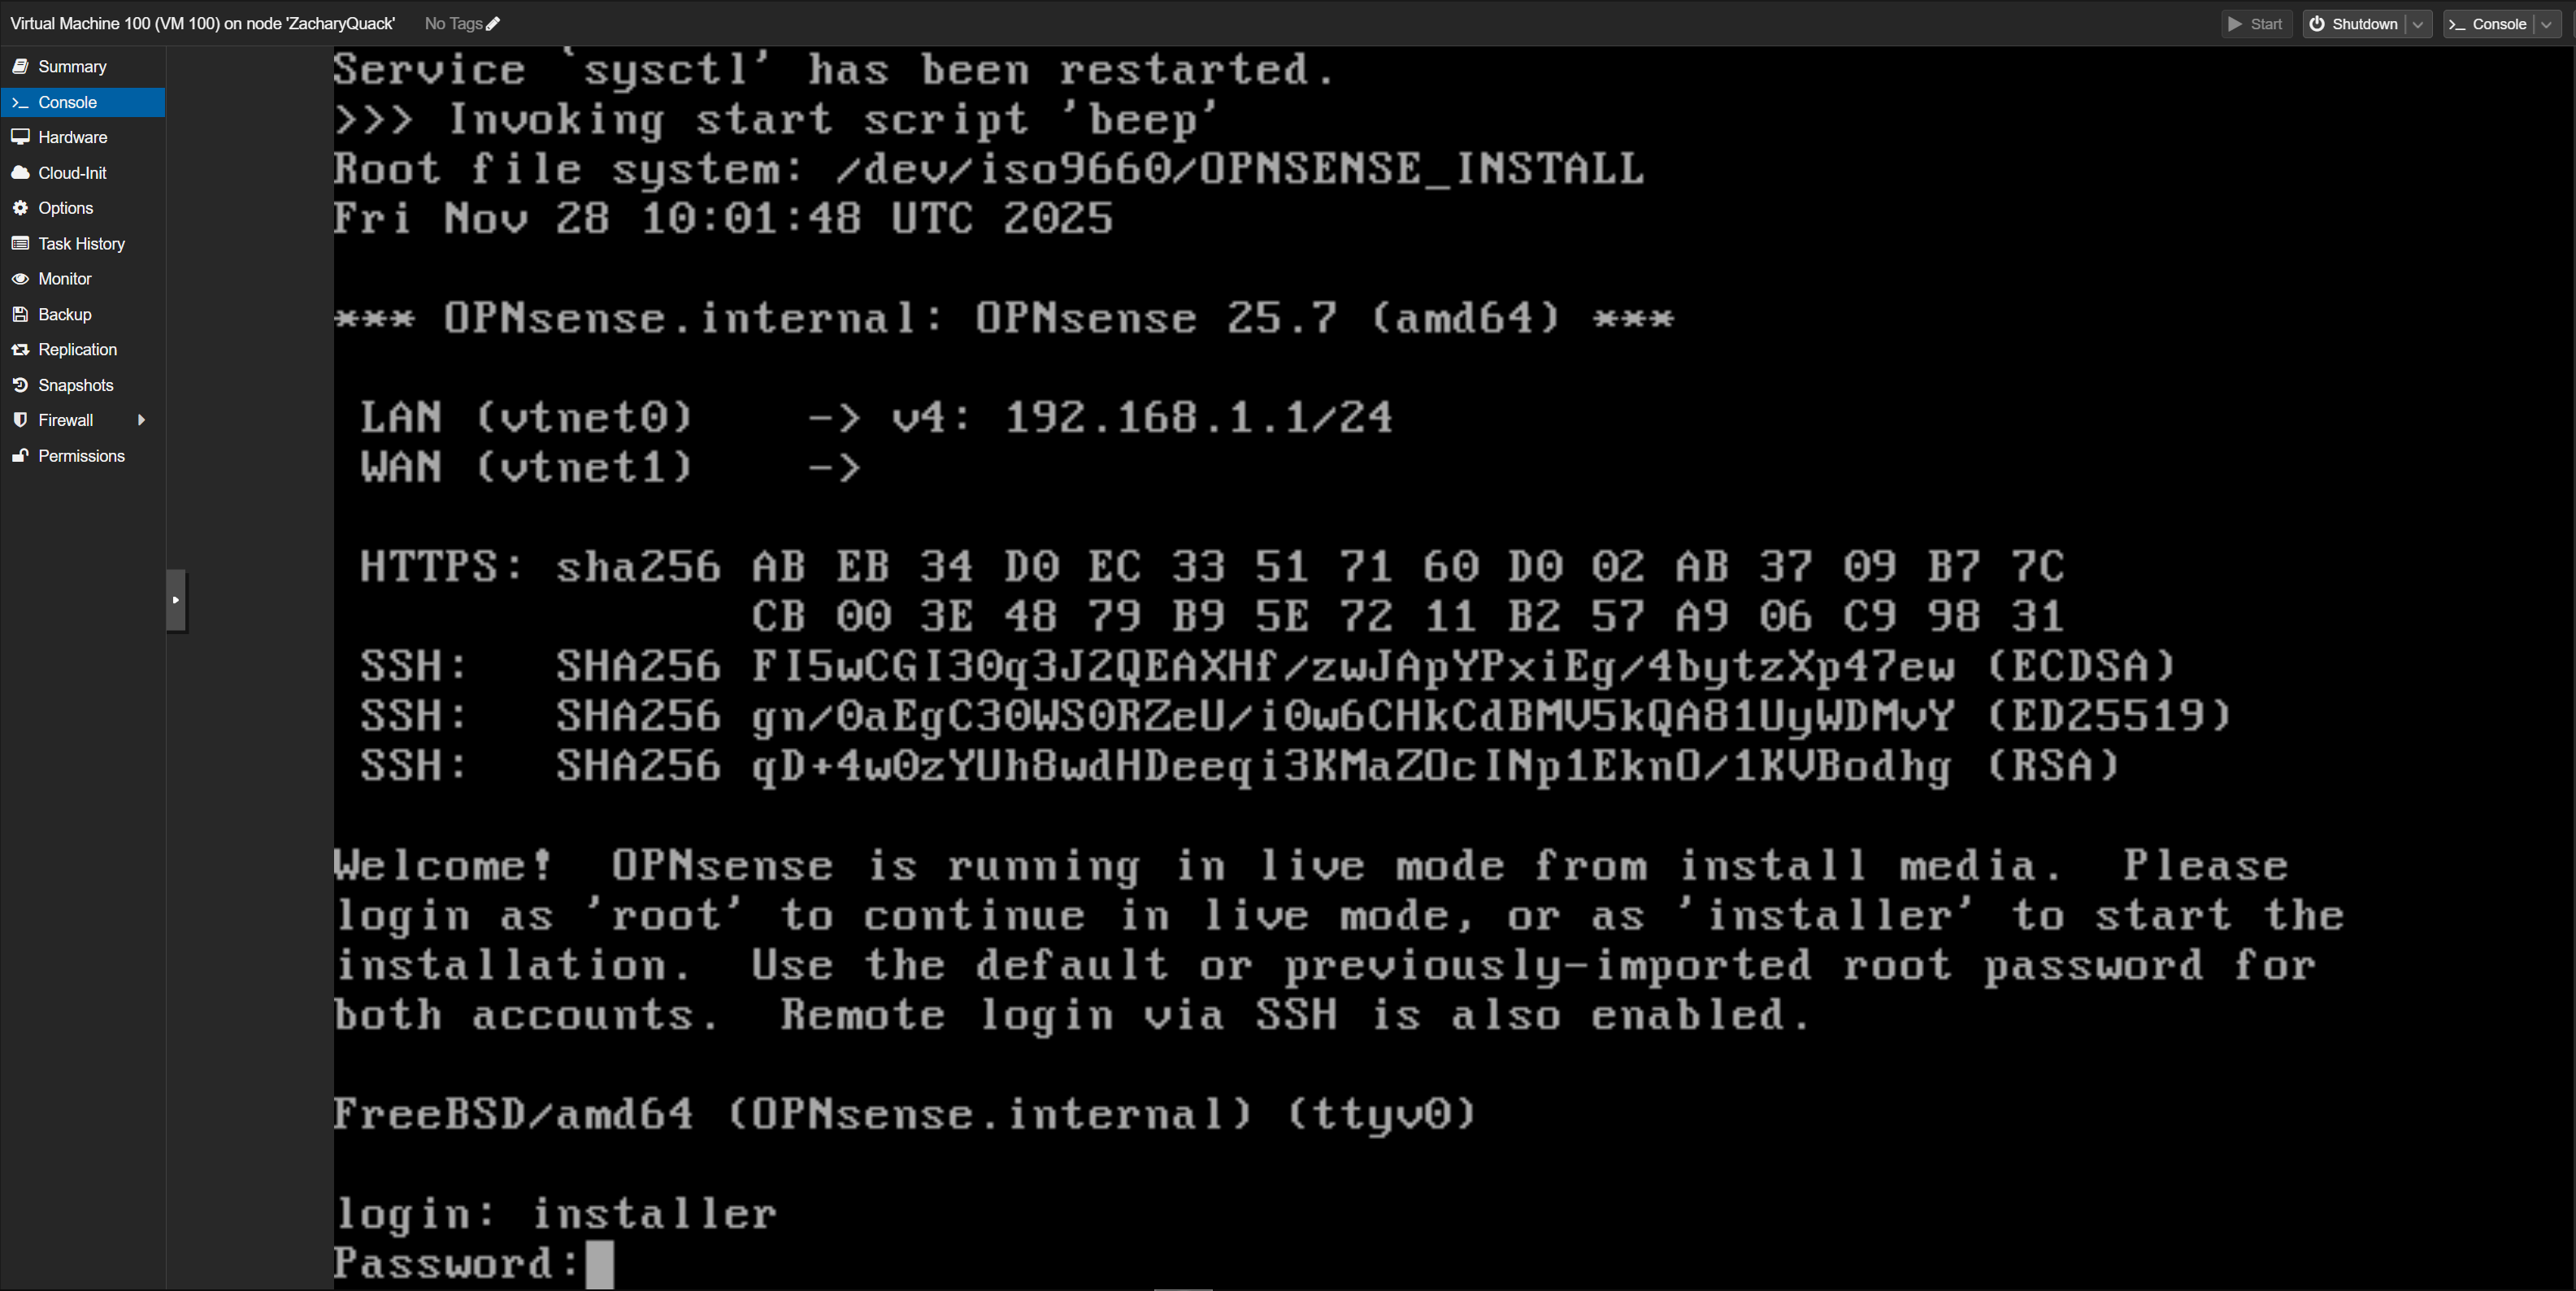

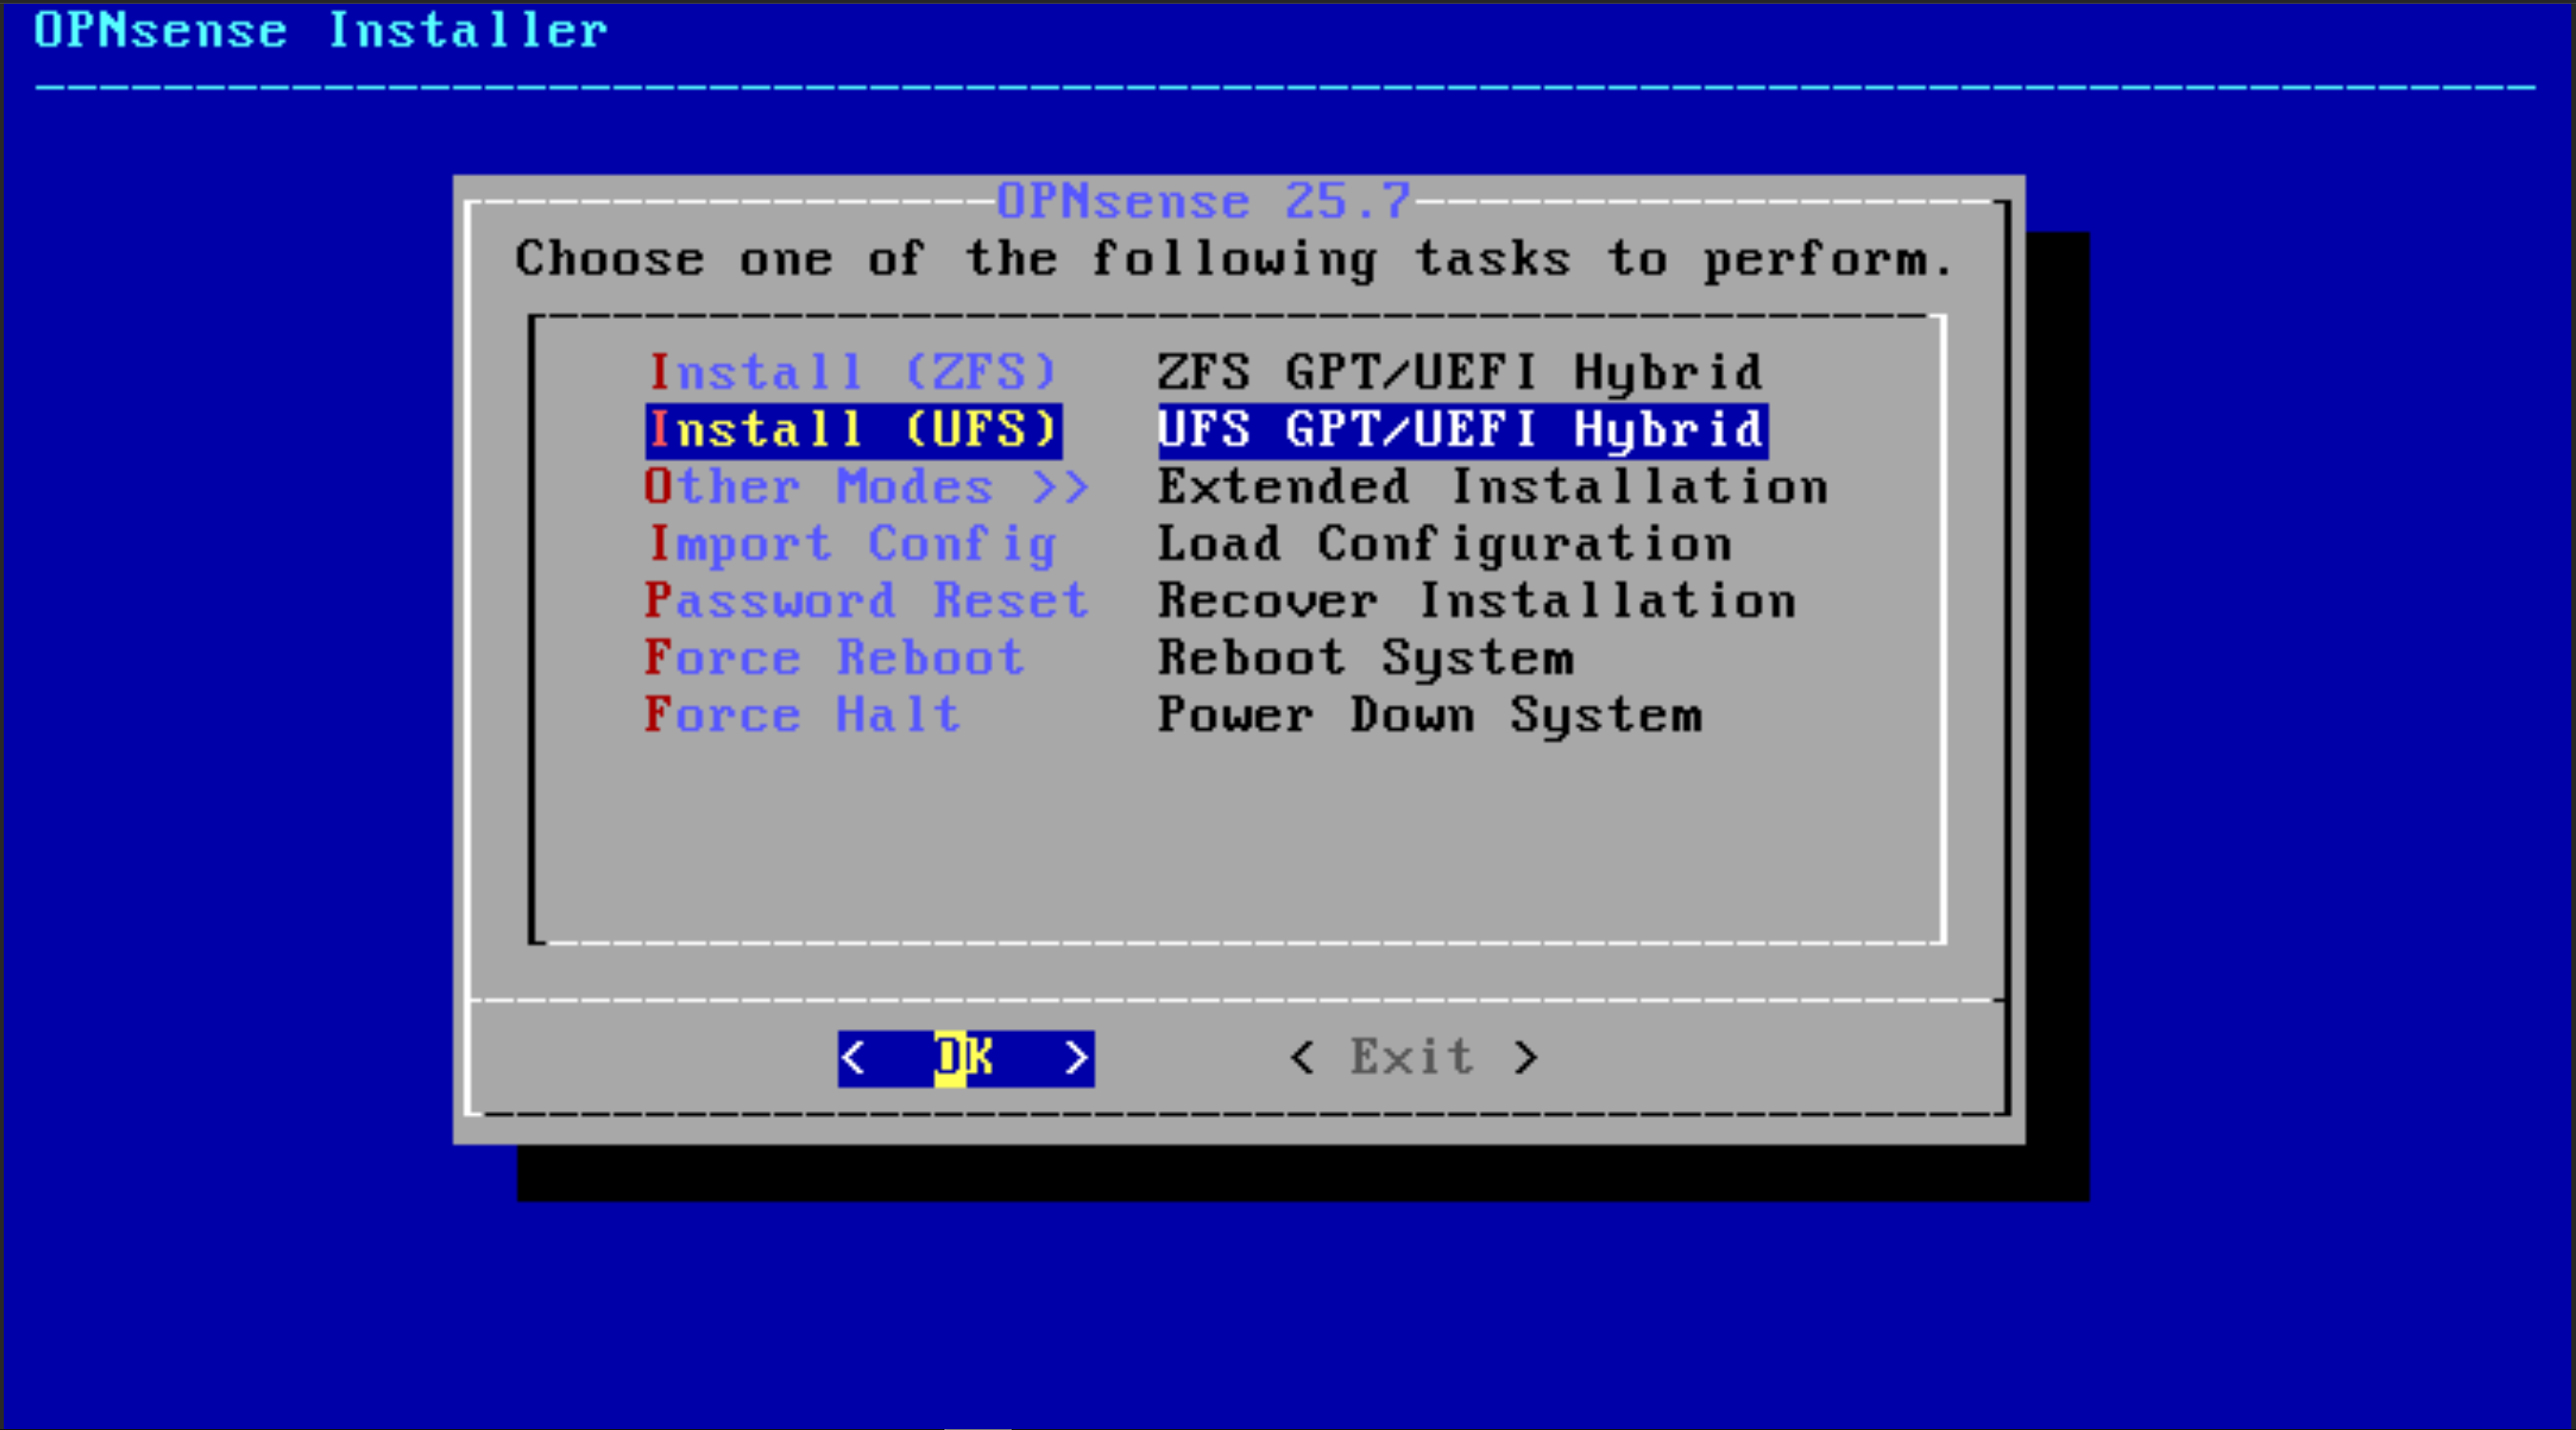
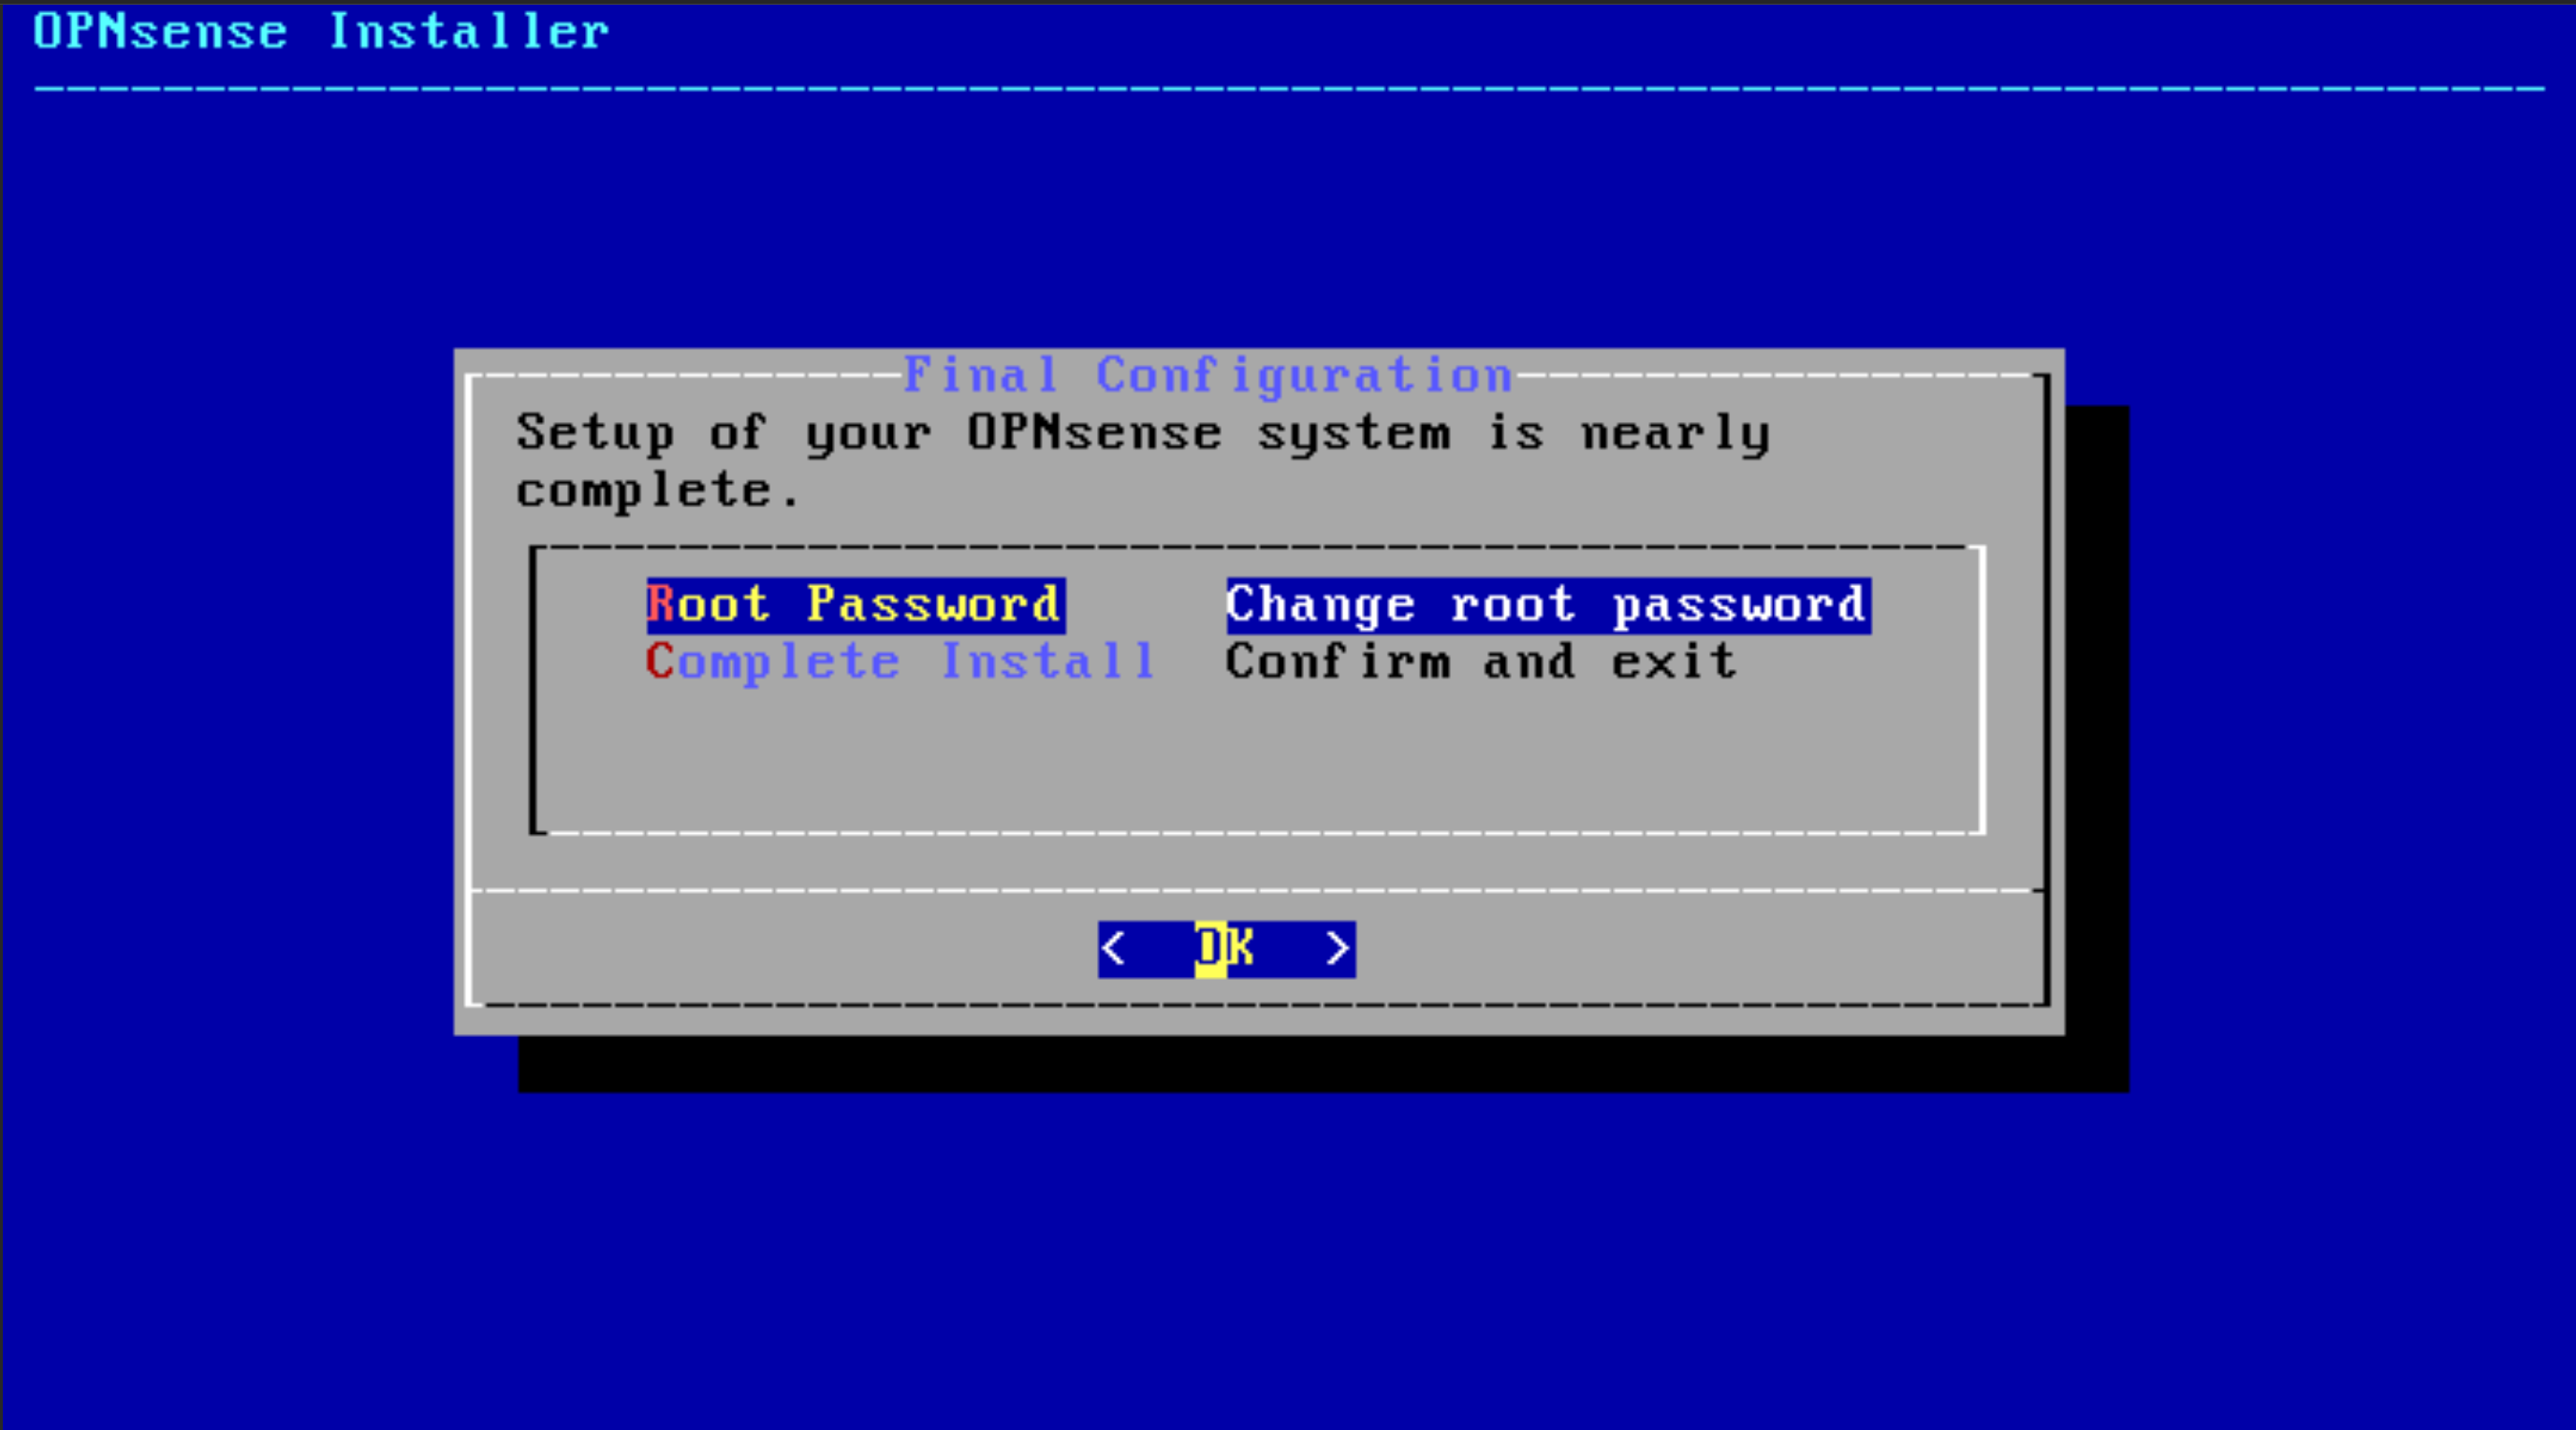
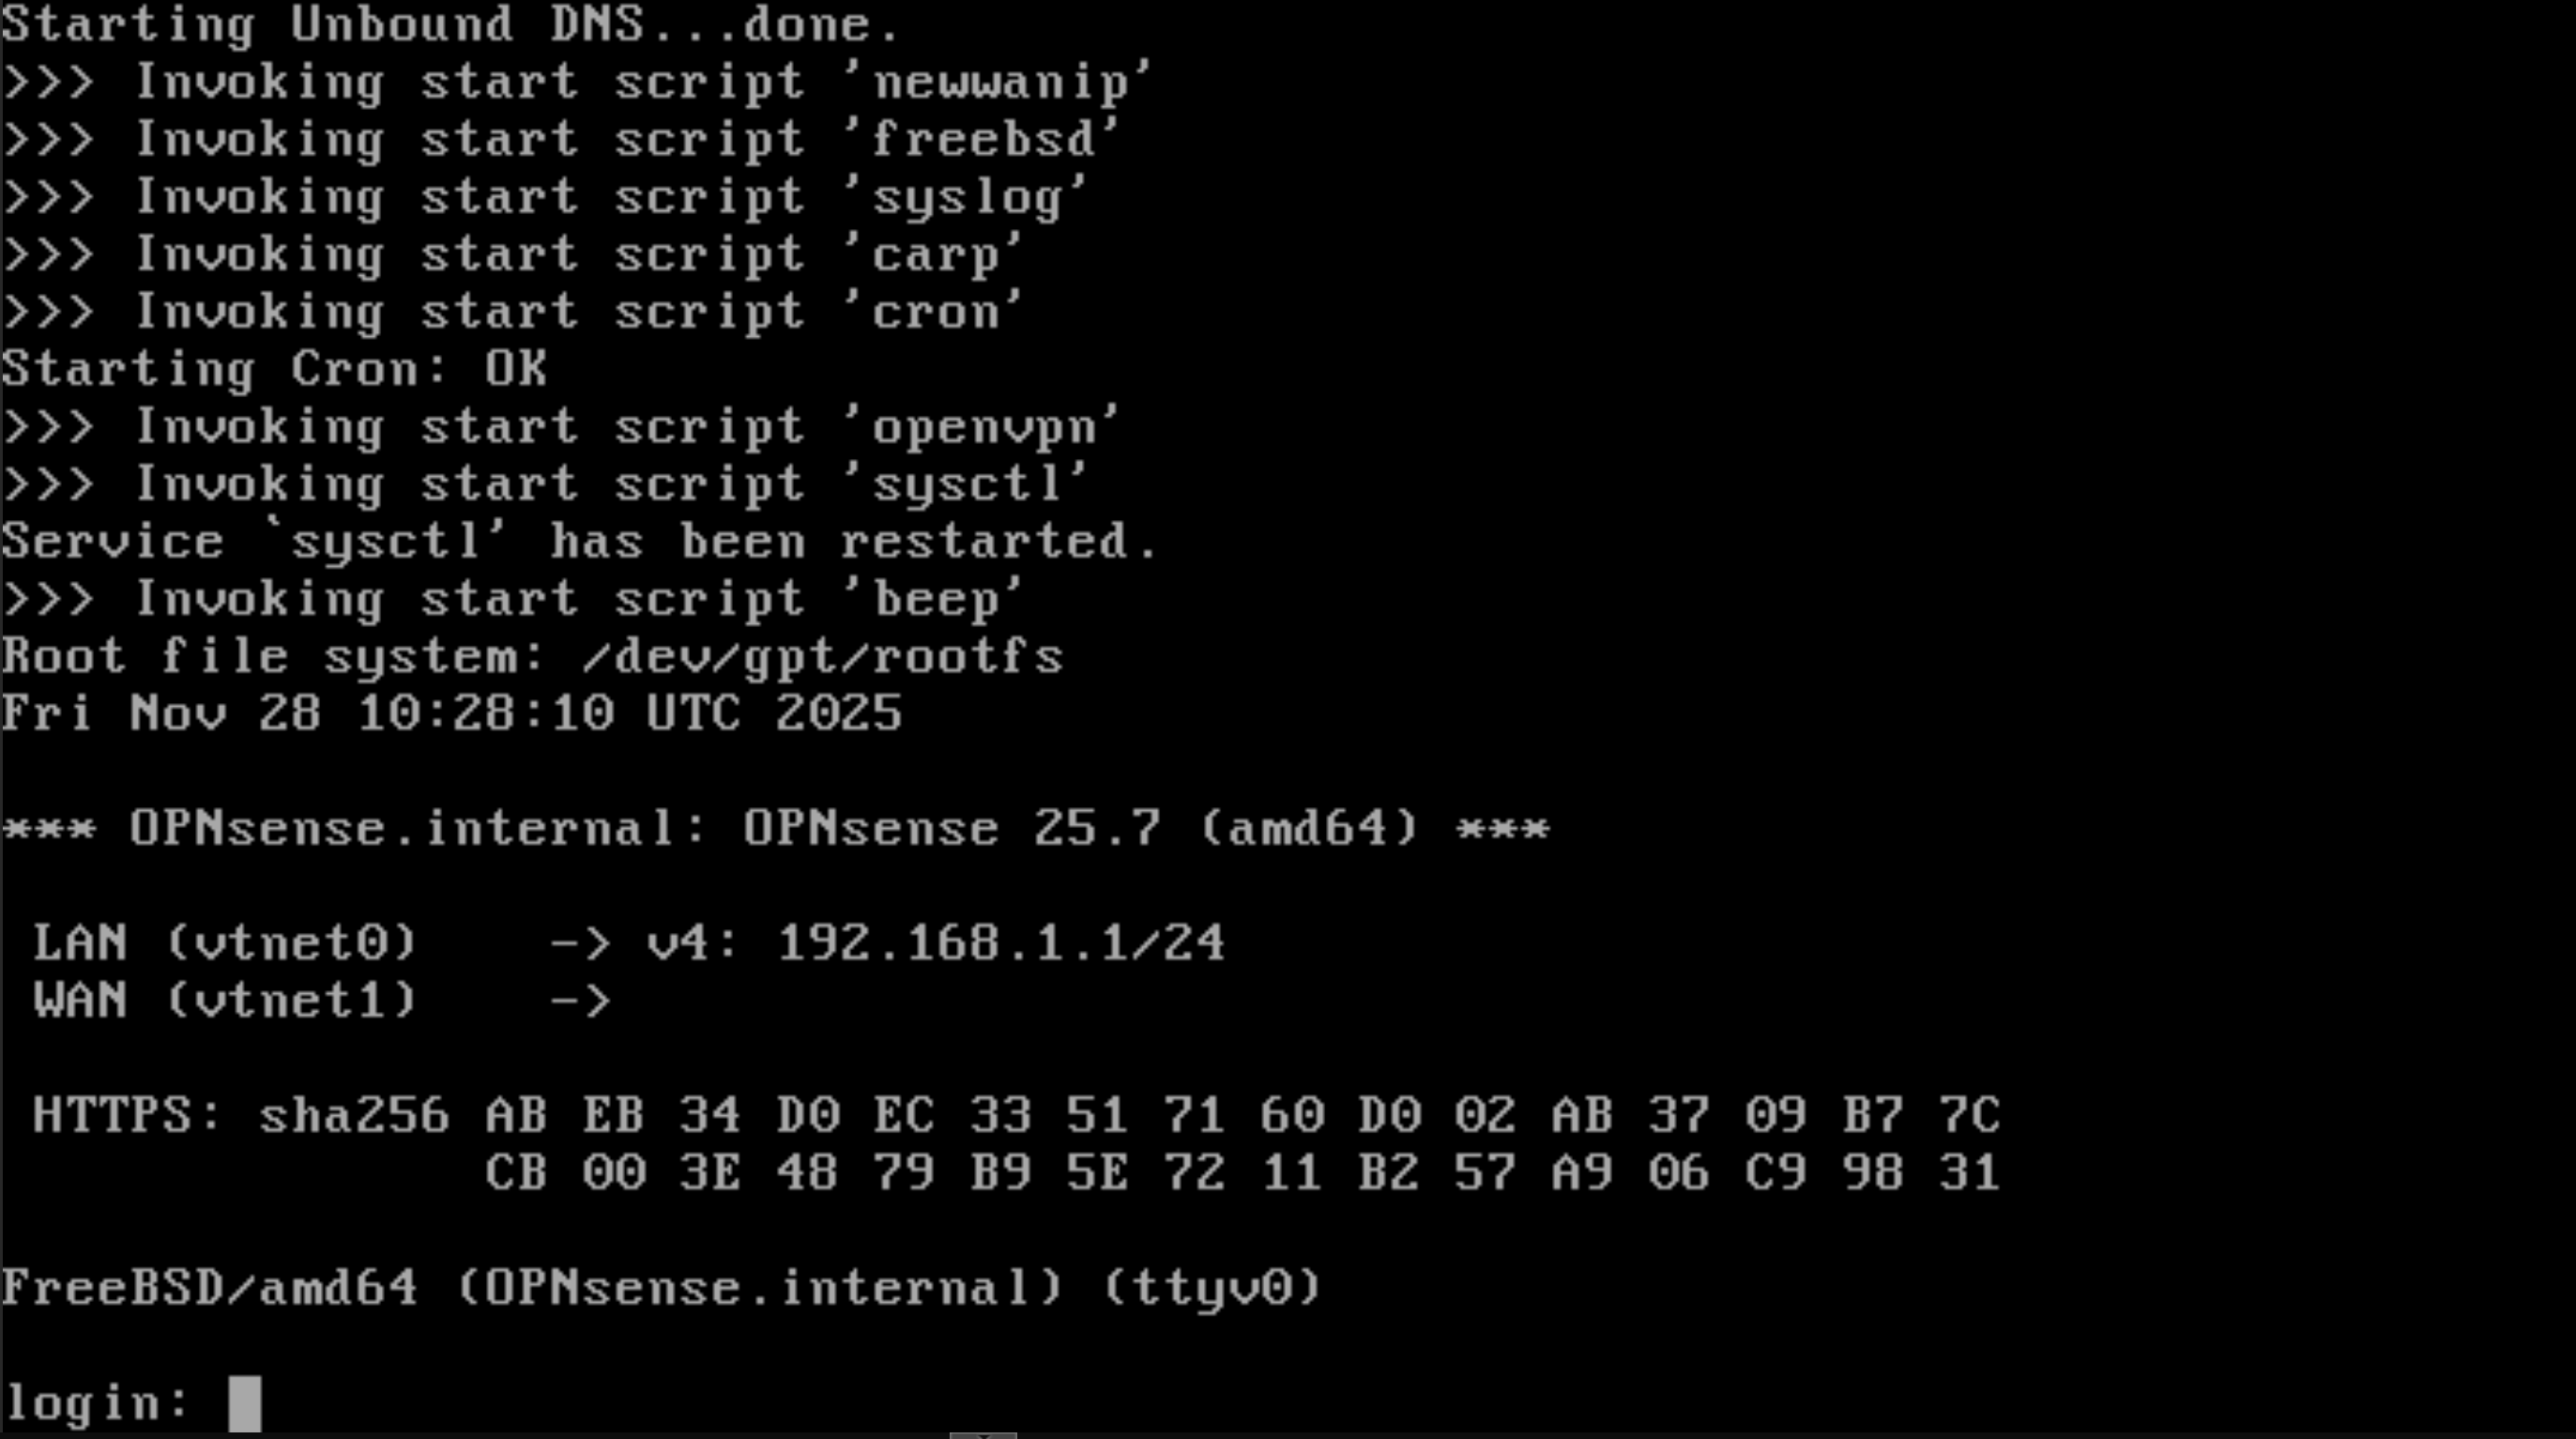
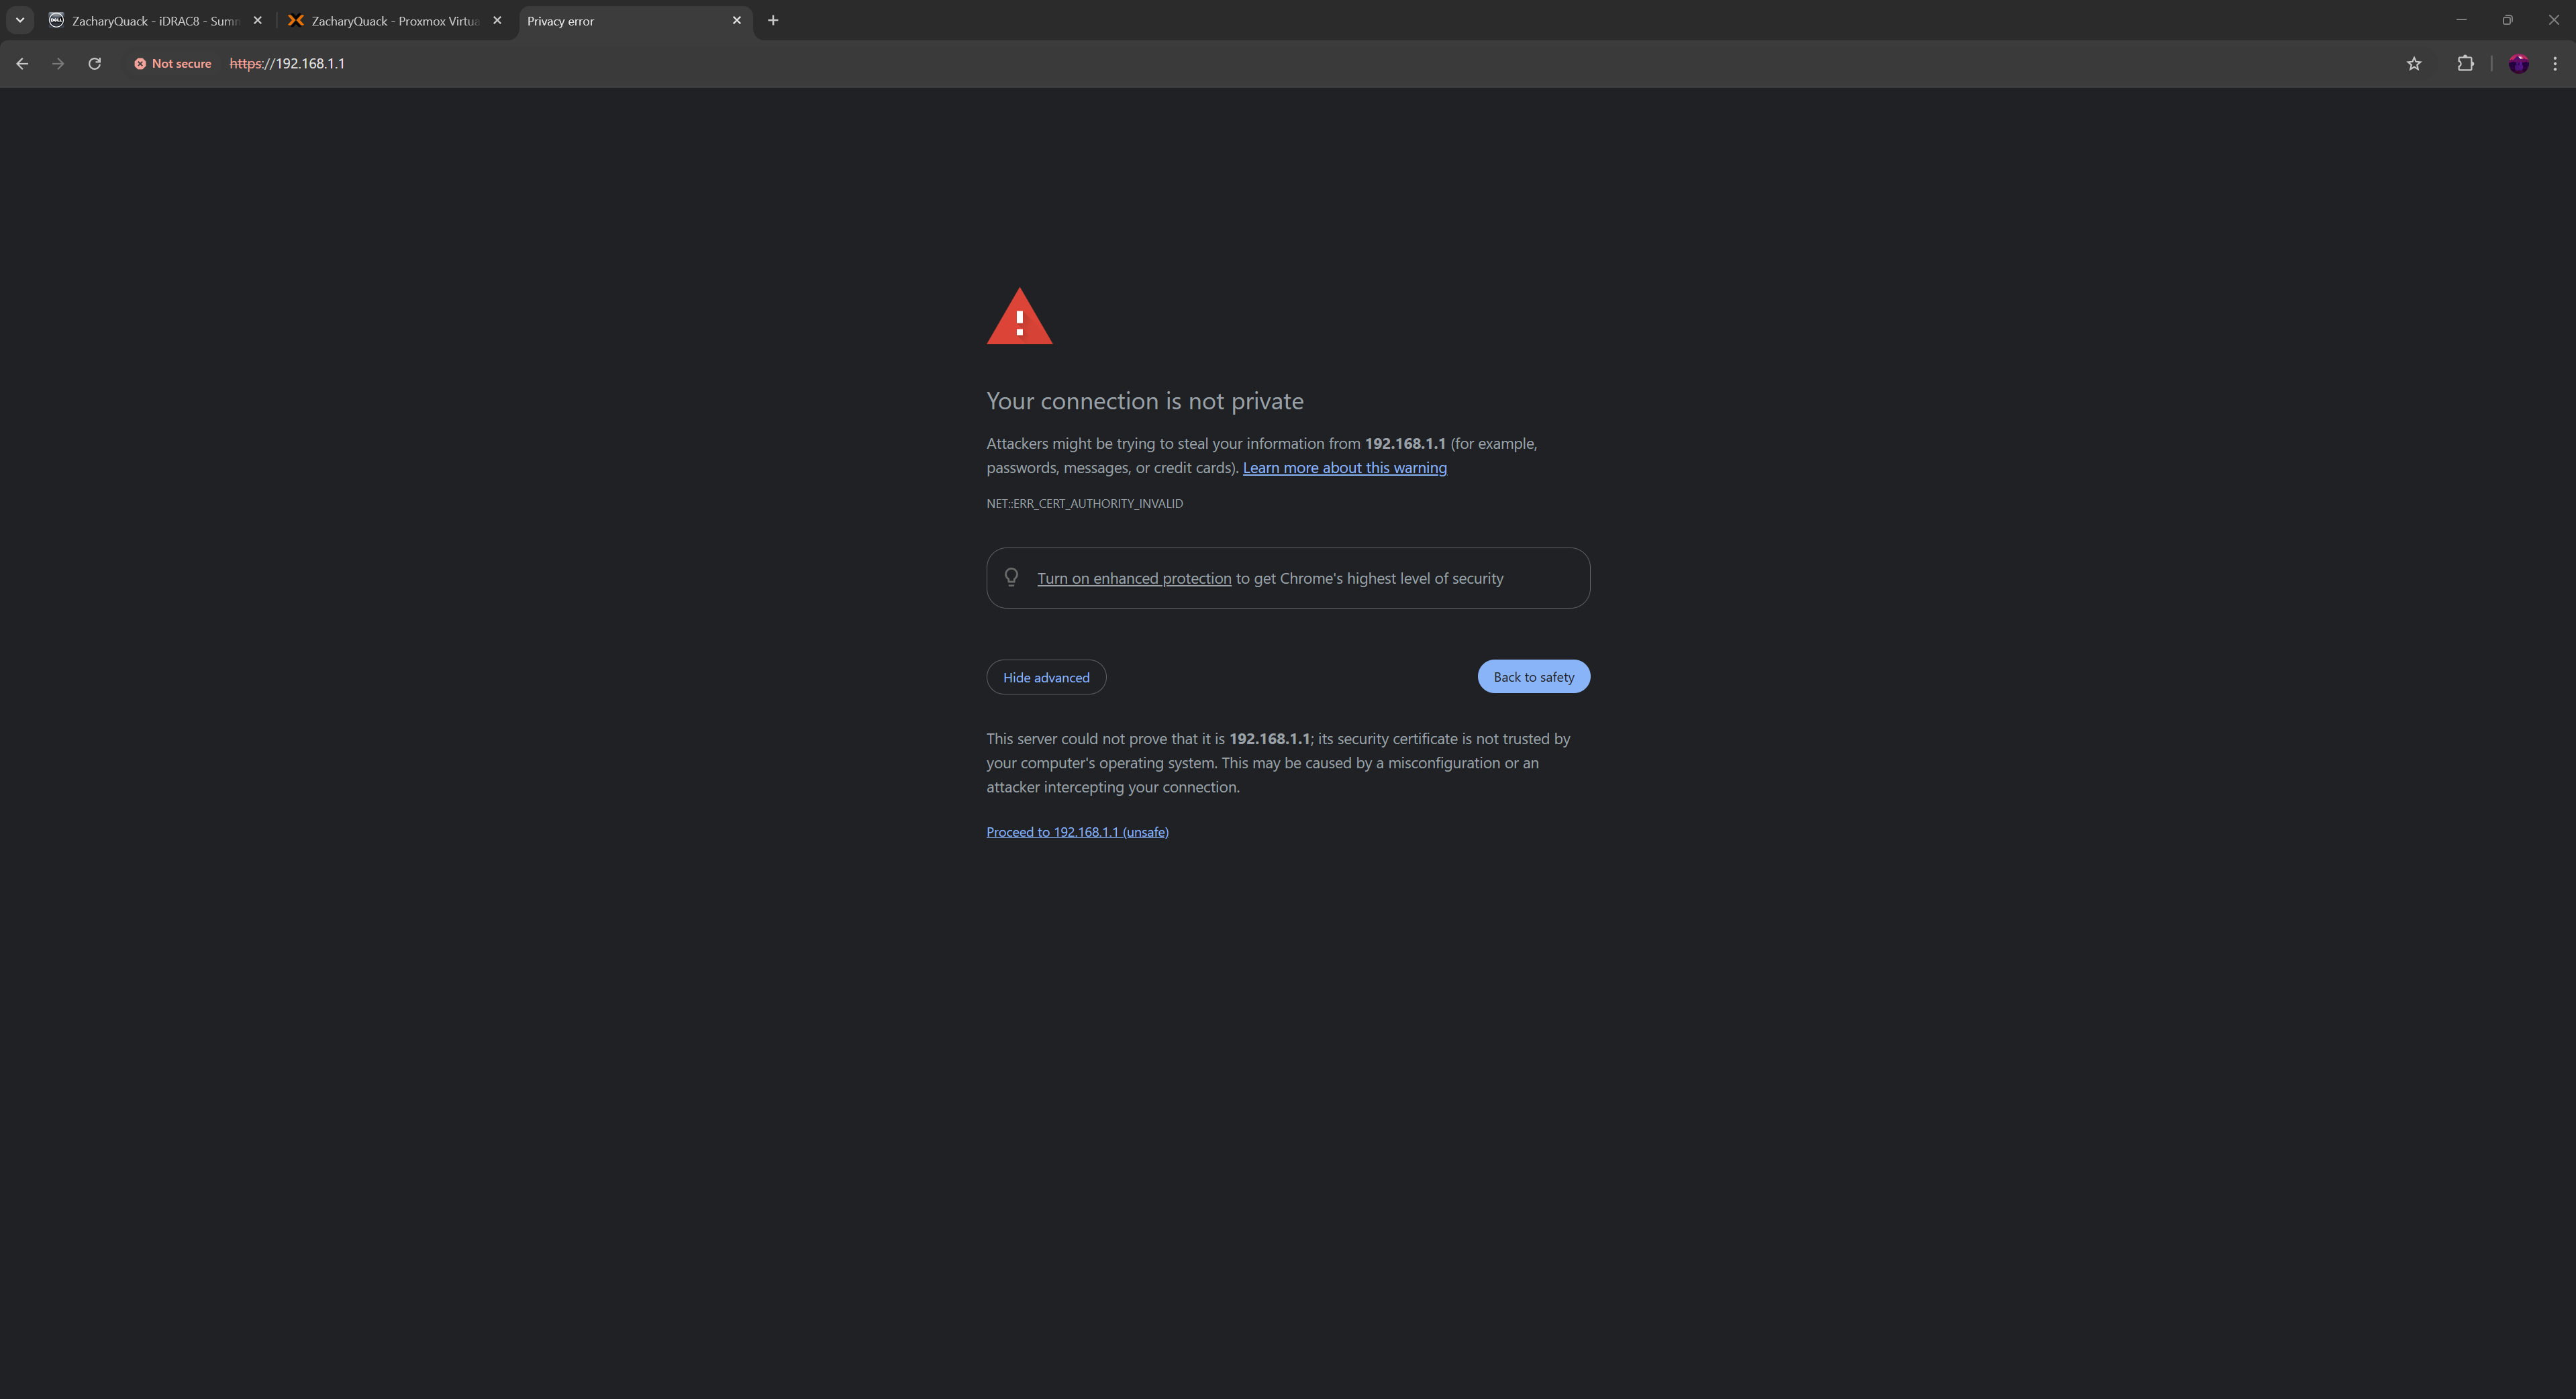
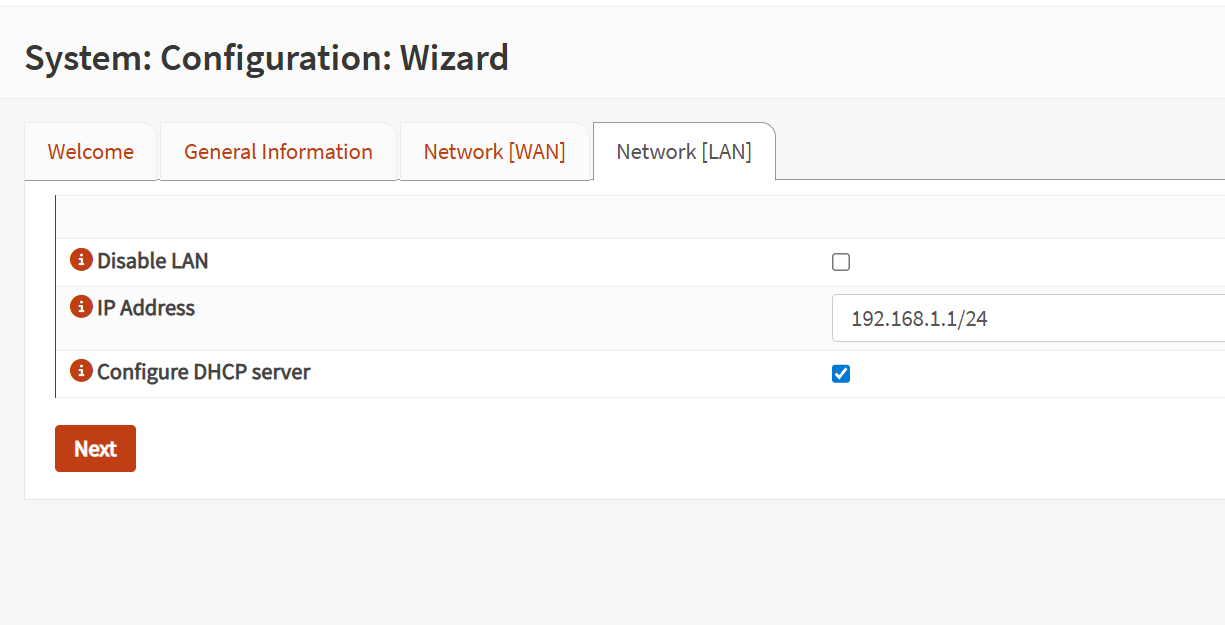
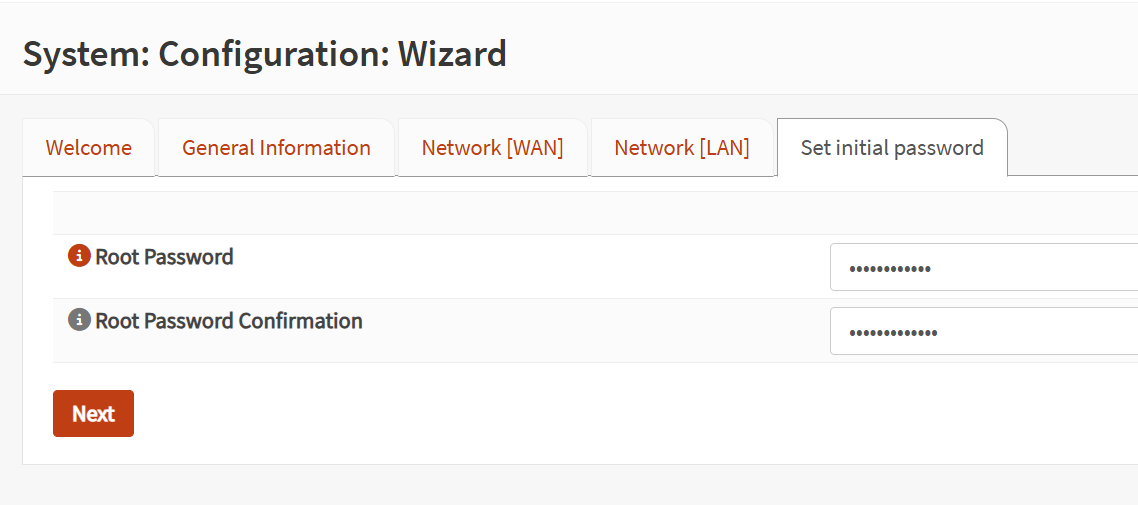
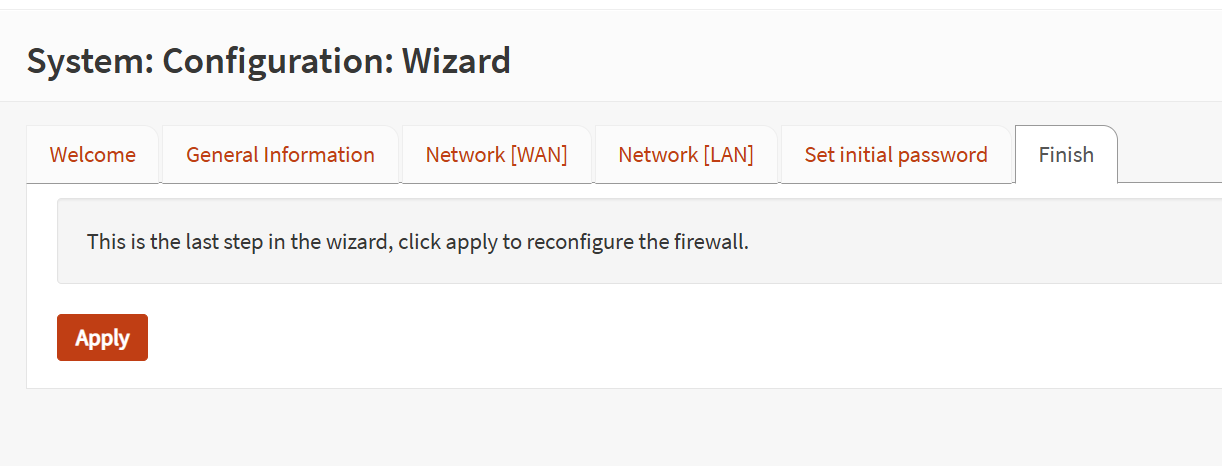
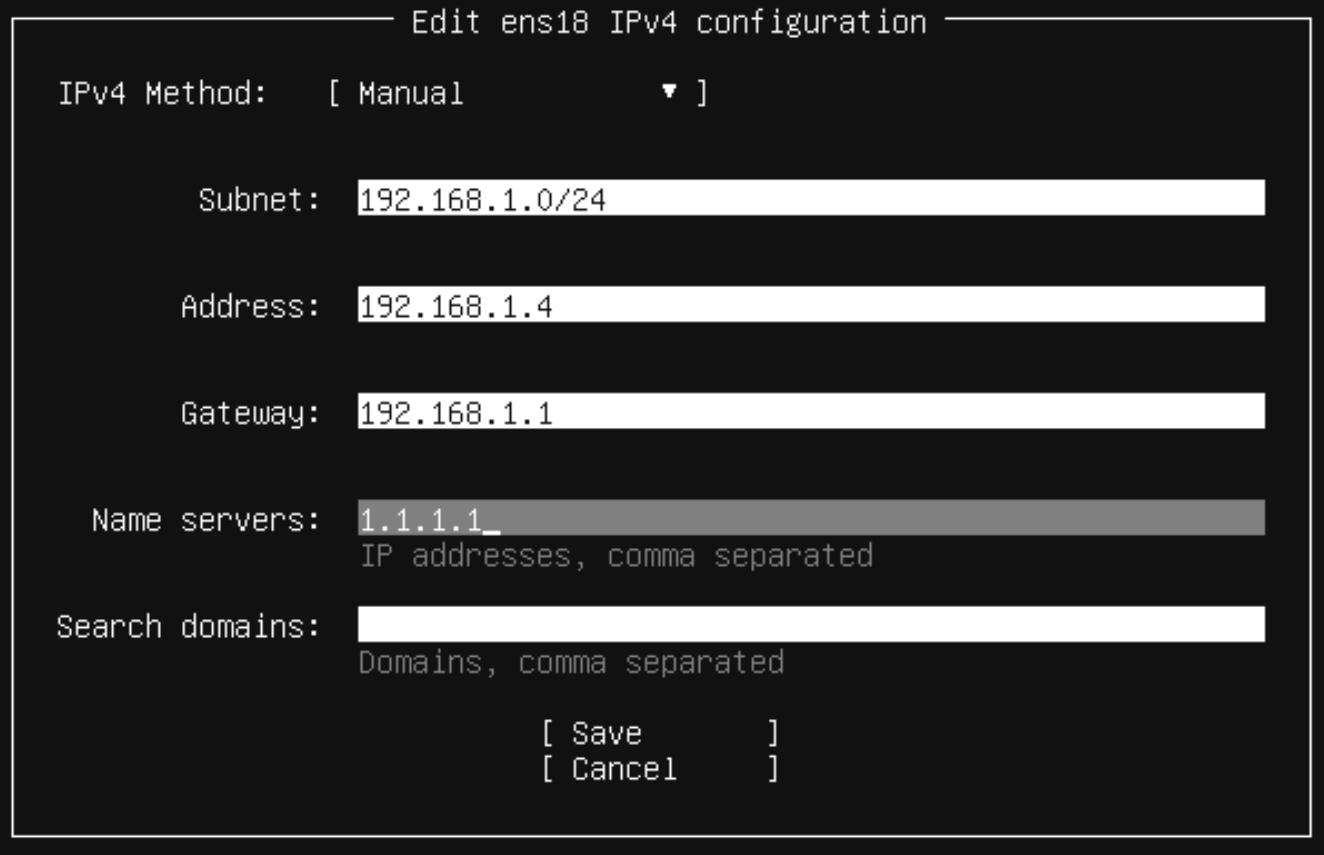
Now I could create a new VM & get going! Going through all the set up process, giving it an IP of 192.168.1.1 & all the other details. Once running, I could go to the IP in the browser & login! The last thing was to quickly run through & finish the set up wizard process - also create a new user account to login :)
This is where I went back & changed the iDrac & Promox management IP to 192.168.1.2 & 192.168.1.3 respectively.
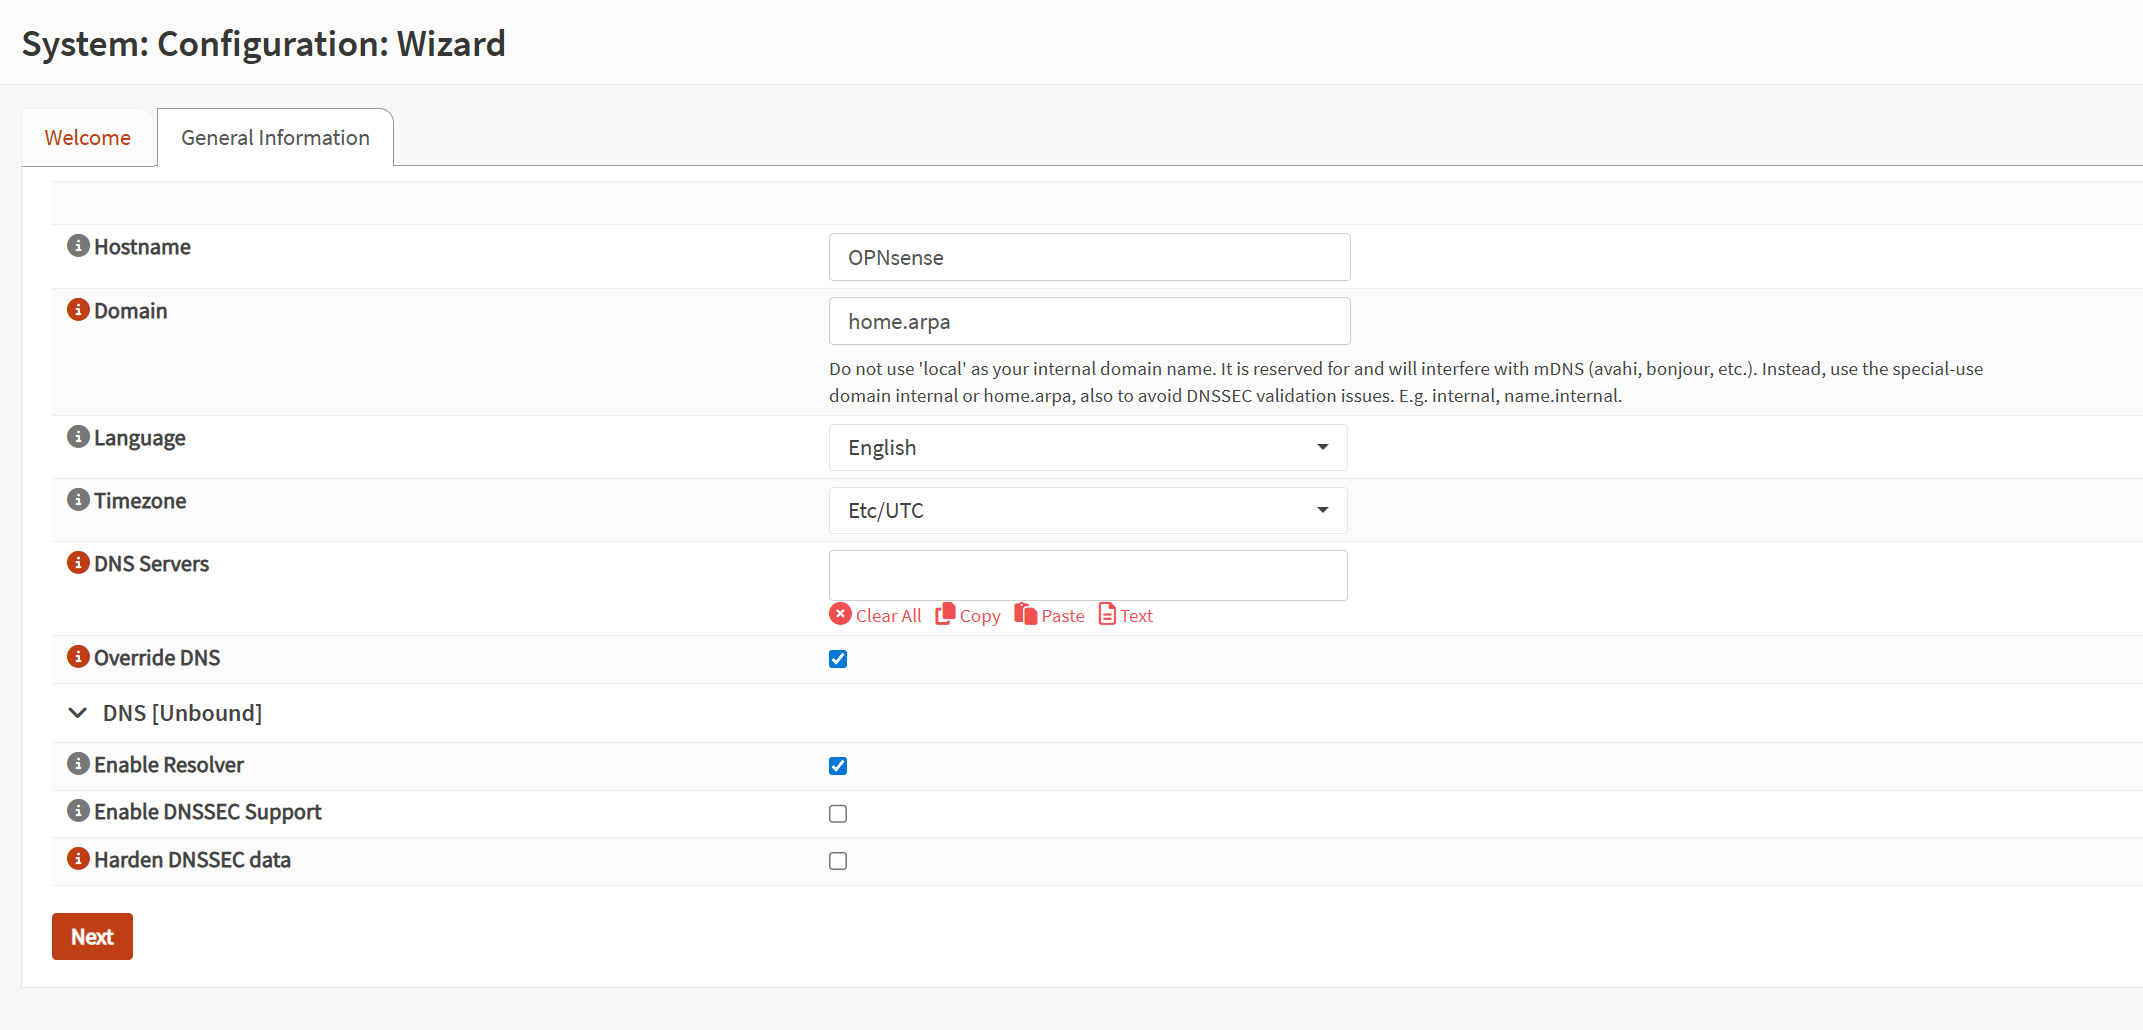
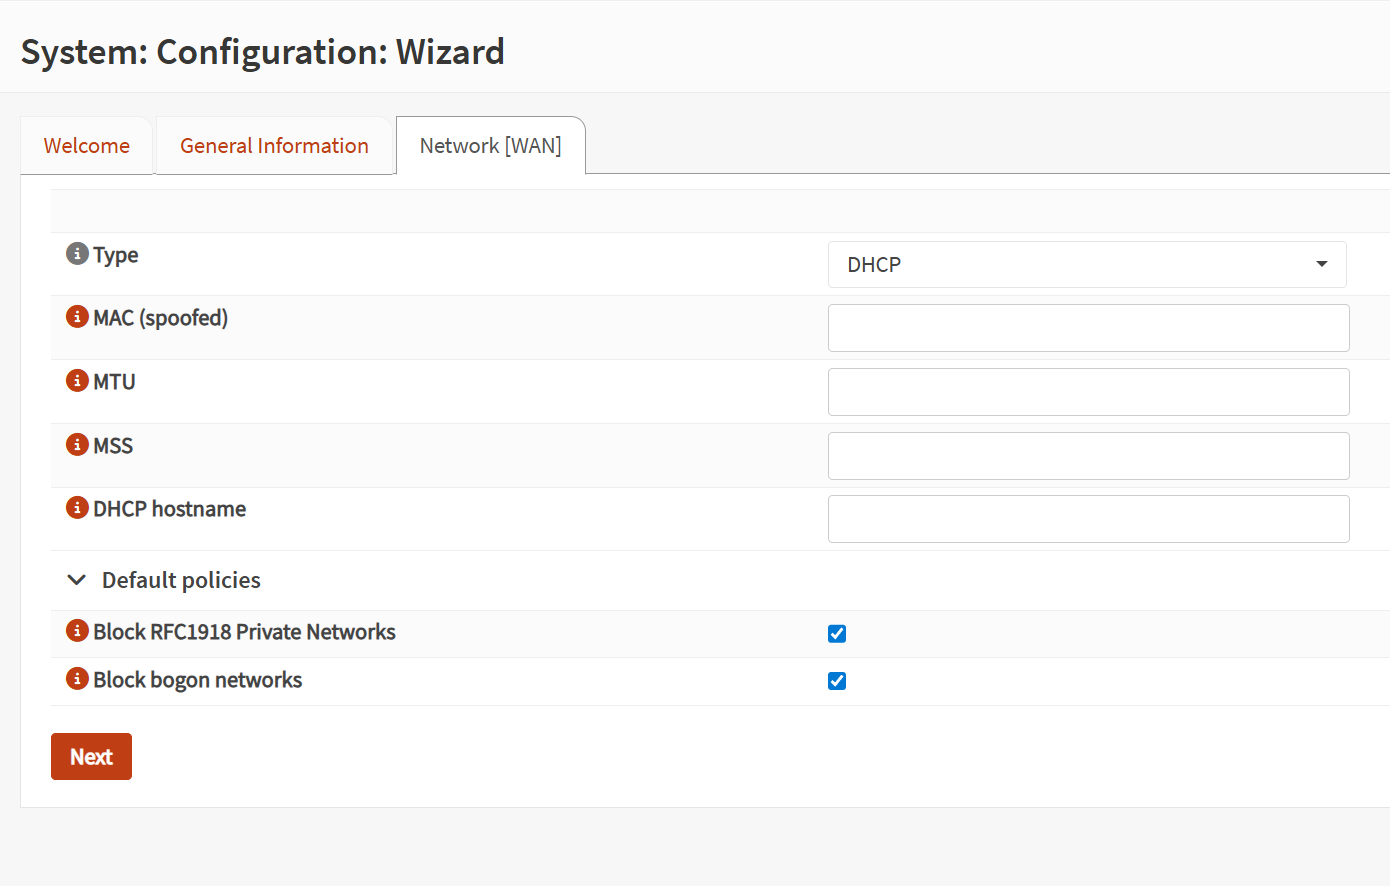

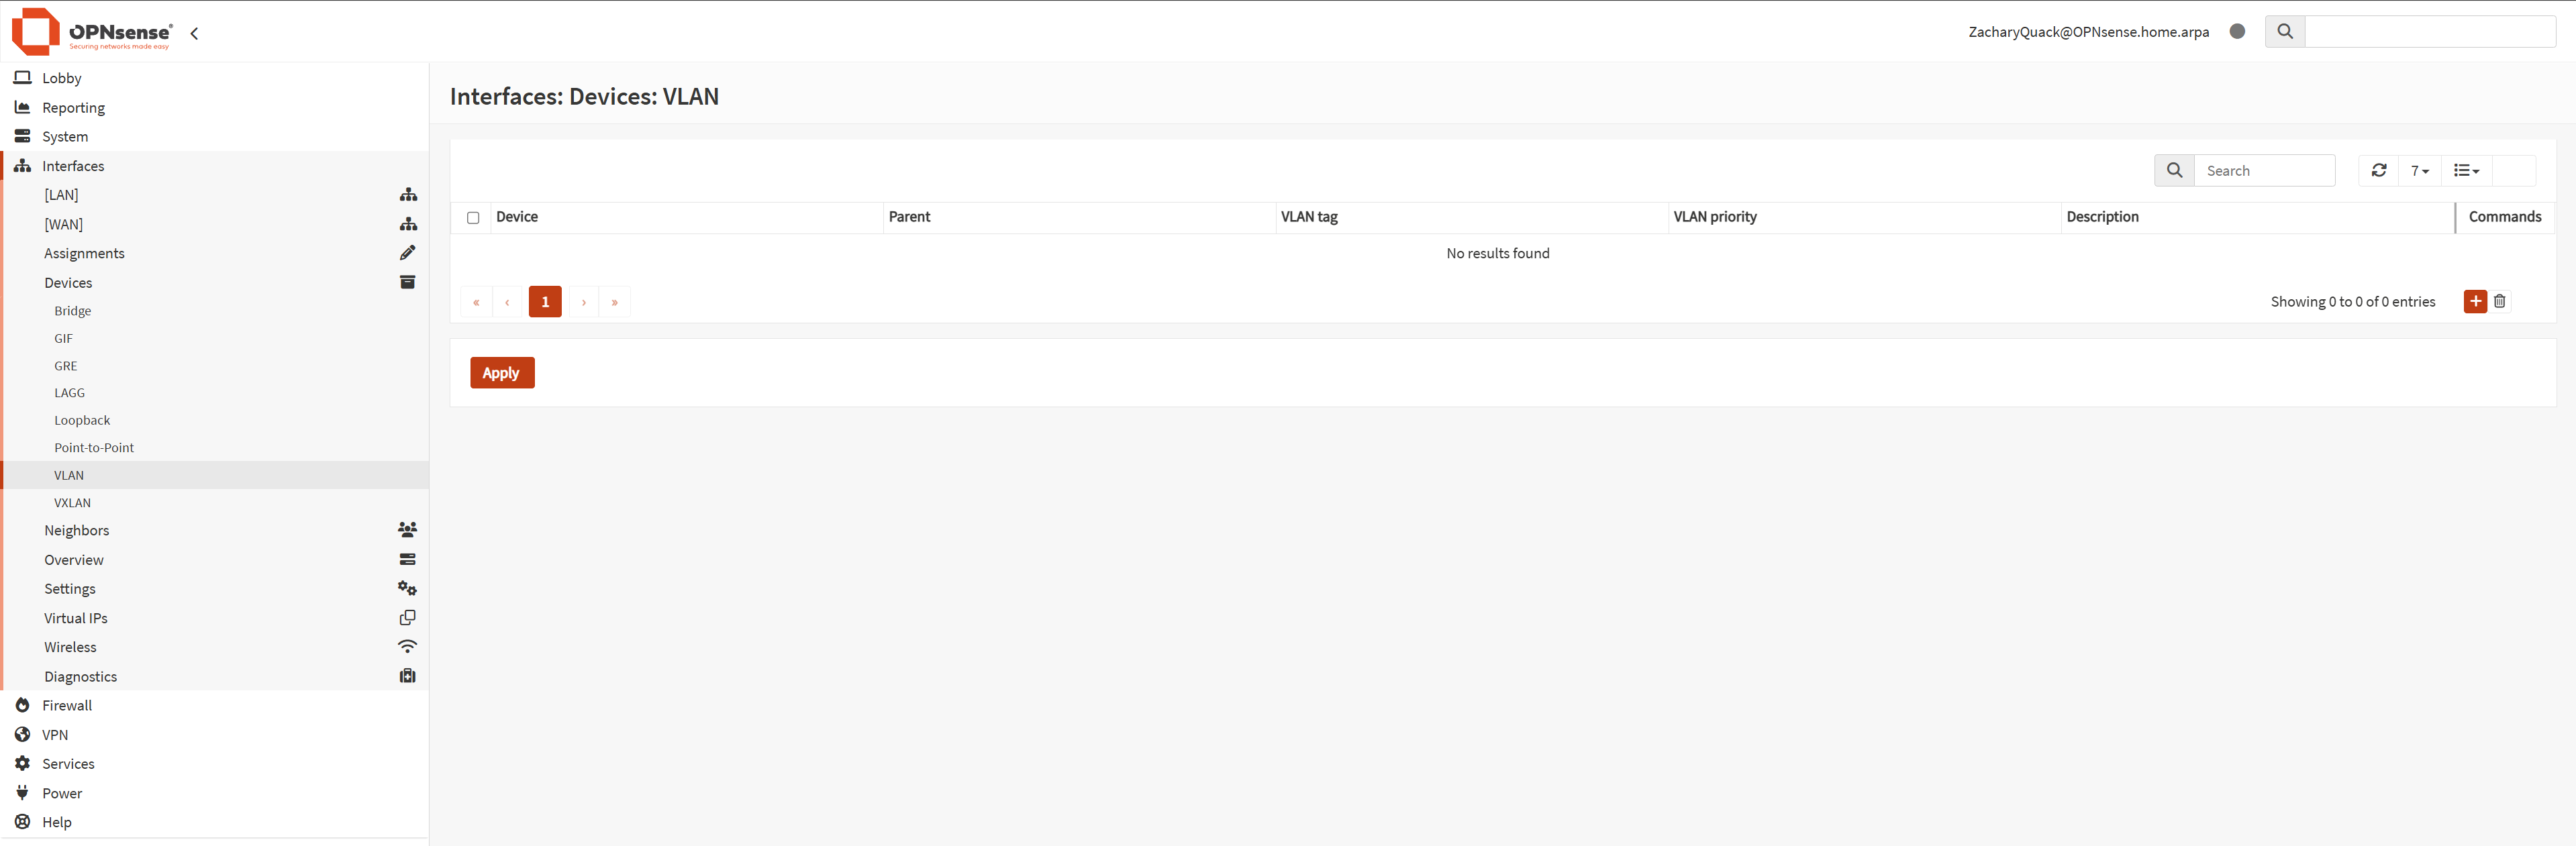
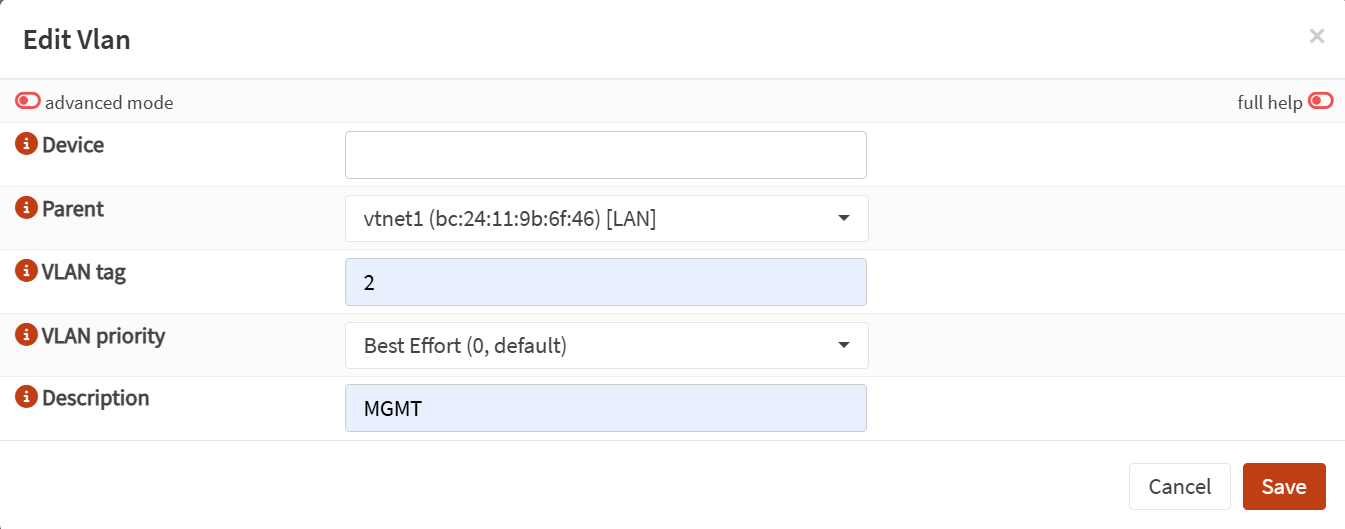
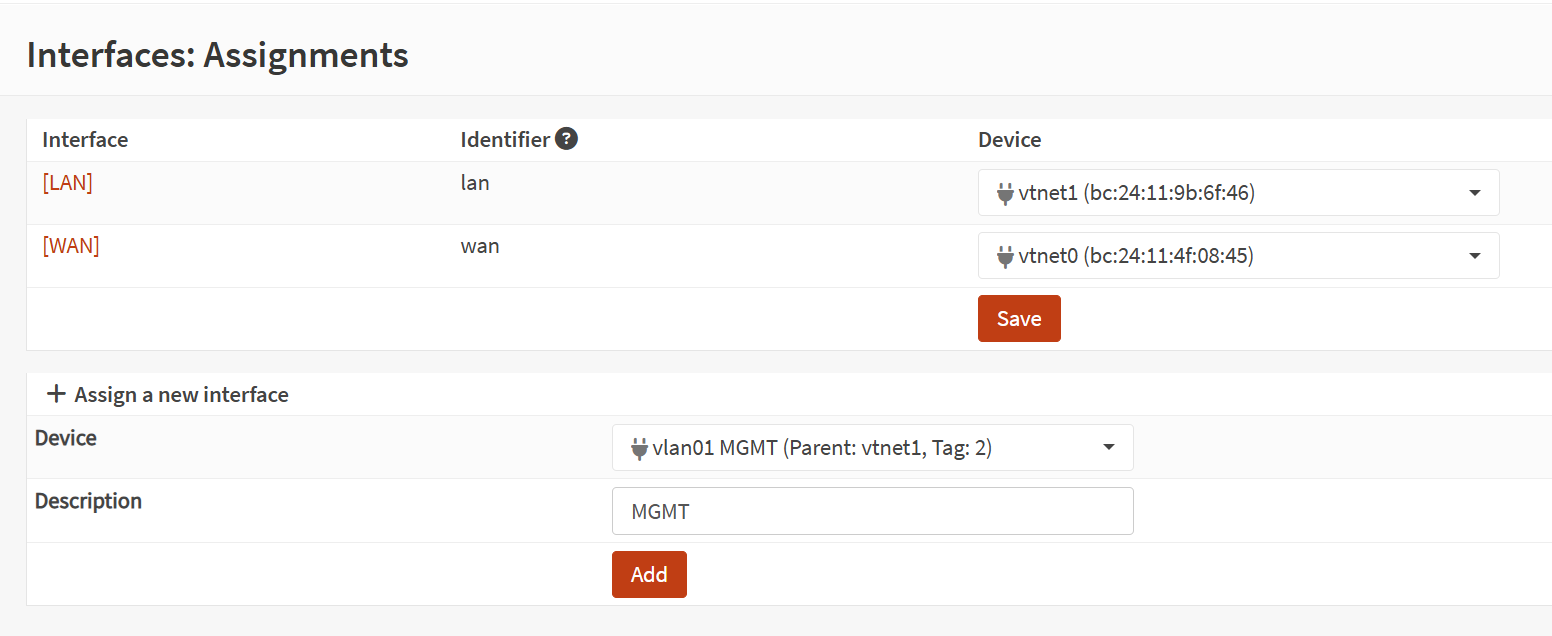
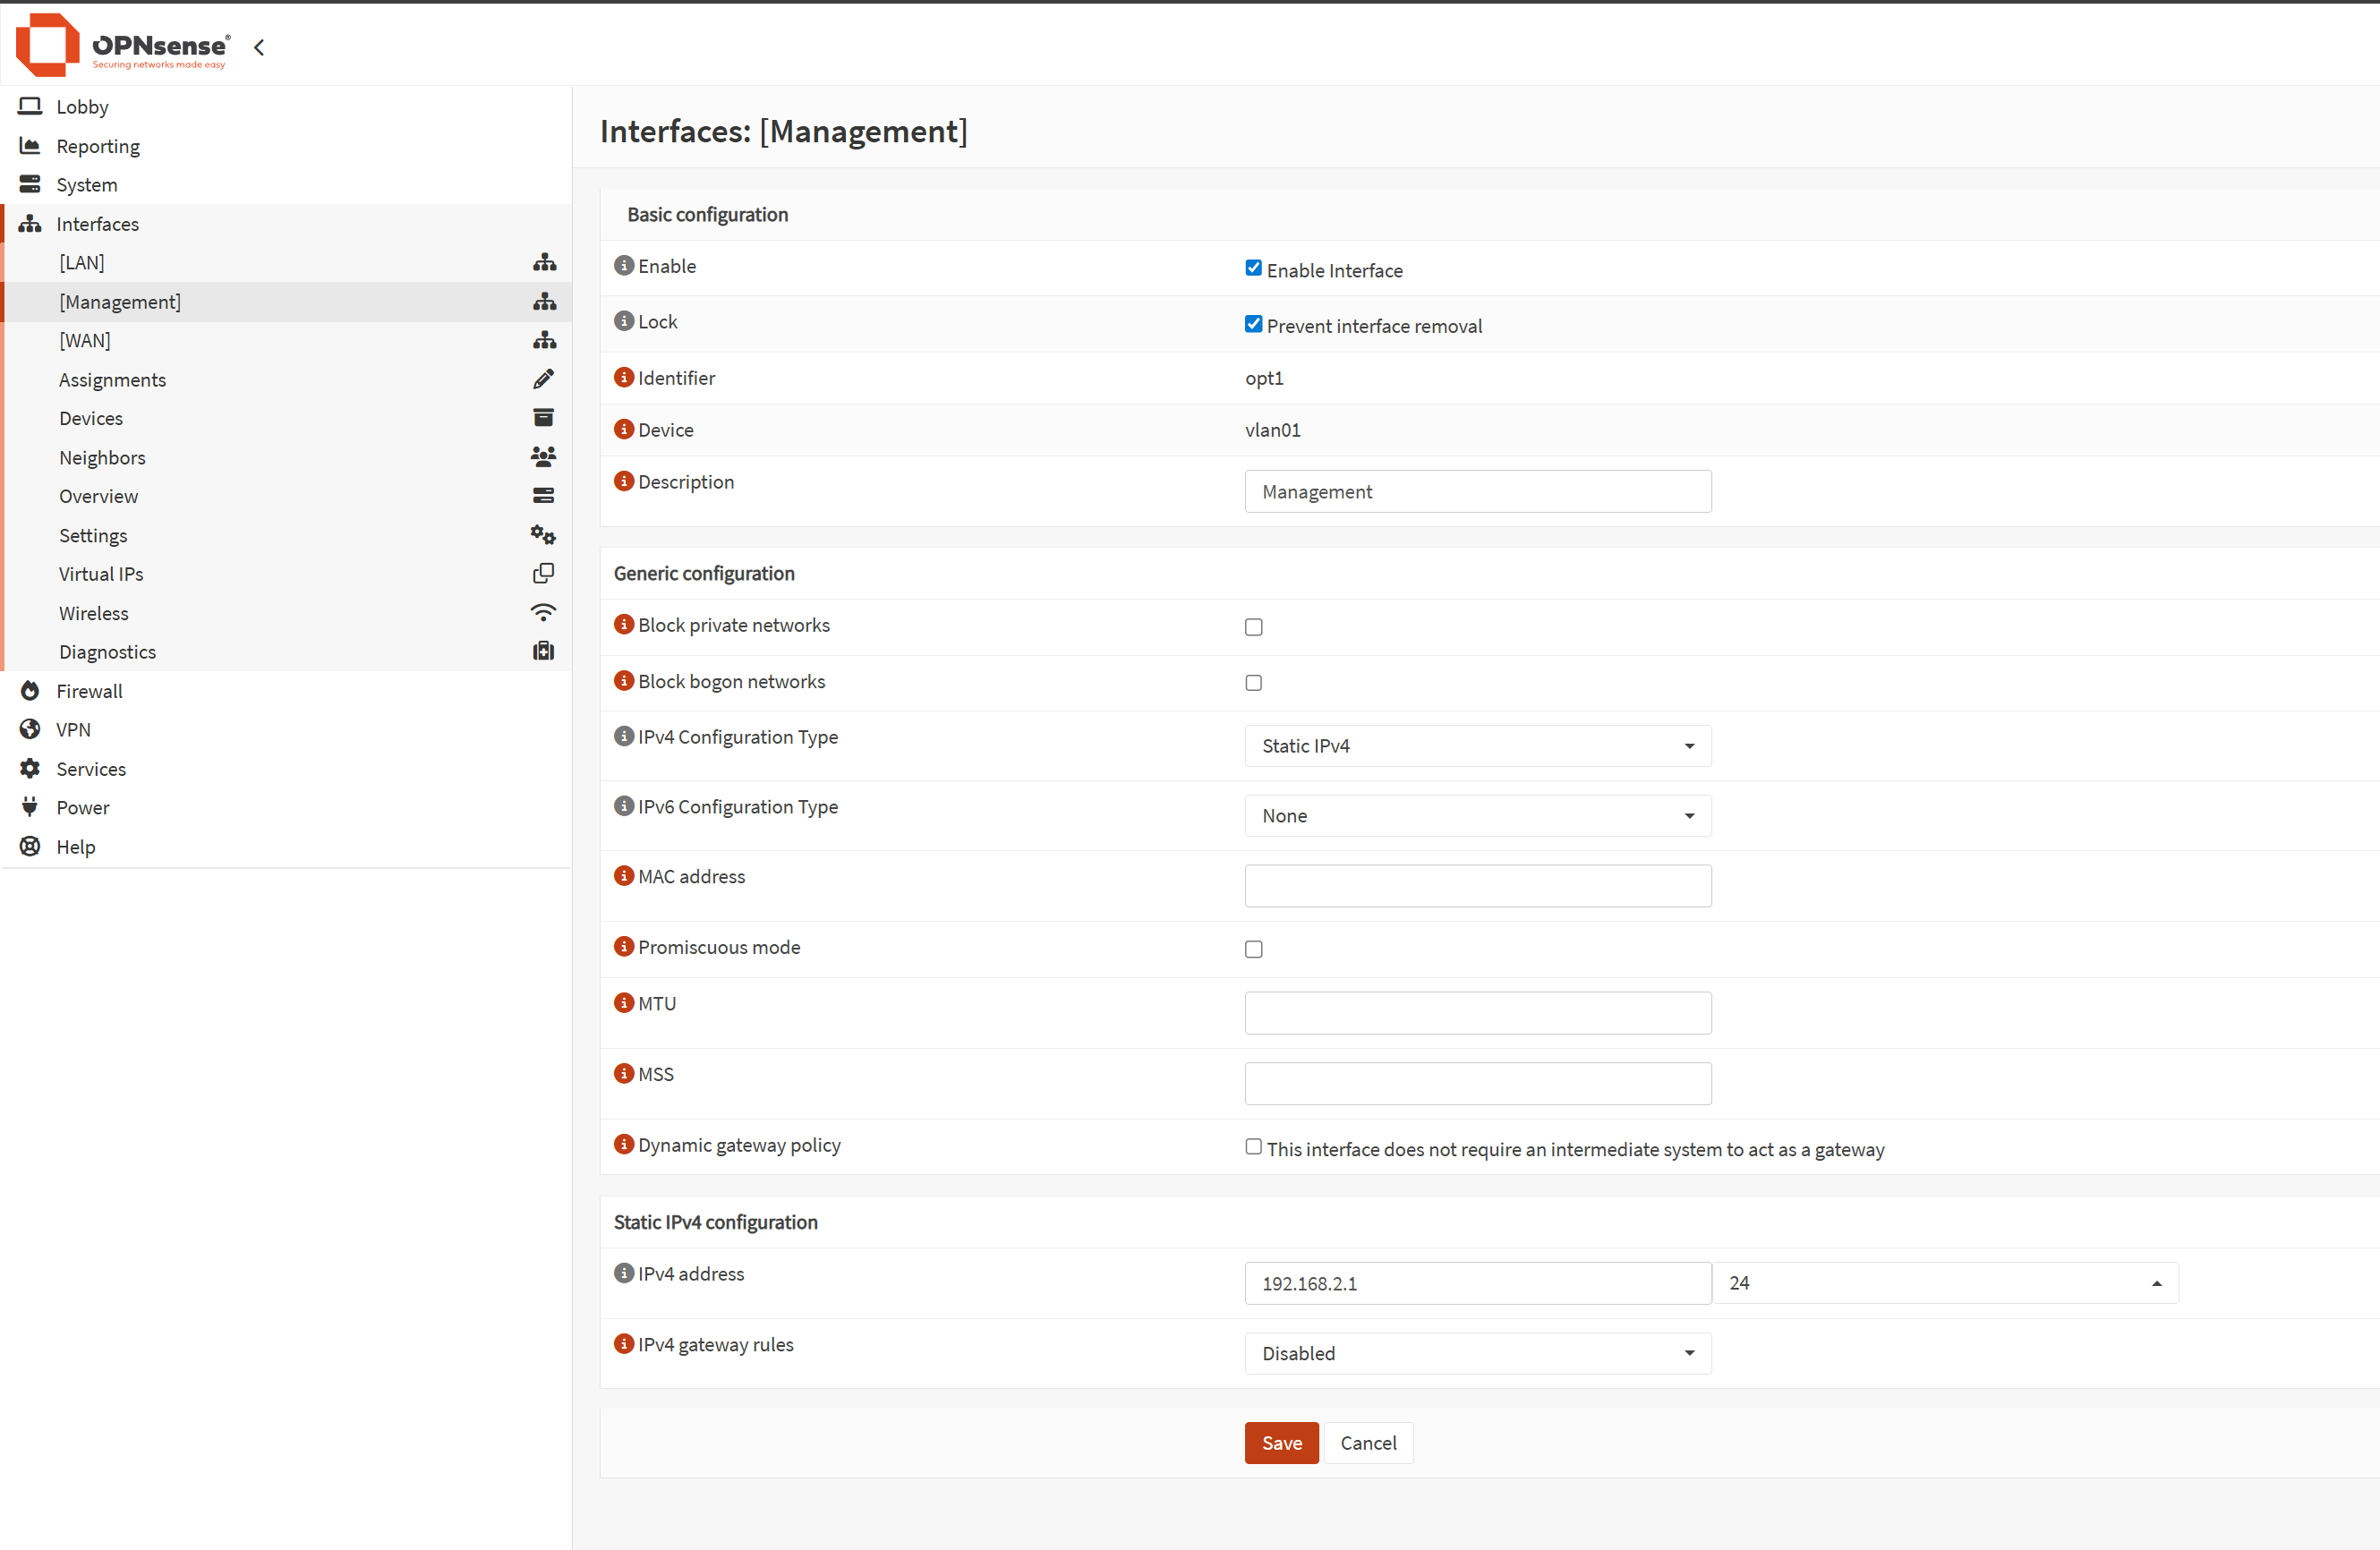
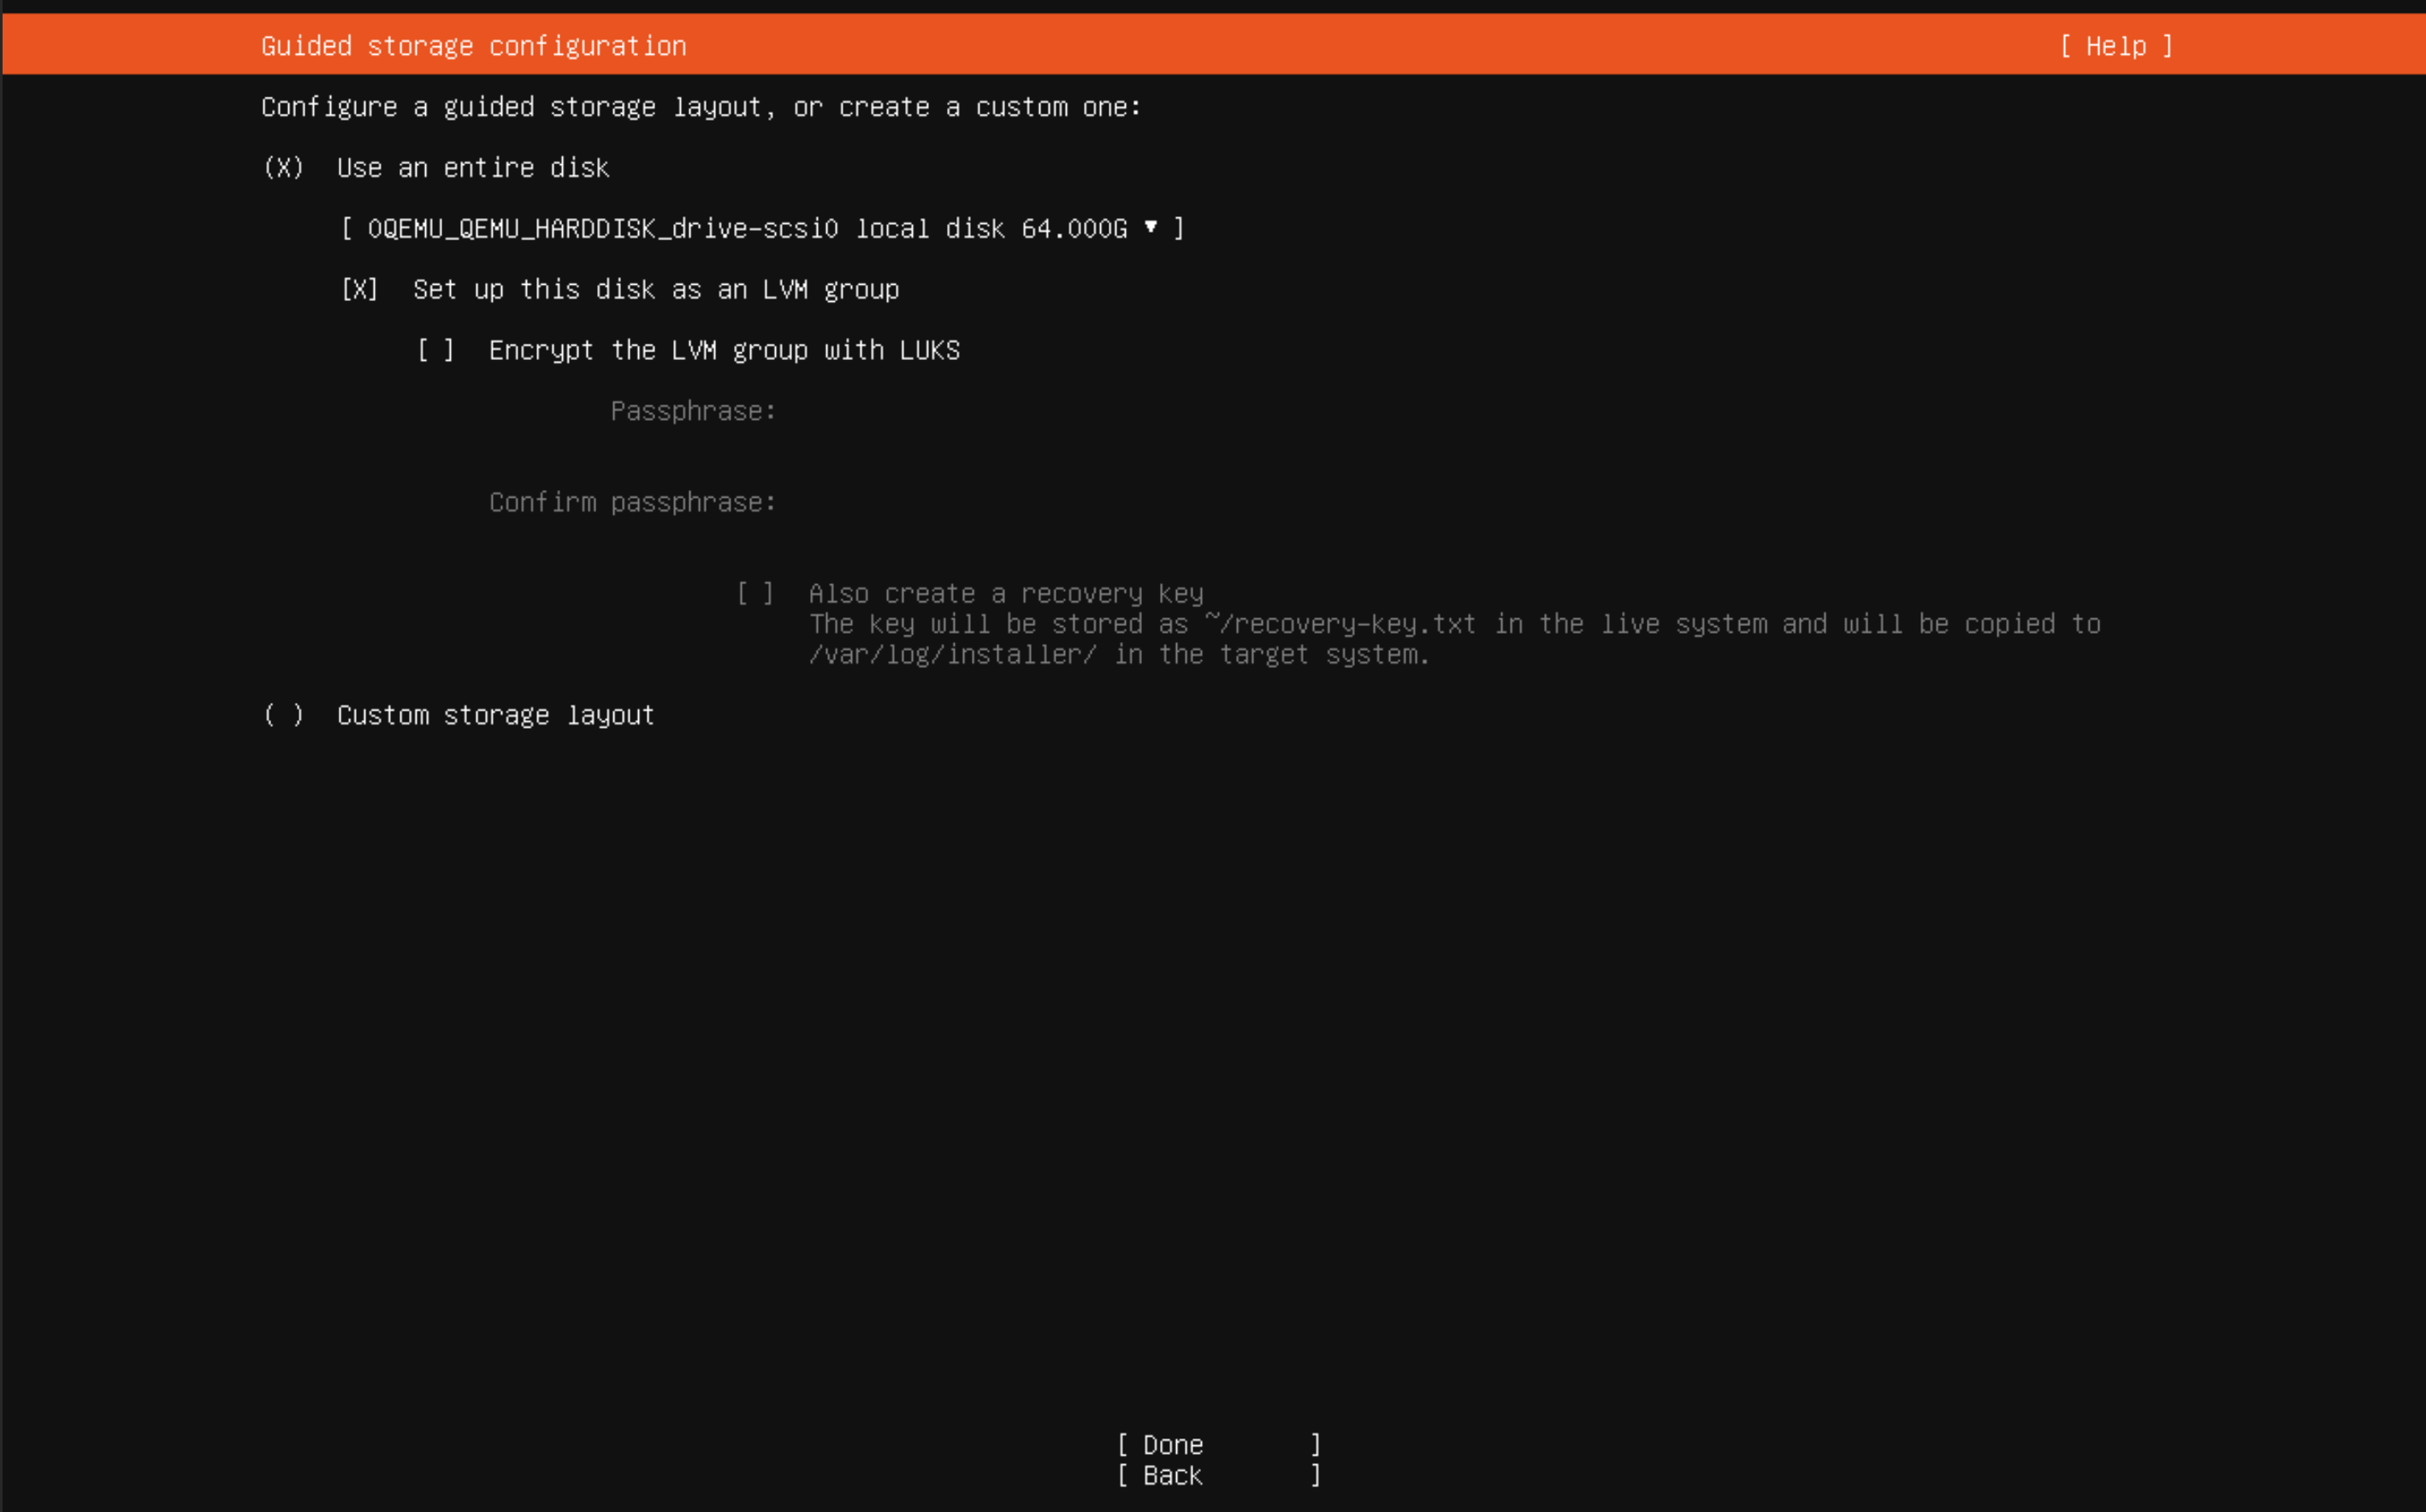
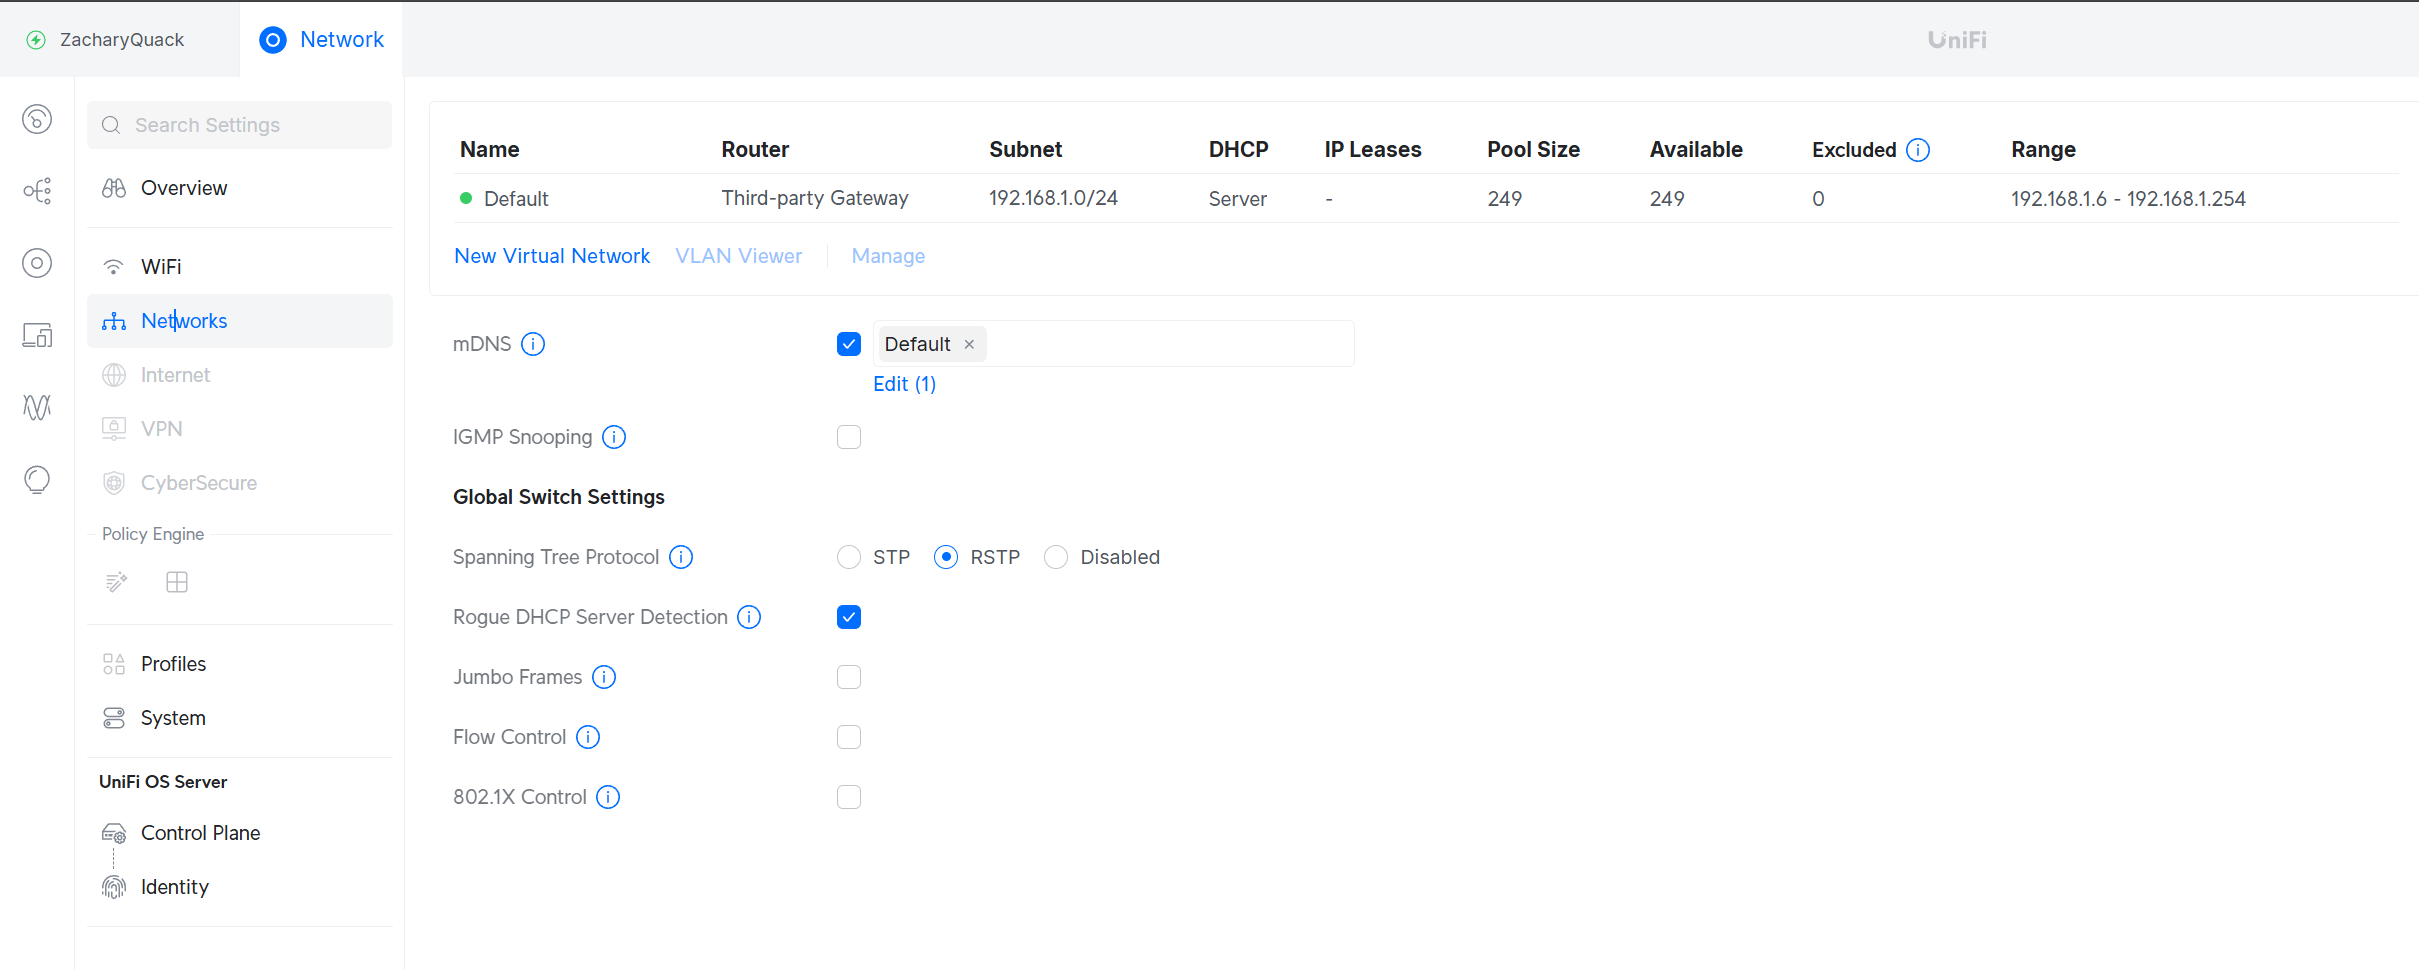
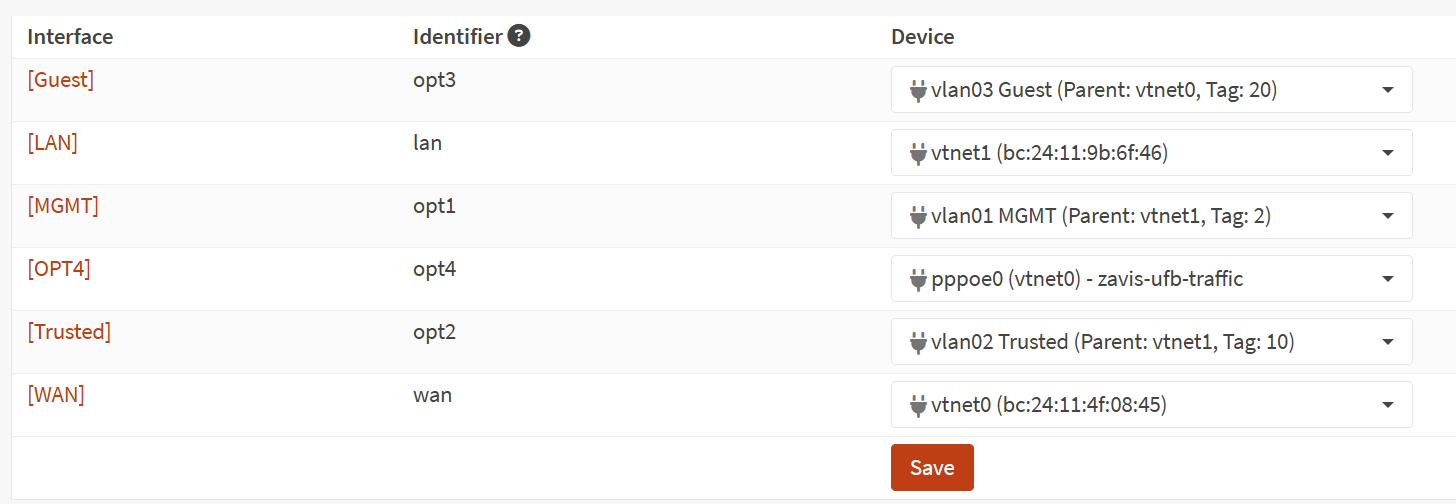
The set up process add's the LAN & WAN assignments to the dedicated ports but now the fun parts begin... I started creating a VLAN for the Management dedicating it to a physical port on the back of the server & making sure it's enabled in OPNSense.
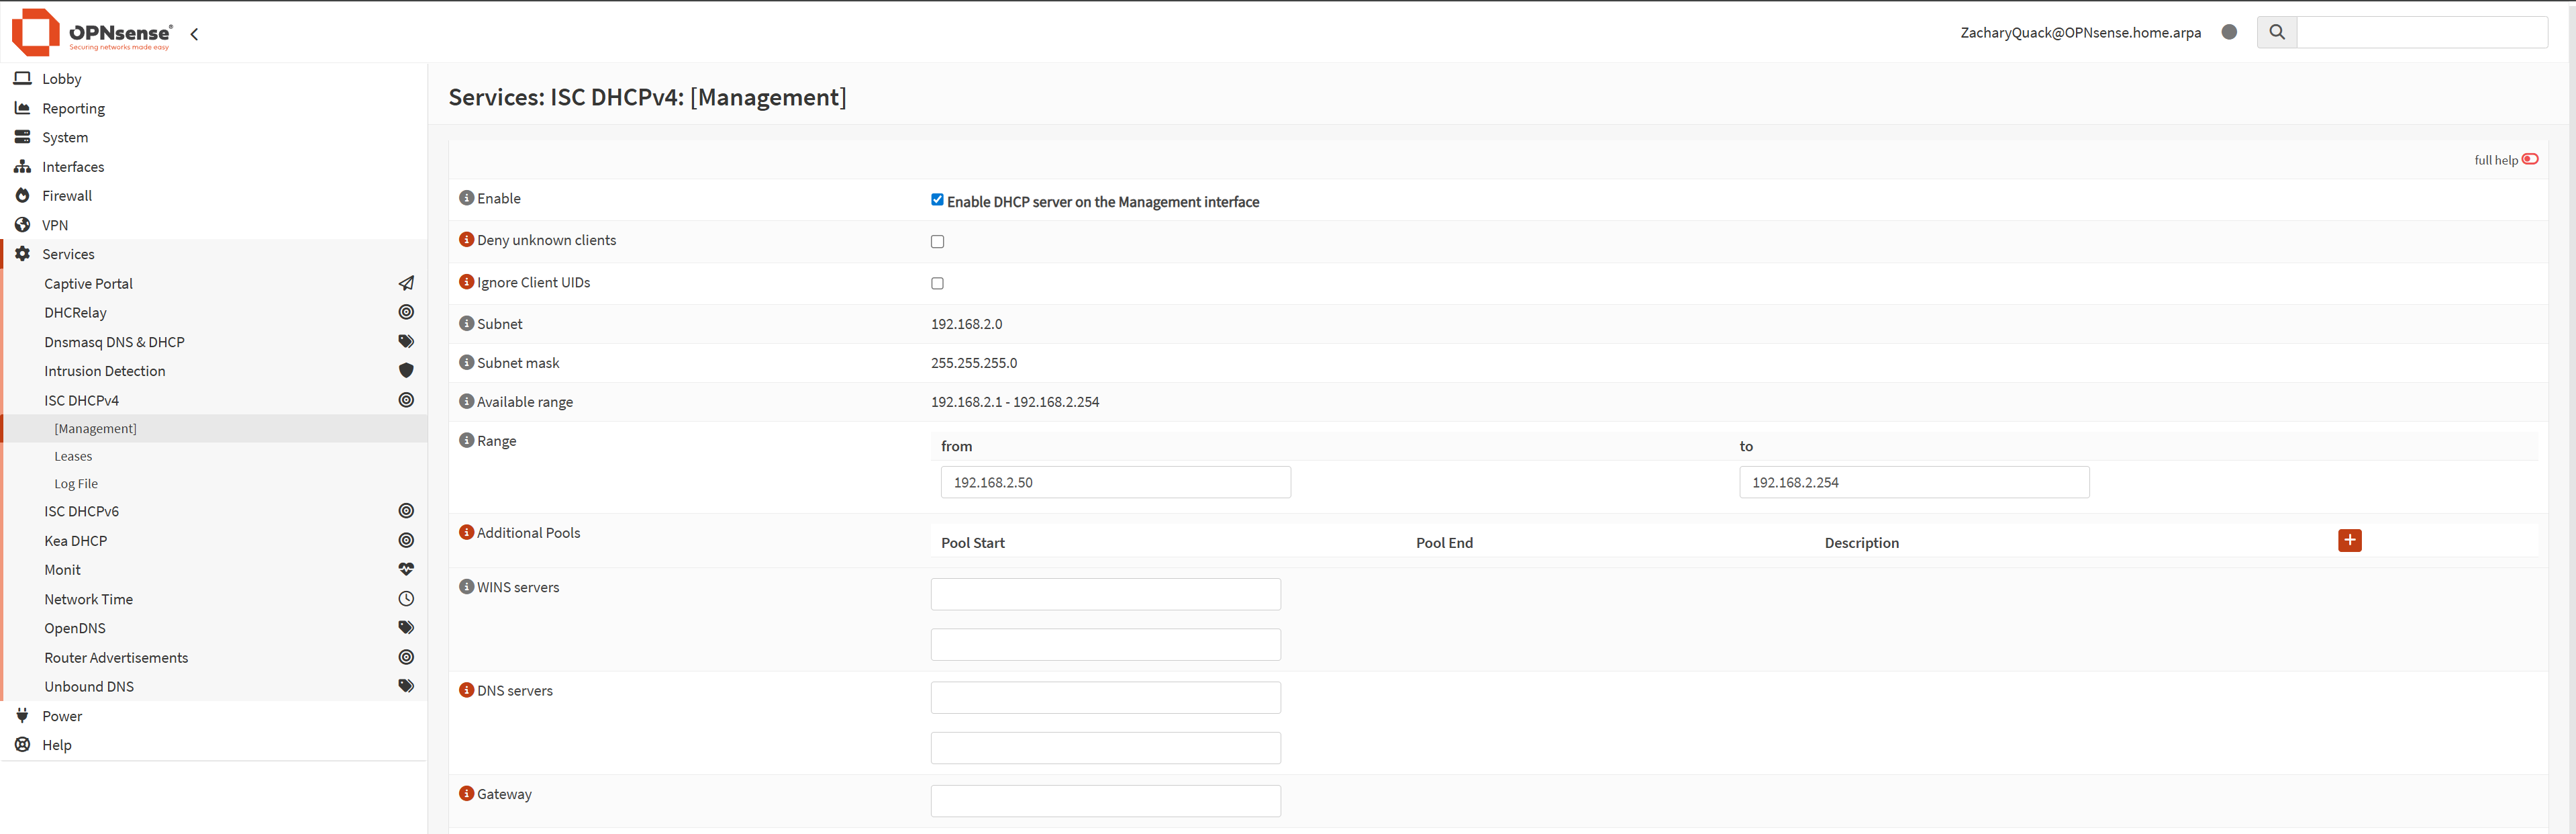
Giving the VLAN an IP range, name & VLAN ID; it was done - next was making sure DHCP worked for it so that when a device connected it would automatically get an IP.
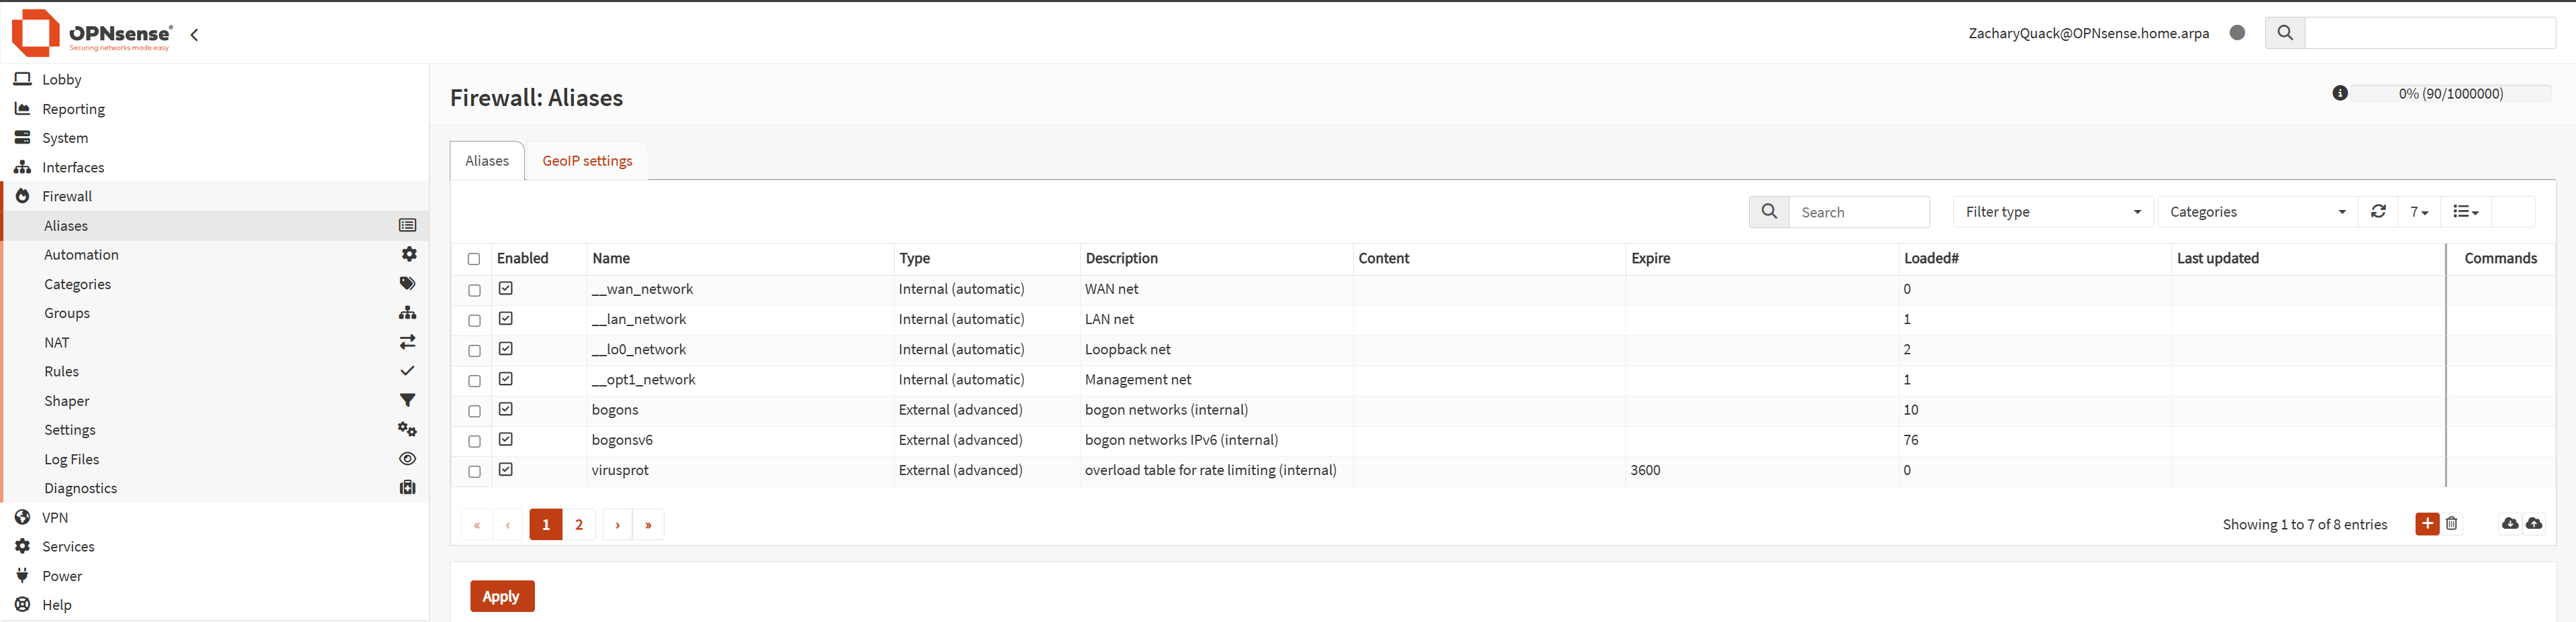
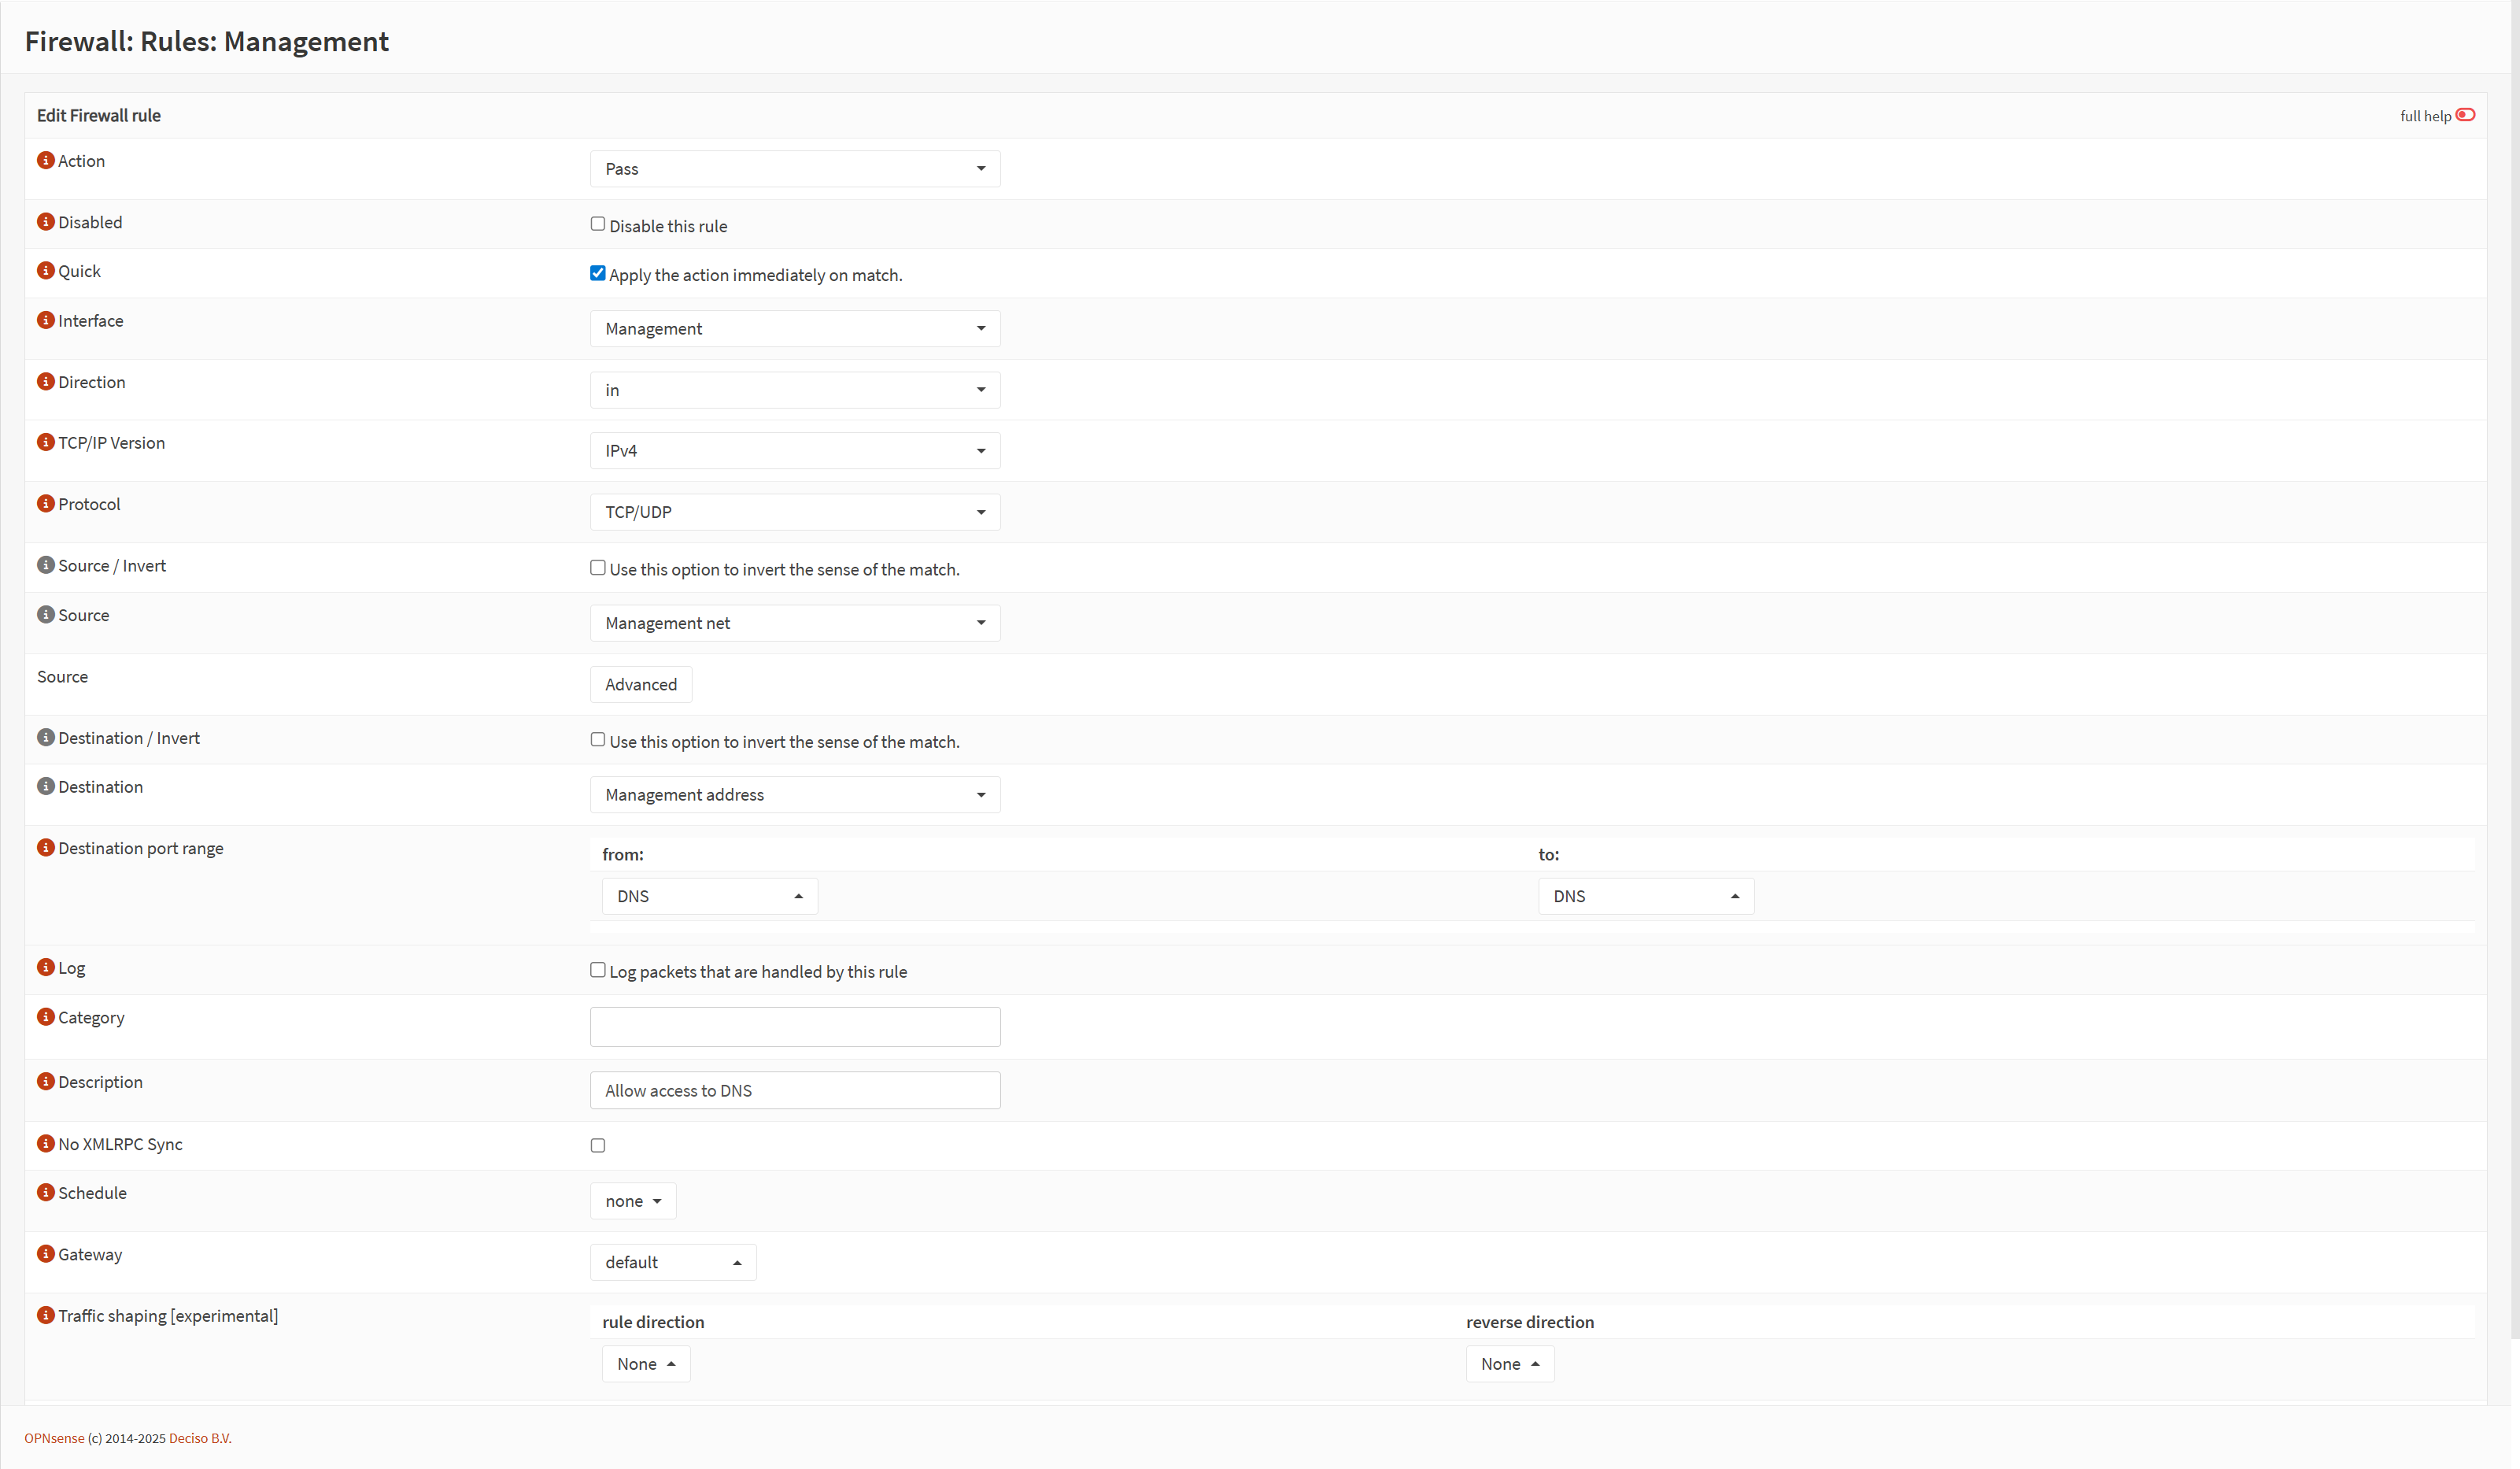
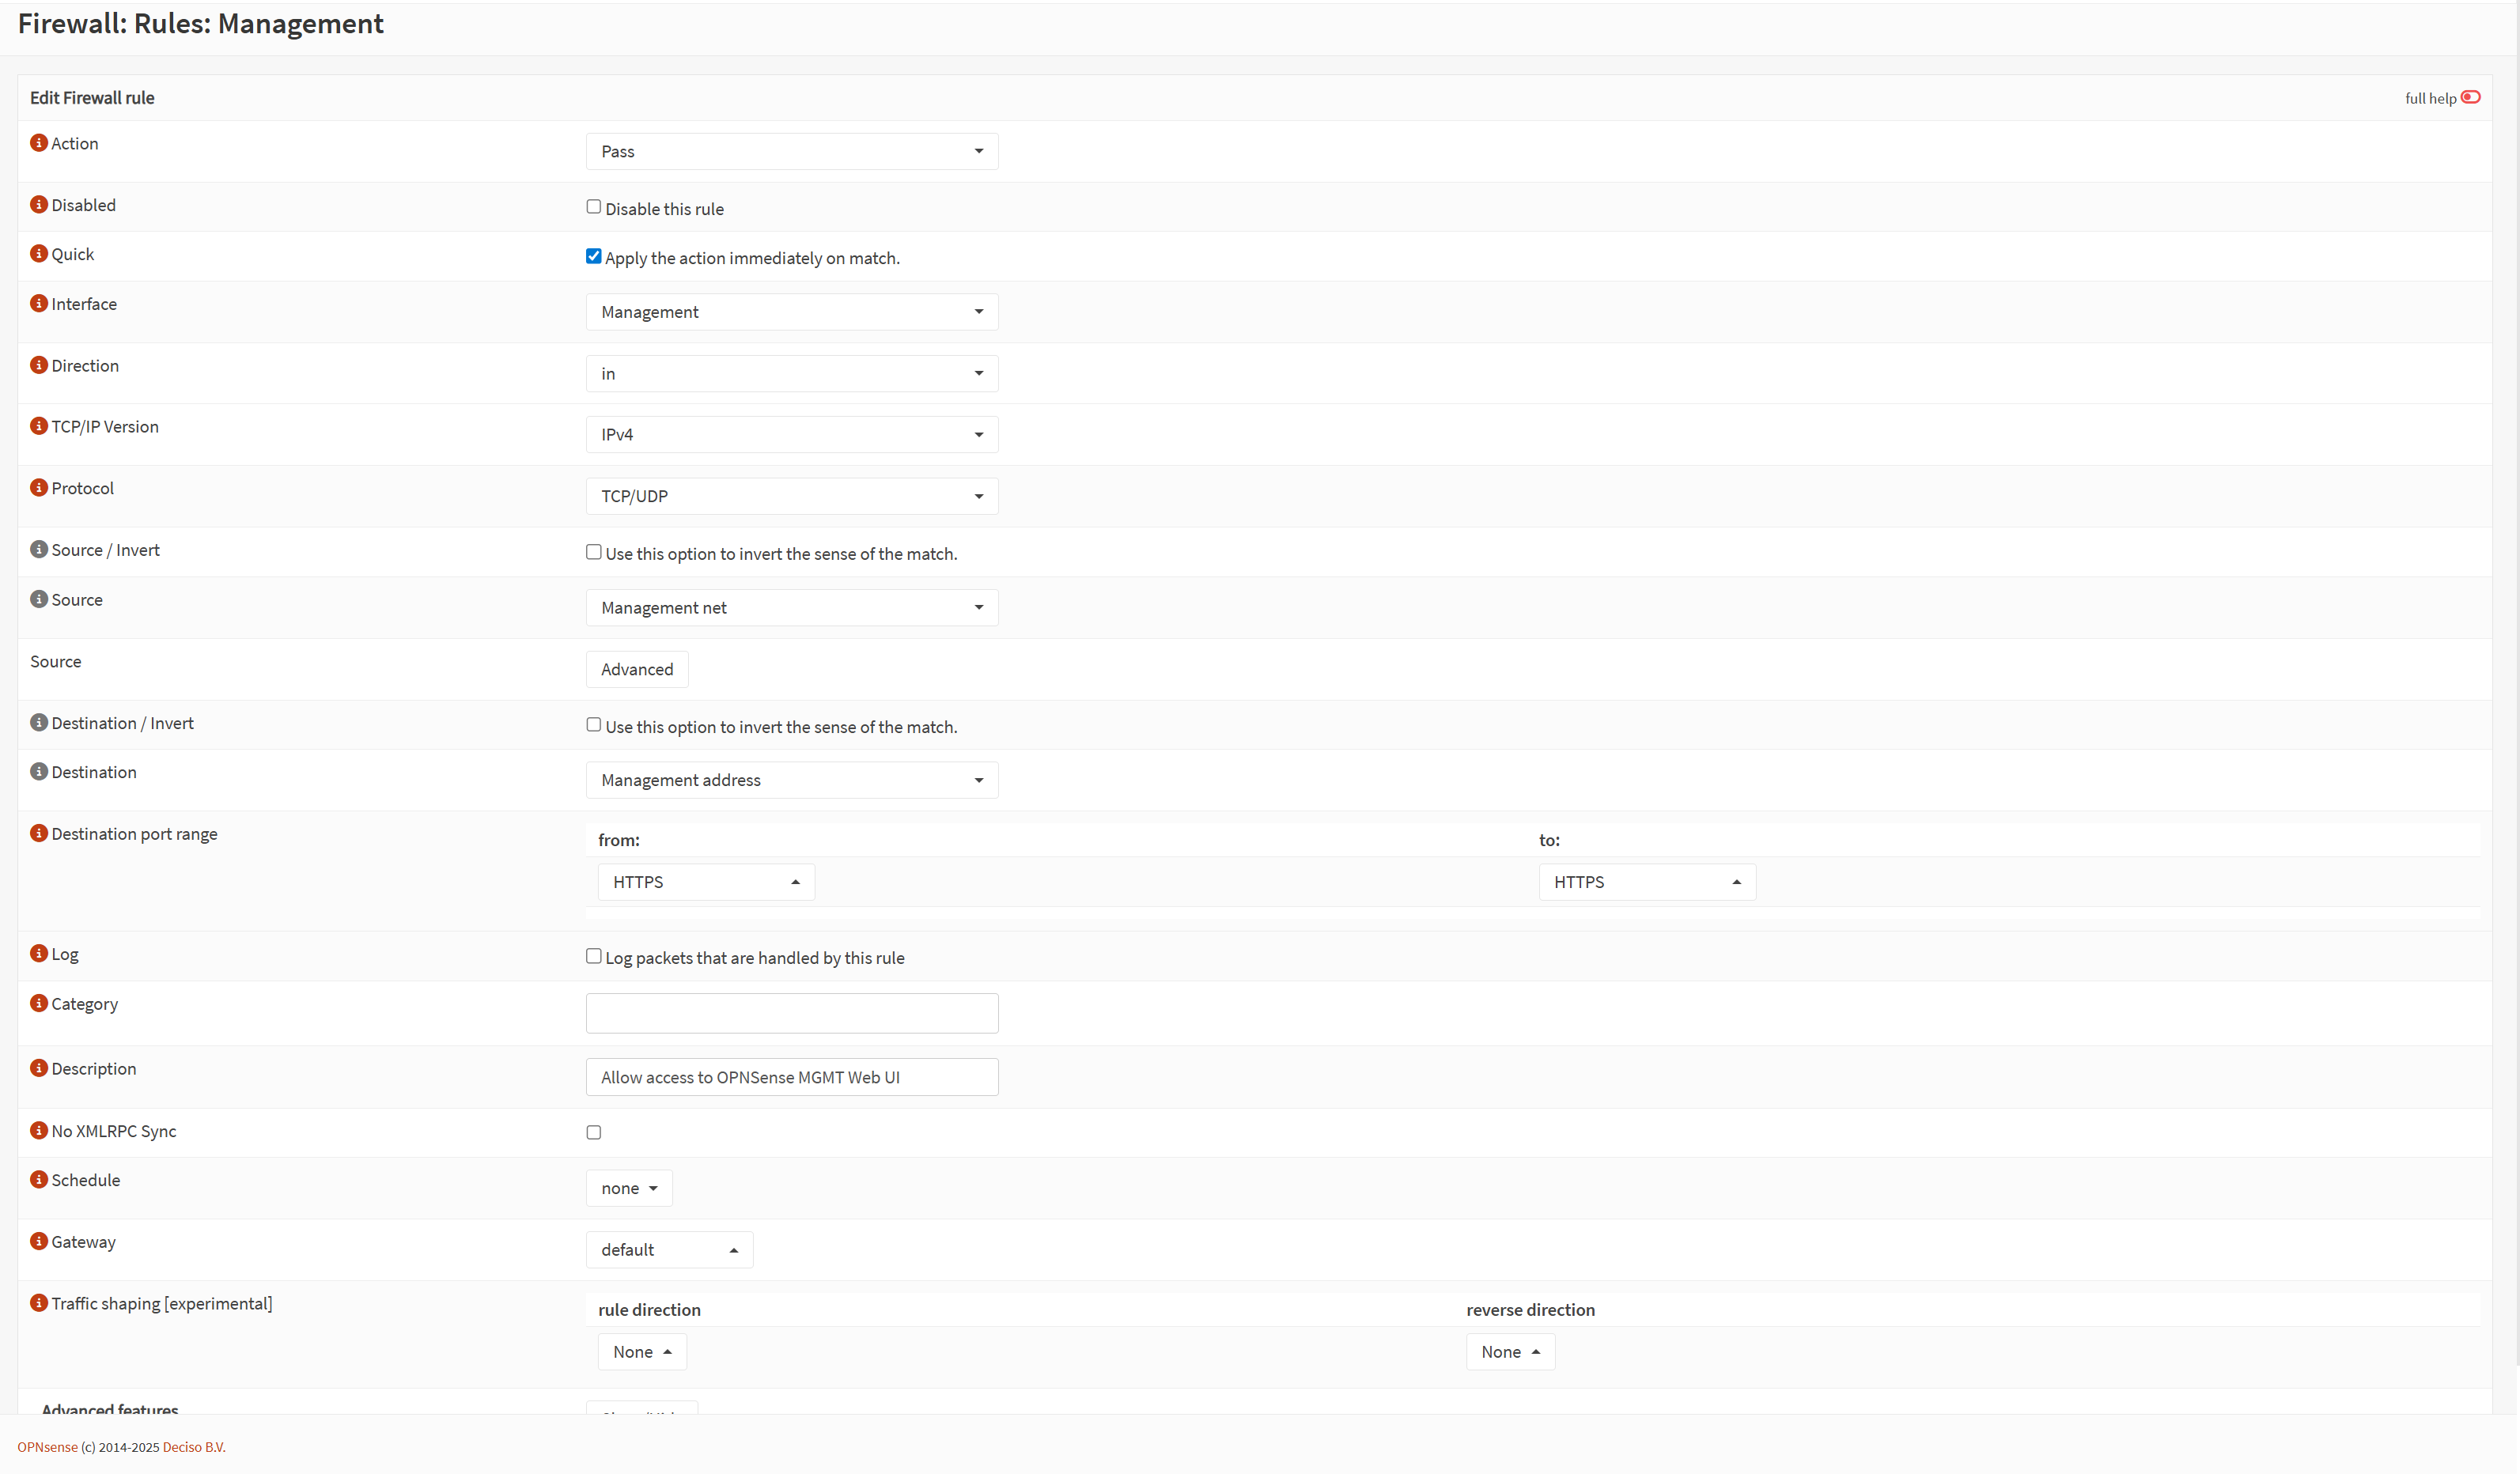
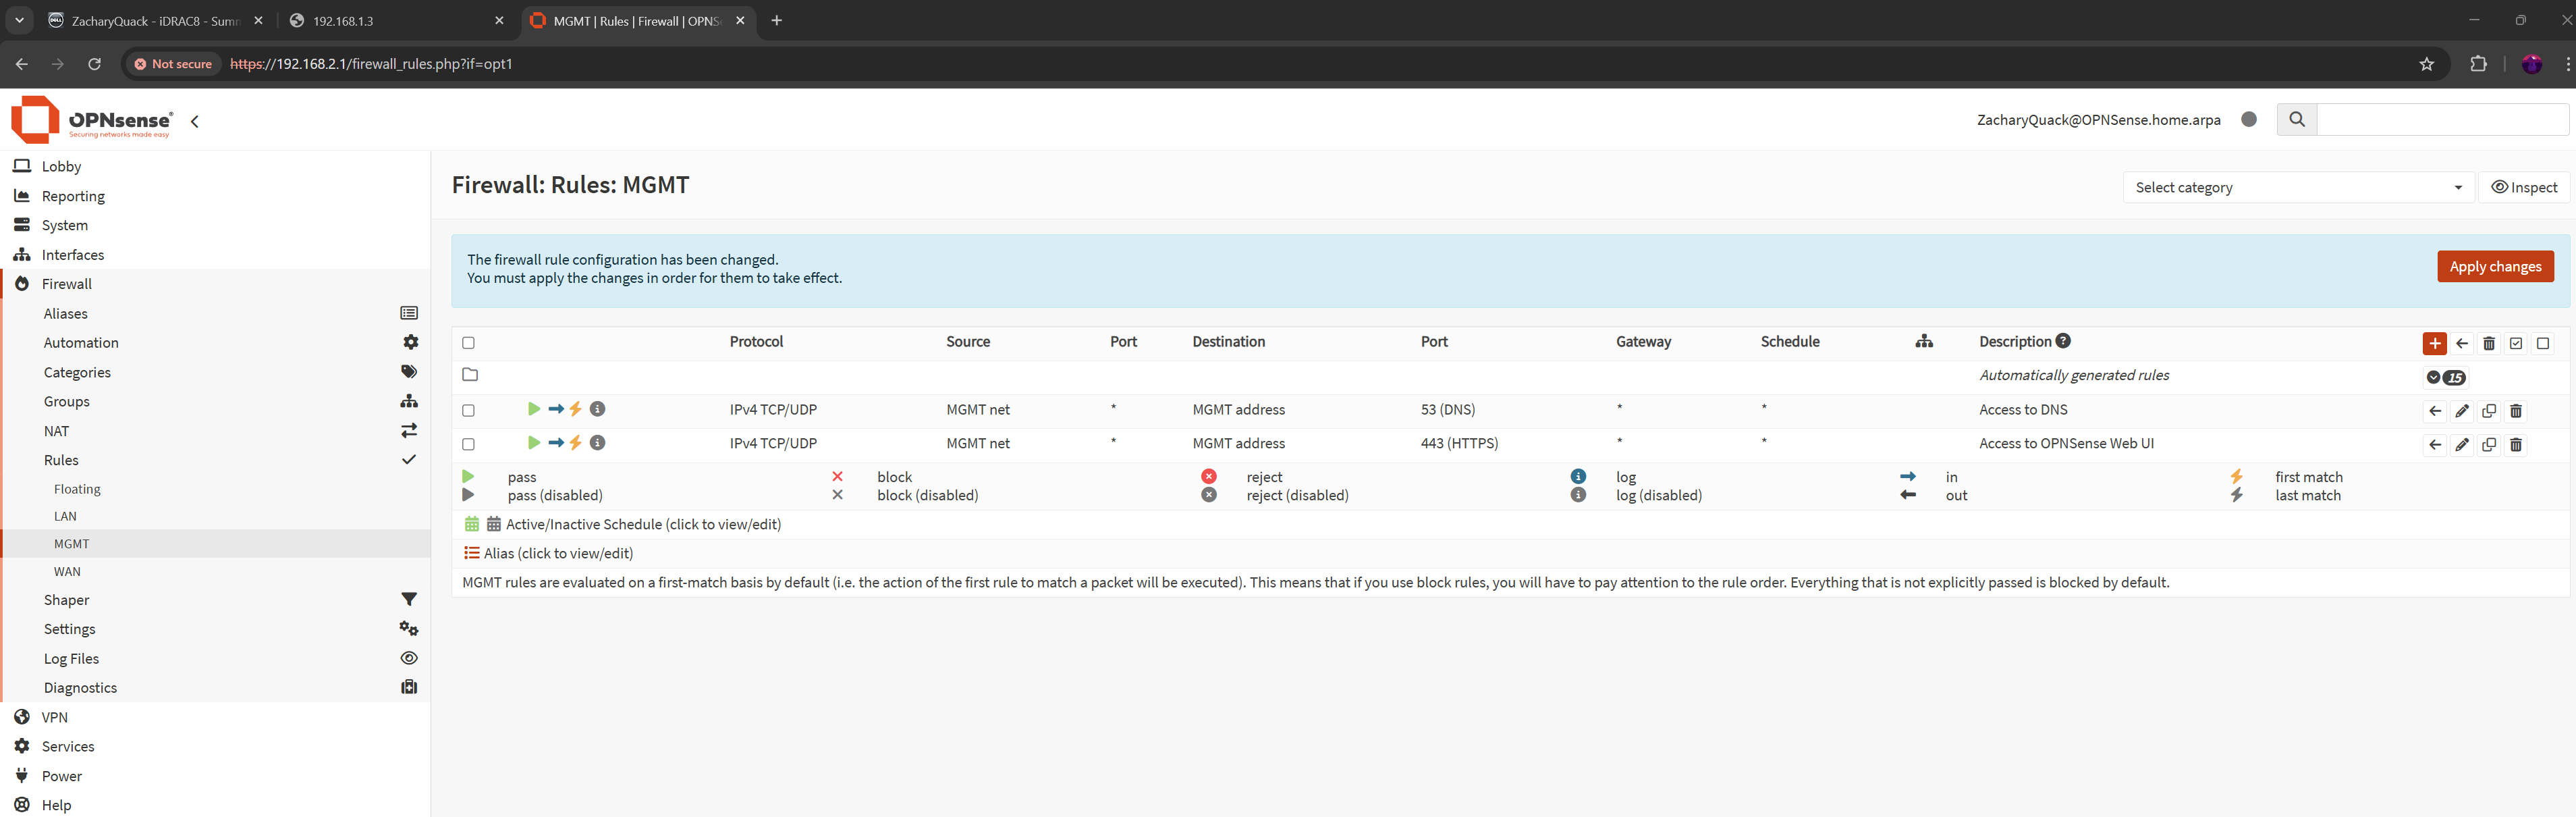
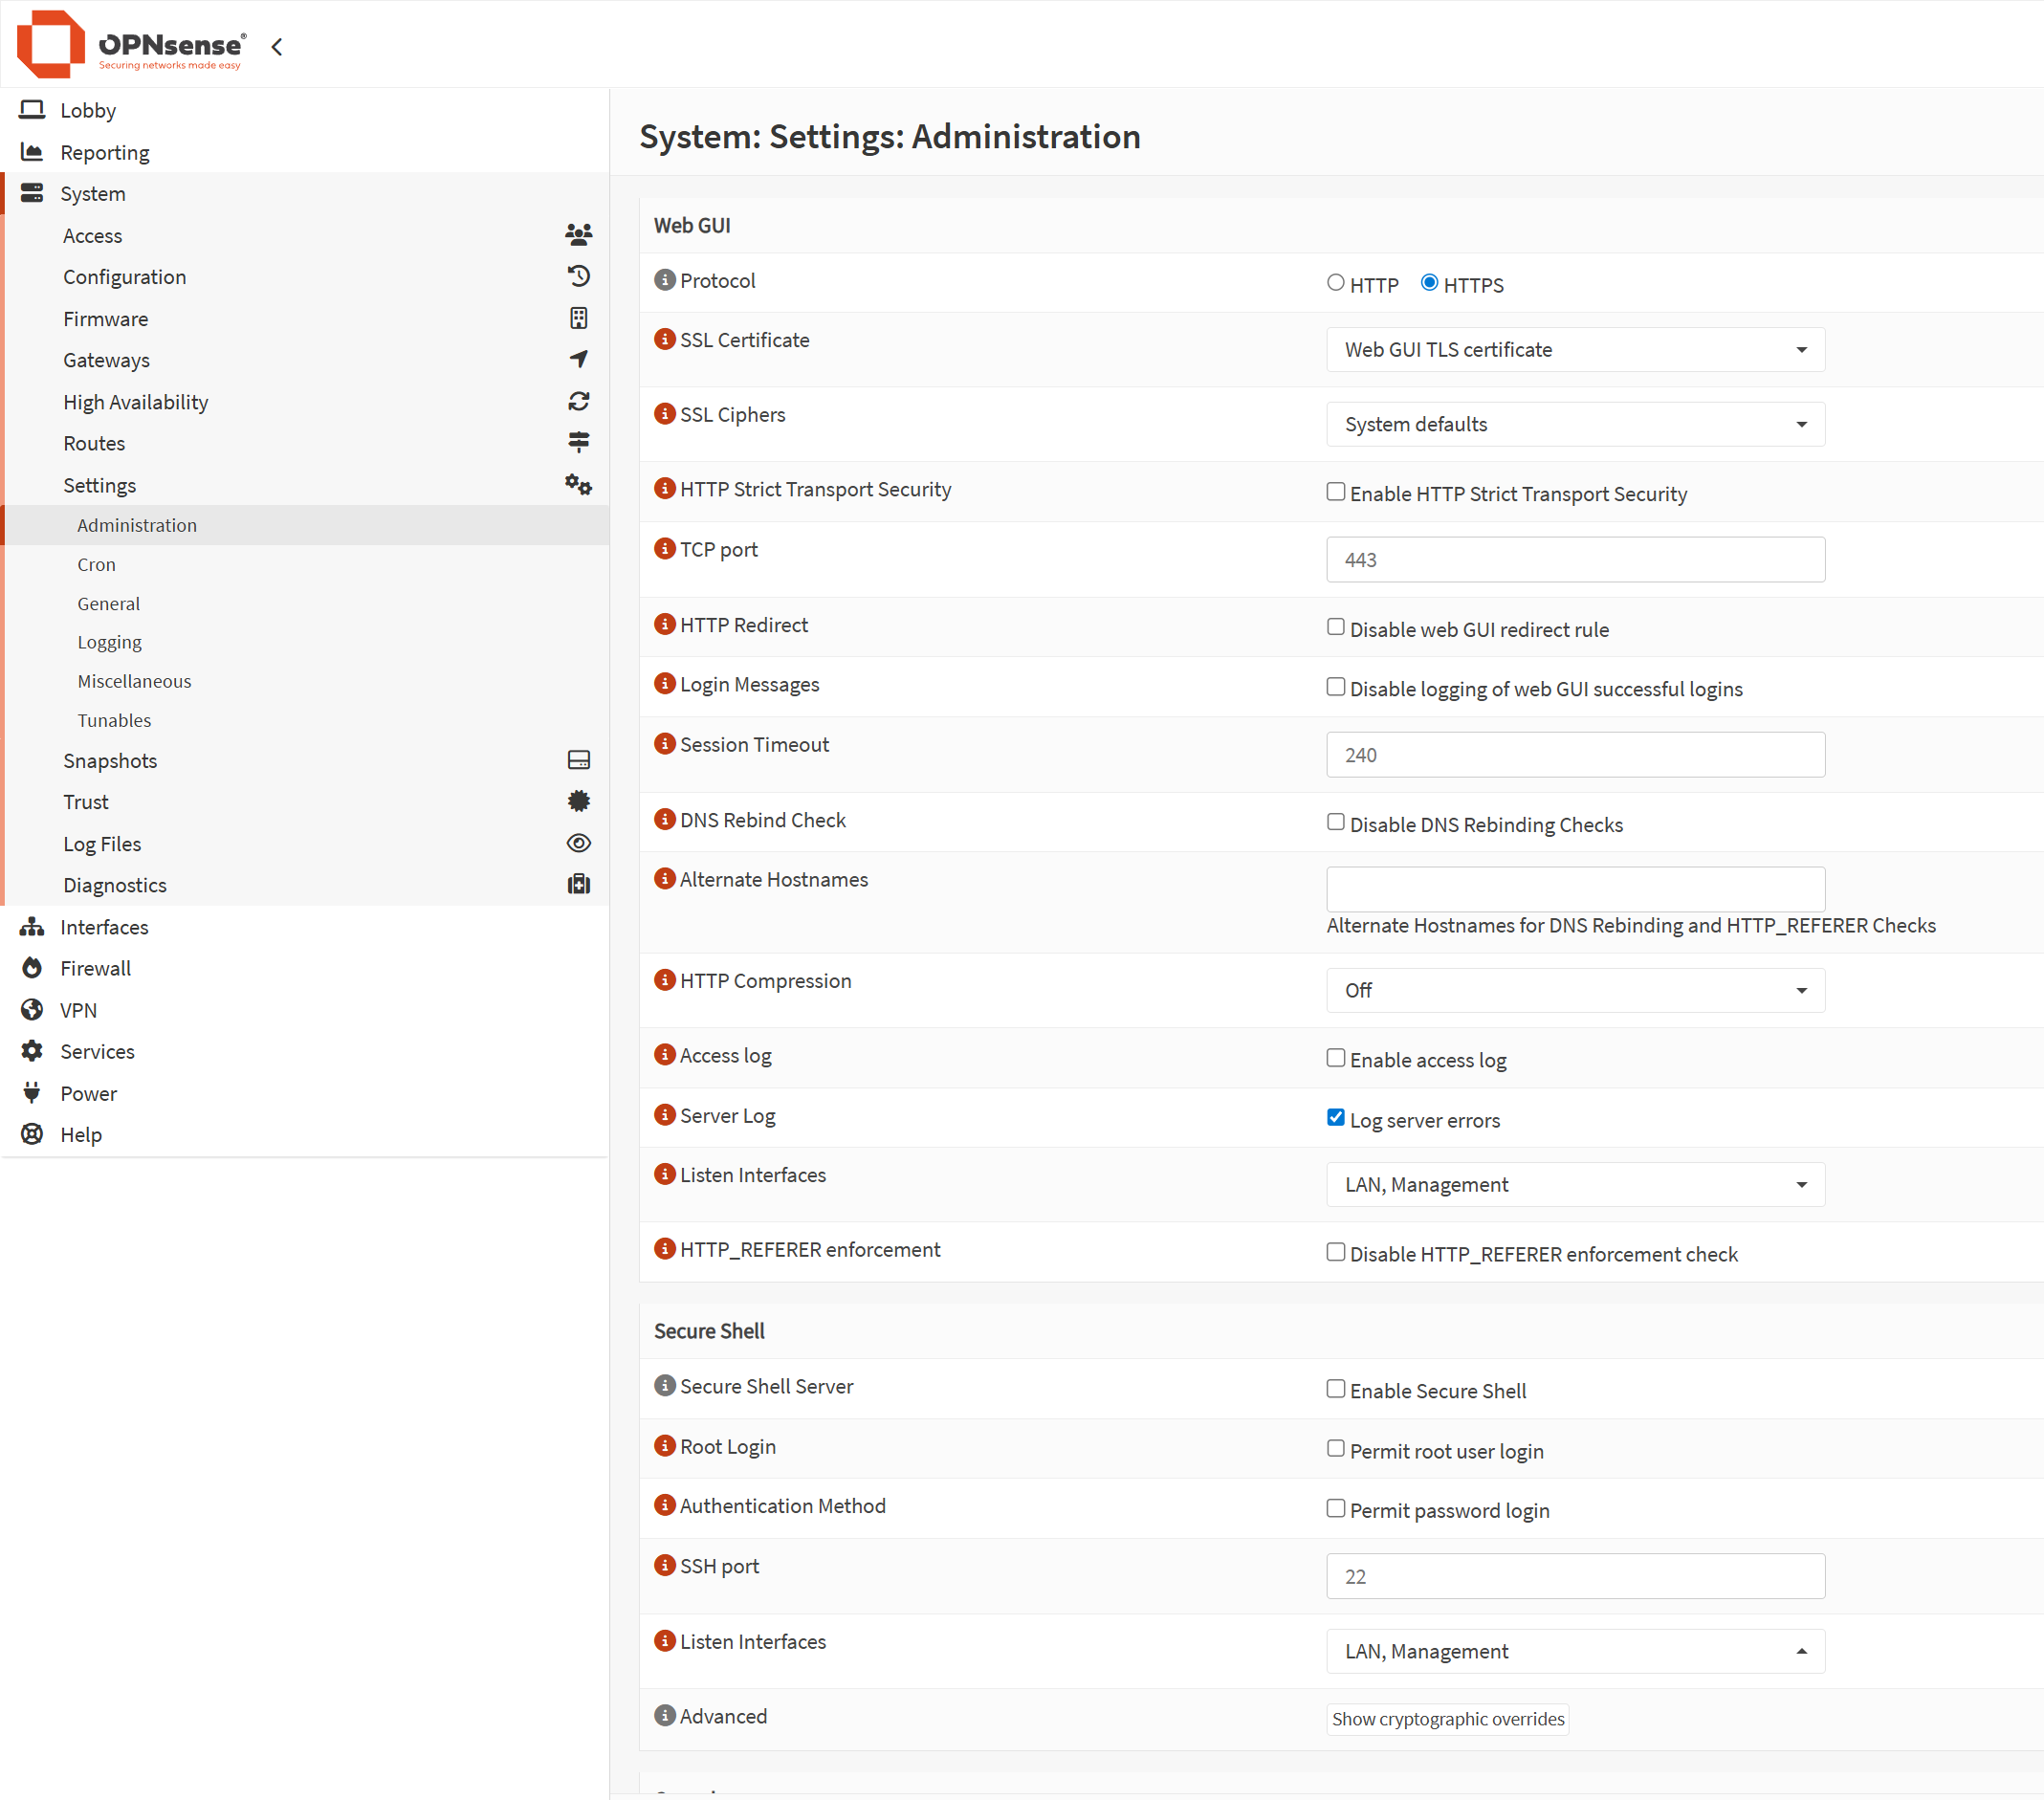
Along with all of this, I created a couple firewall rules so that the management VLAN was able to access the OPNSense management webpage - this started off with creating a rule to allow HTTPS & DNS (for later), then going into the administrative settings for OPNSense & adding the management VLAN to the listen interface.
I left LAN on the listen interface as well just incase something went wrong & I had to get back in, I could just switch back to 192.168.1.0/24
The next step was creating access & trunk ports on the switch.
Creating a access port for the port that the proxmox management cable is connected to; allowing only traffic tagged with the management VLAN through, now accessing this VLAN we need to tag our traffic with the Management VLAN ID, so creating an access port for the port that my PC is connected to the switch.
                            switch>en

                            switch#conf t

                            switch(config)#vlan 2

                            switch(config-vlan)#name MGMT

                            switch(config-vlan)#ex
                            switch#

                            switch#conf t

                            switch(config)#int g1/0/13

                            switch(config-if)#switchport mode access

                            switch(config-if)#switchport access vlan 2

                            switch(config-if)#ex
                            switch#

                            switch#conf t

                            switch(config)#int g1/0/1

                            switch(config-if)#switchport mode trunk

                            switch(config-if)#switchport trunk allowed vlan 2

                            switch(config-if)#ex
Another issue is I will have to manually still set my IP address to the current subnet to reach the management webpages for all the services, so we have to create a trunk port on the switch port that the LAN cable is connected to - this now means that DHCP will automatically give my PC an IP from the management subnet & won't have to manually set the IP.
UnifiOS
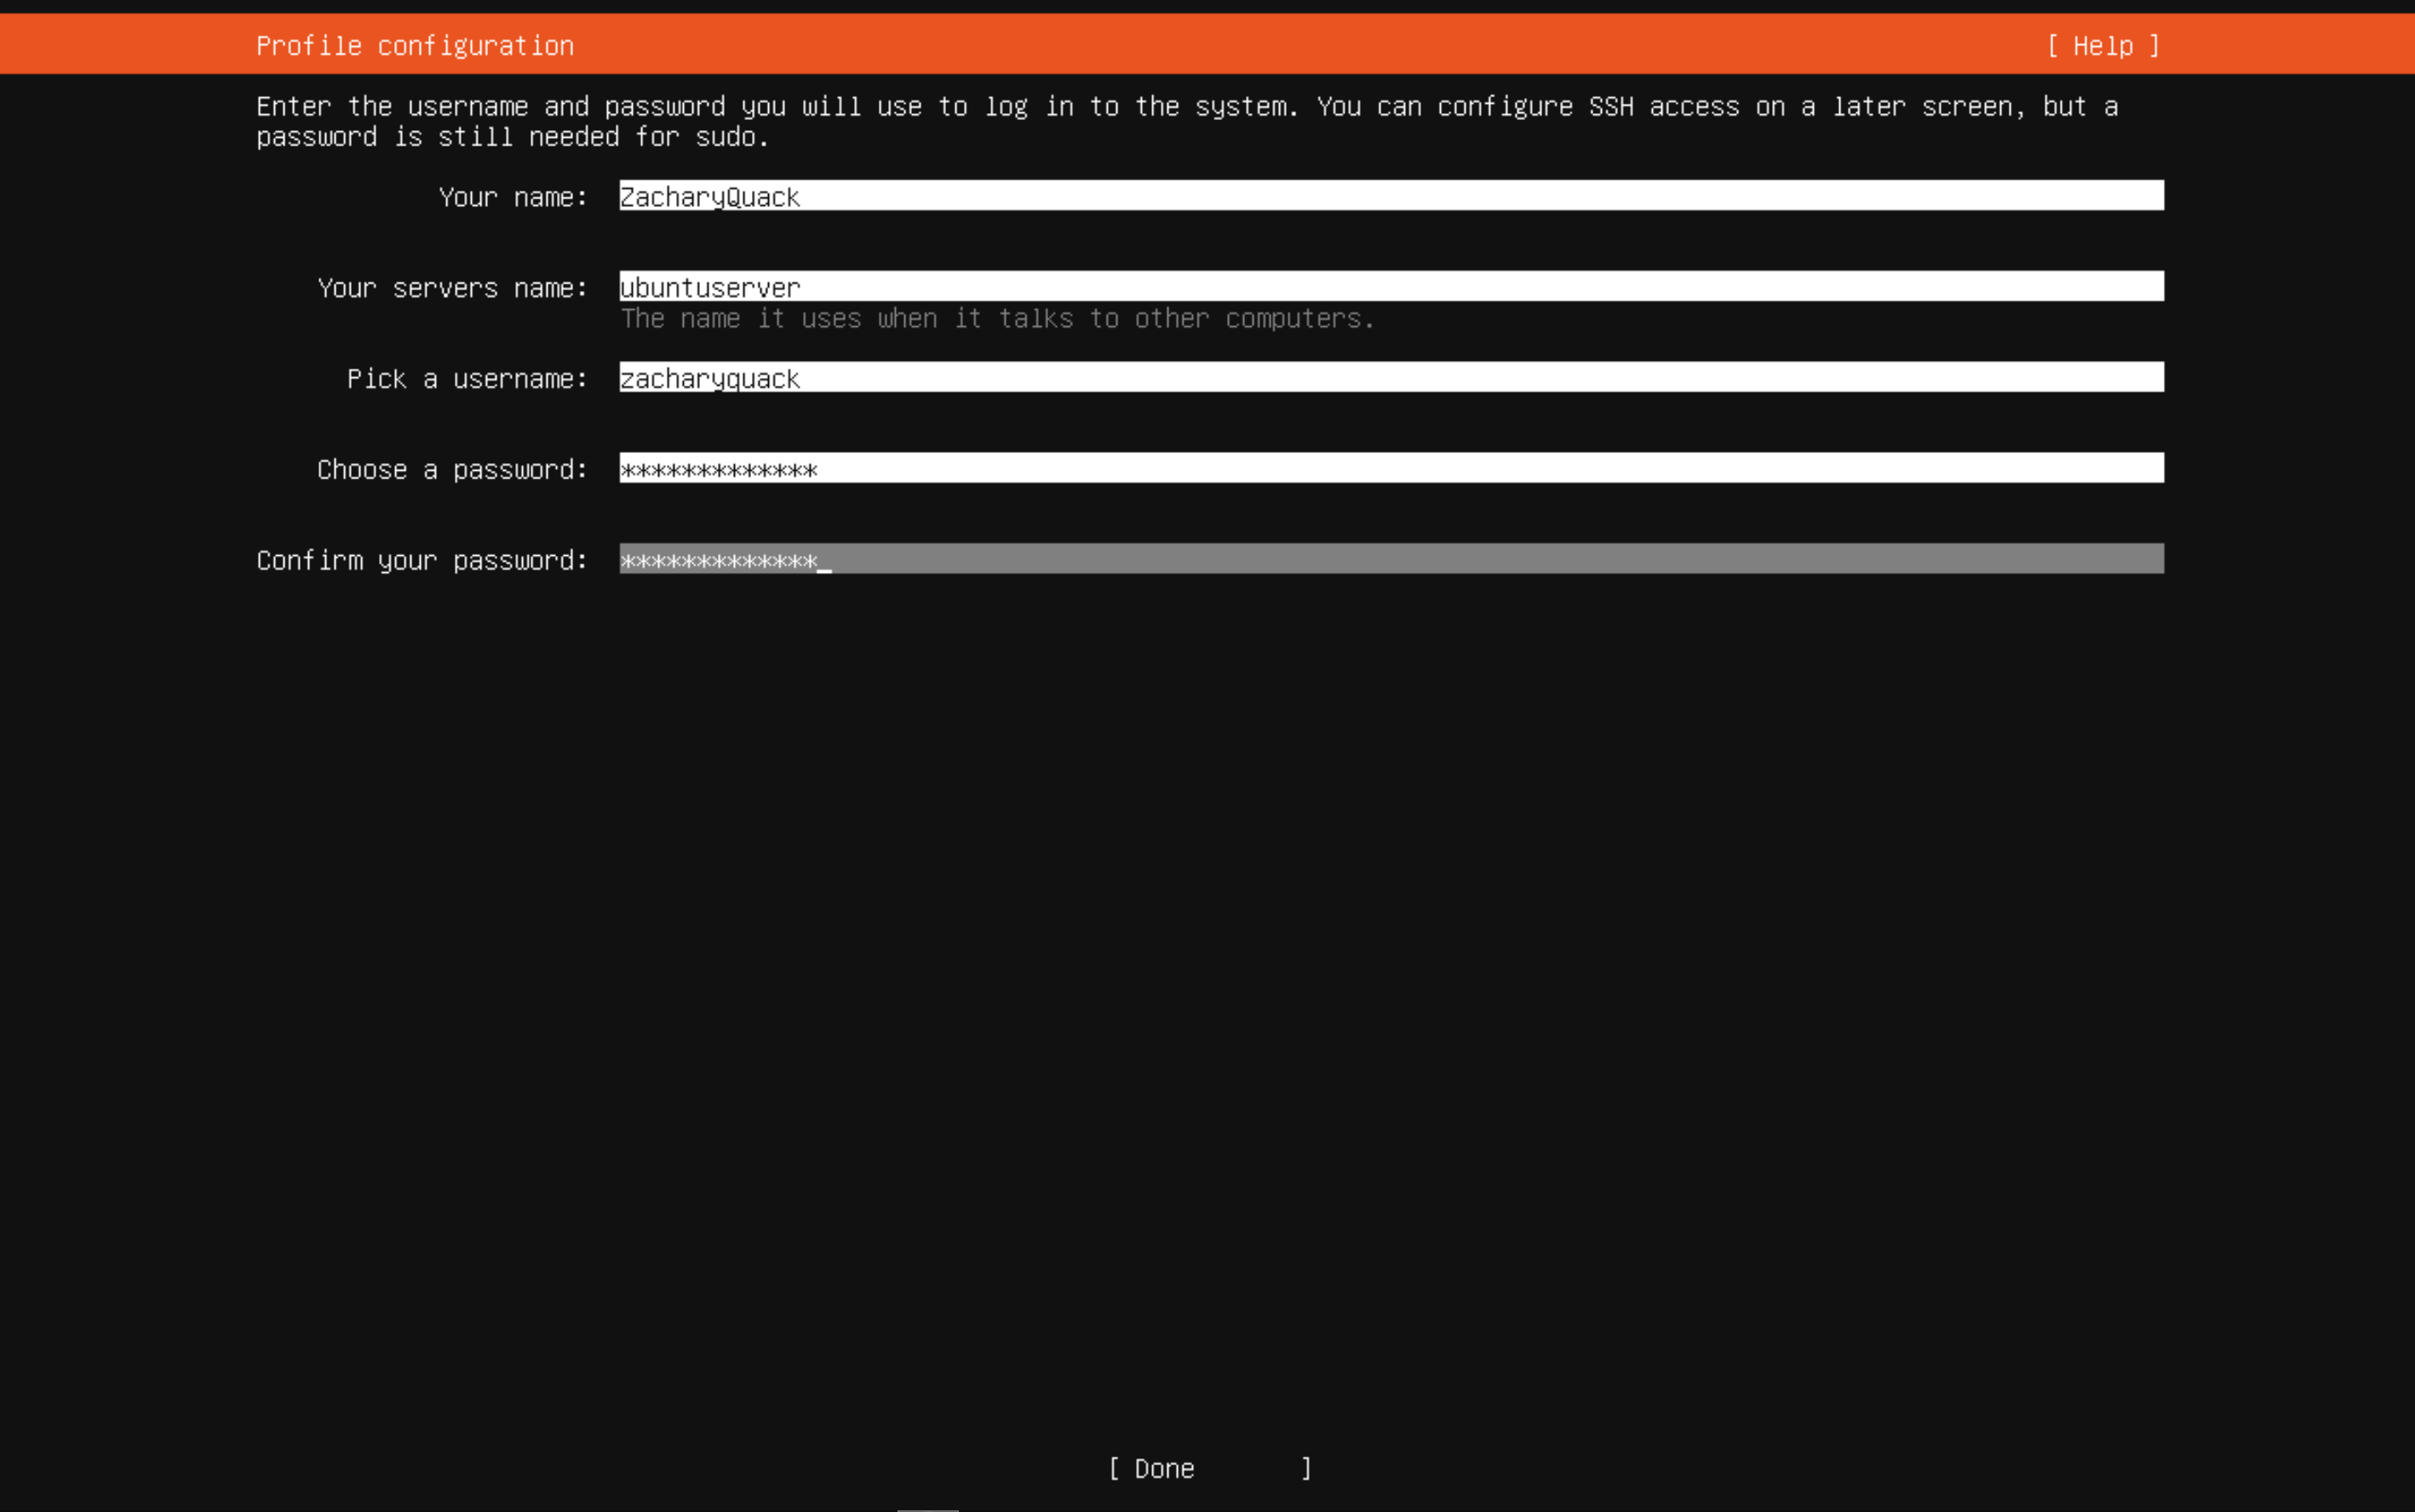
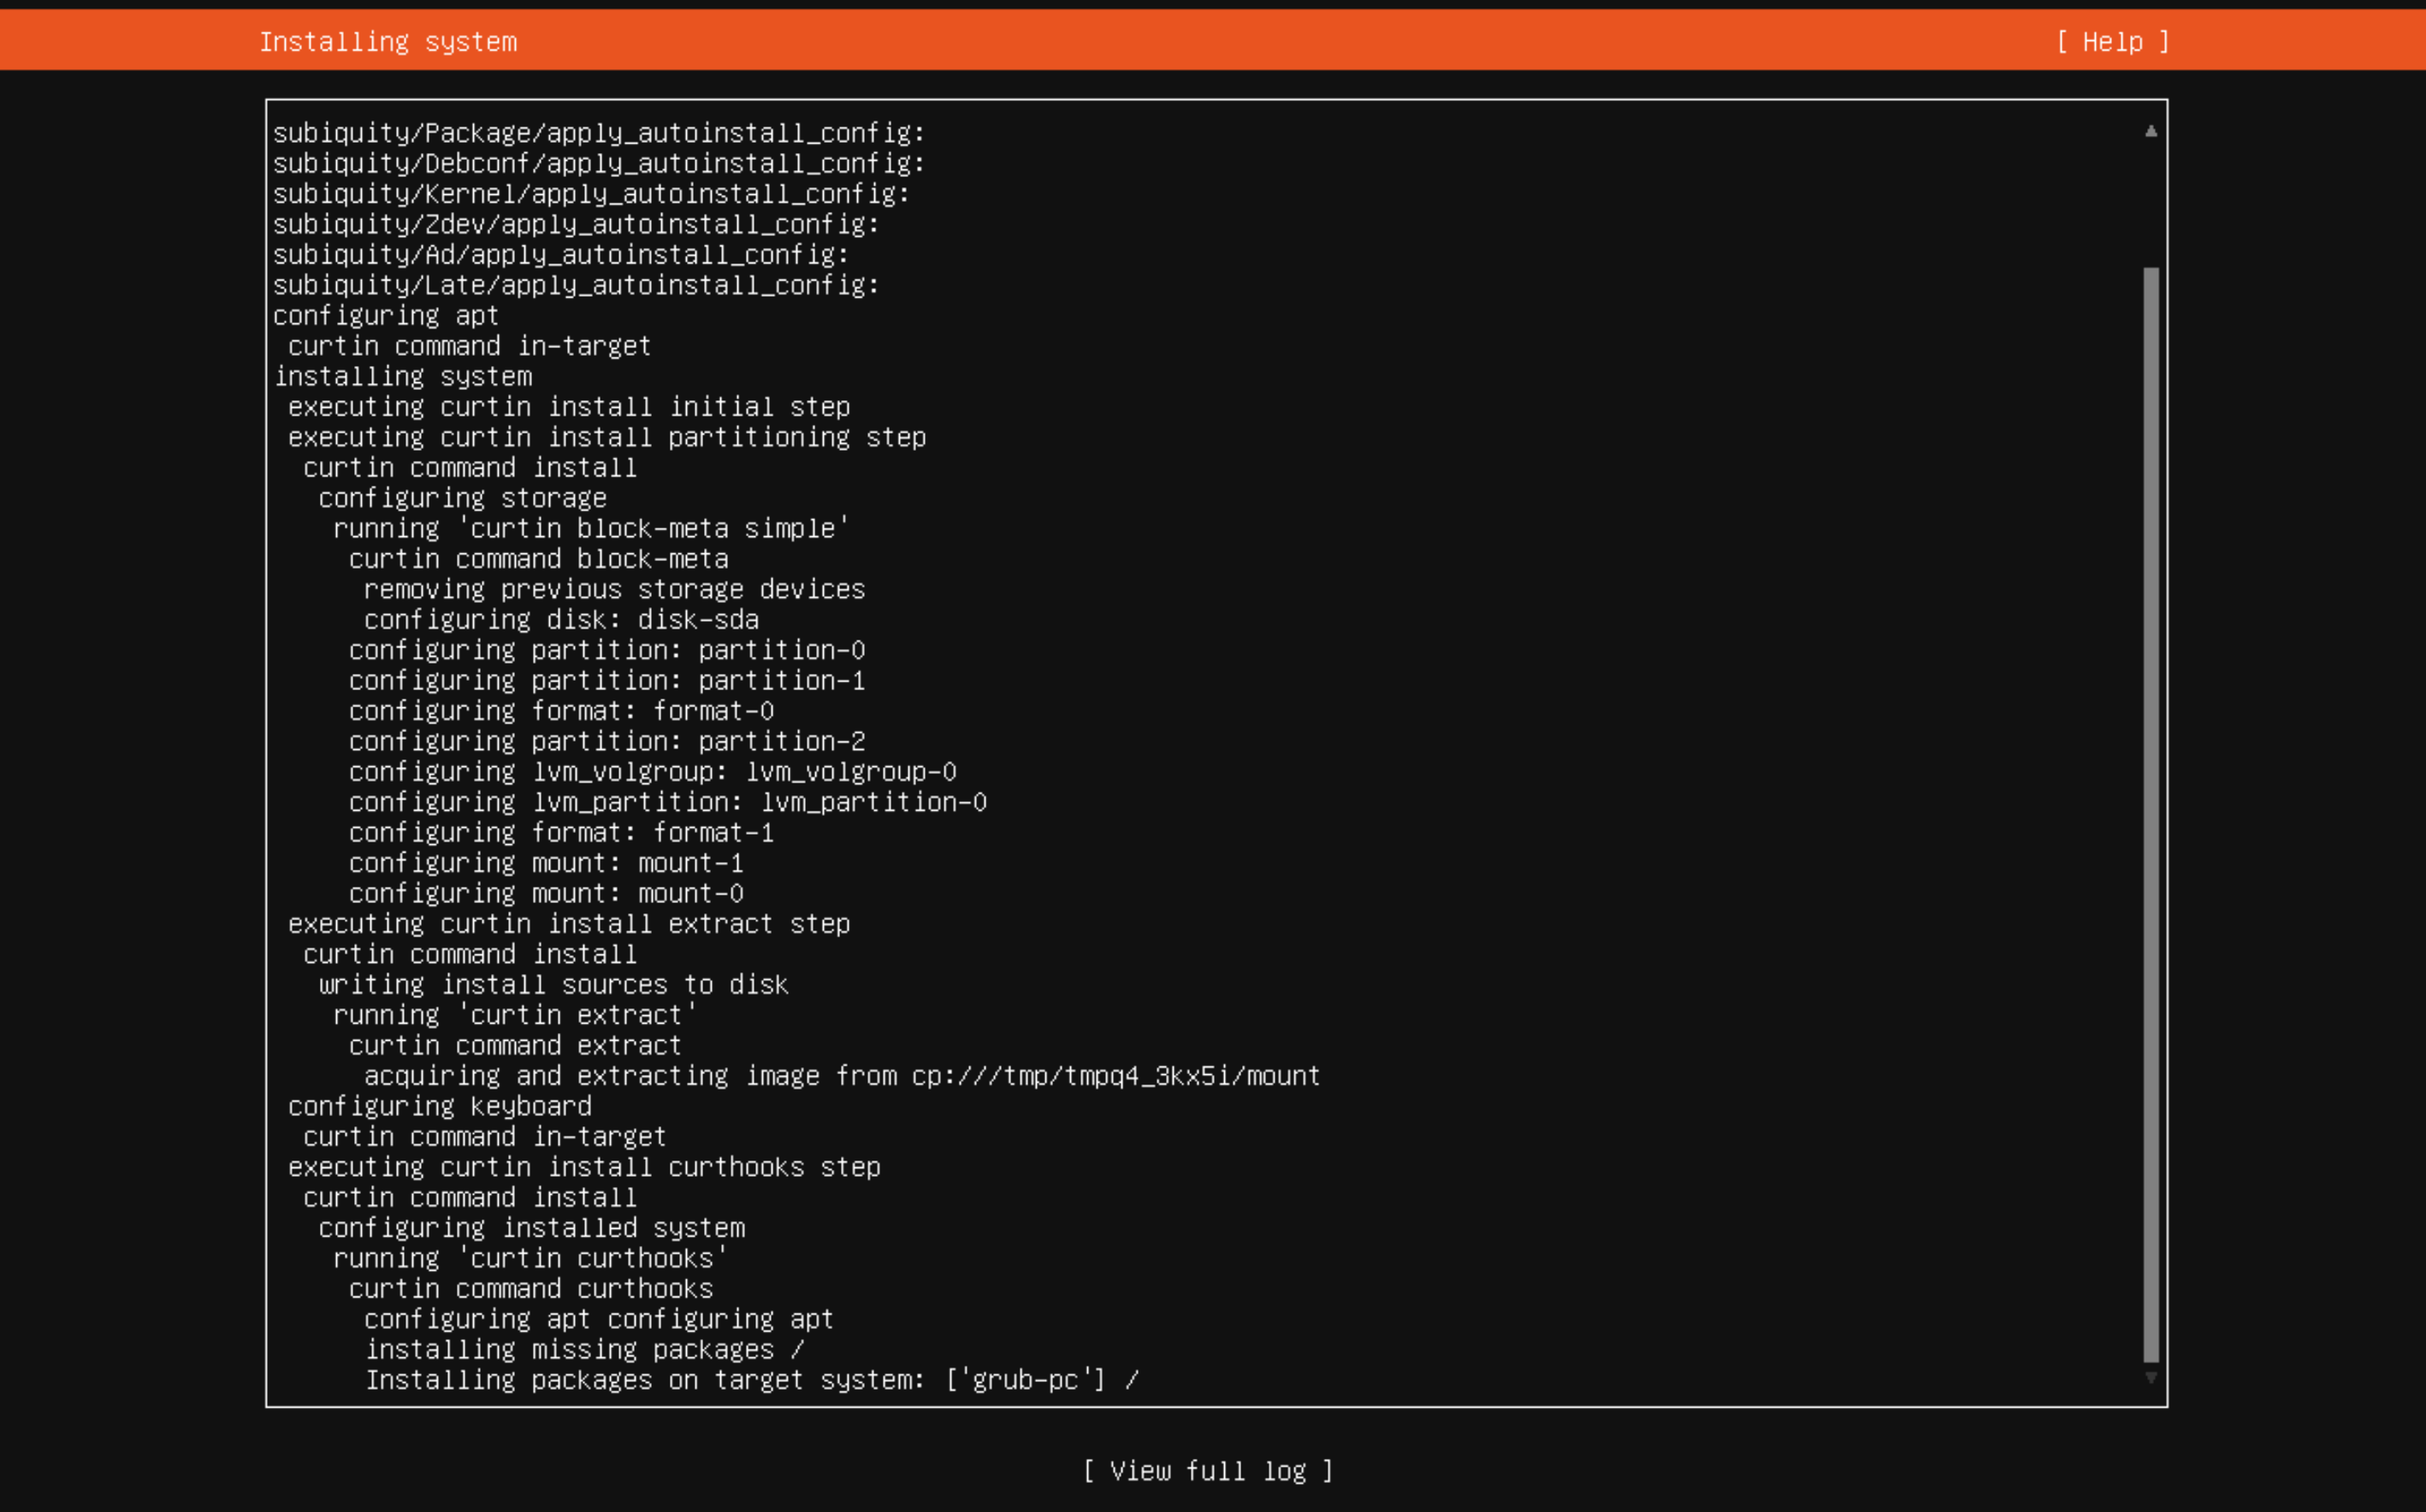
After setting up the router, I wanted to get a wireless network set up so that everyone in the house could use the router! This begun by setting up another VM, this time running Ubuntu Server OS, I downloaded the ISO file for Ubuntu & uploaded it to Proxmox - once this was uploaded, ran through the set up process for the Ubuntu server, created a login & filling in the details. Now that it was downloaded could go through the process of downloading UnifiOS onto the server.


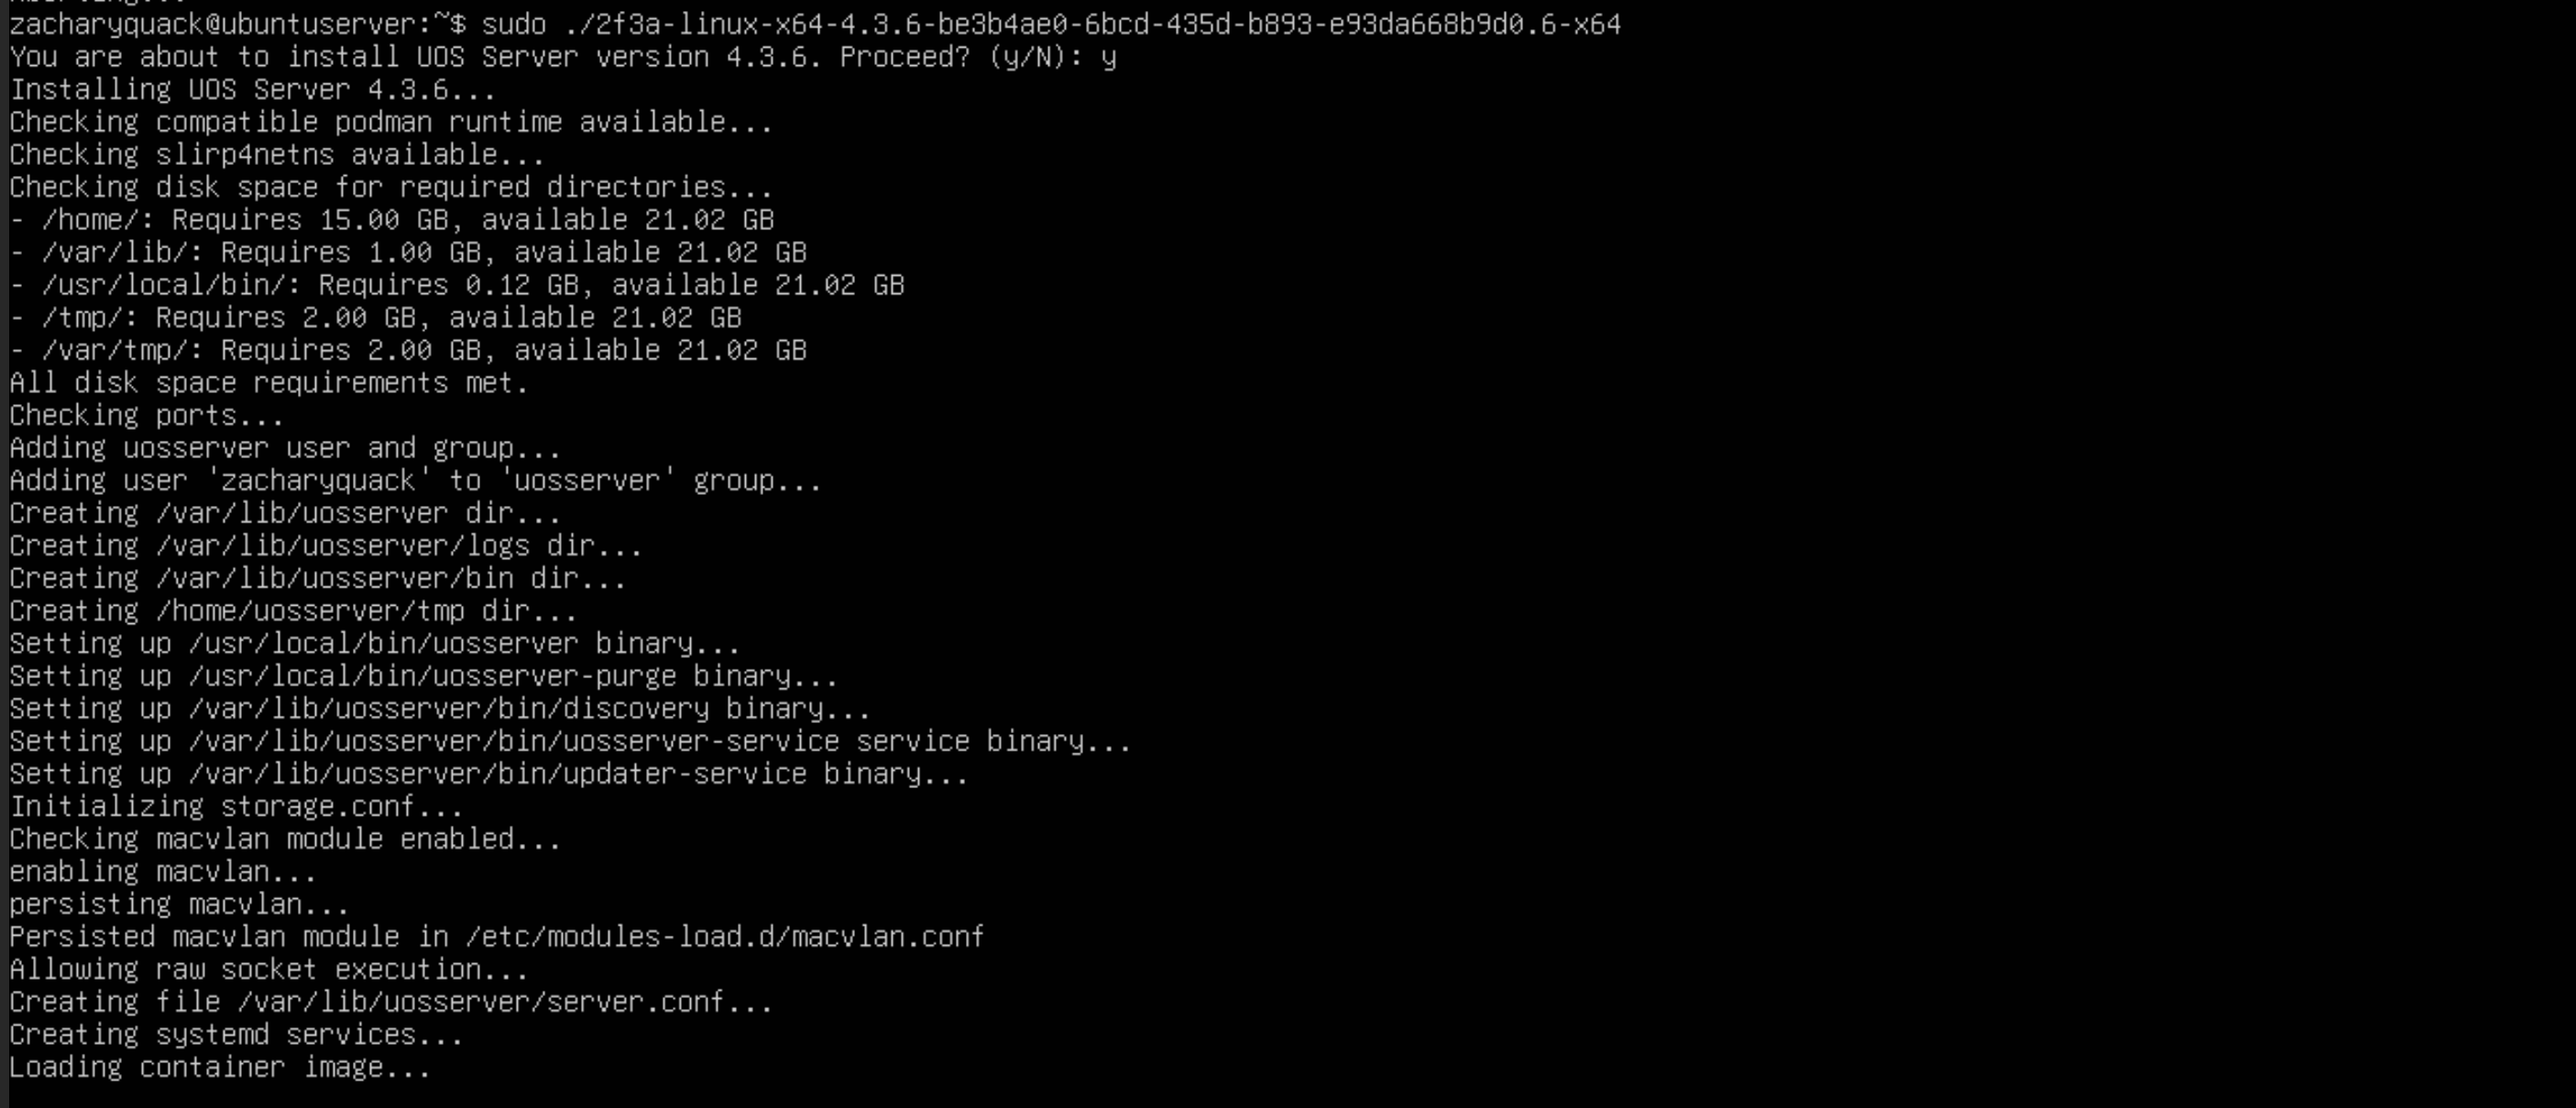
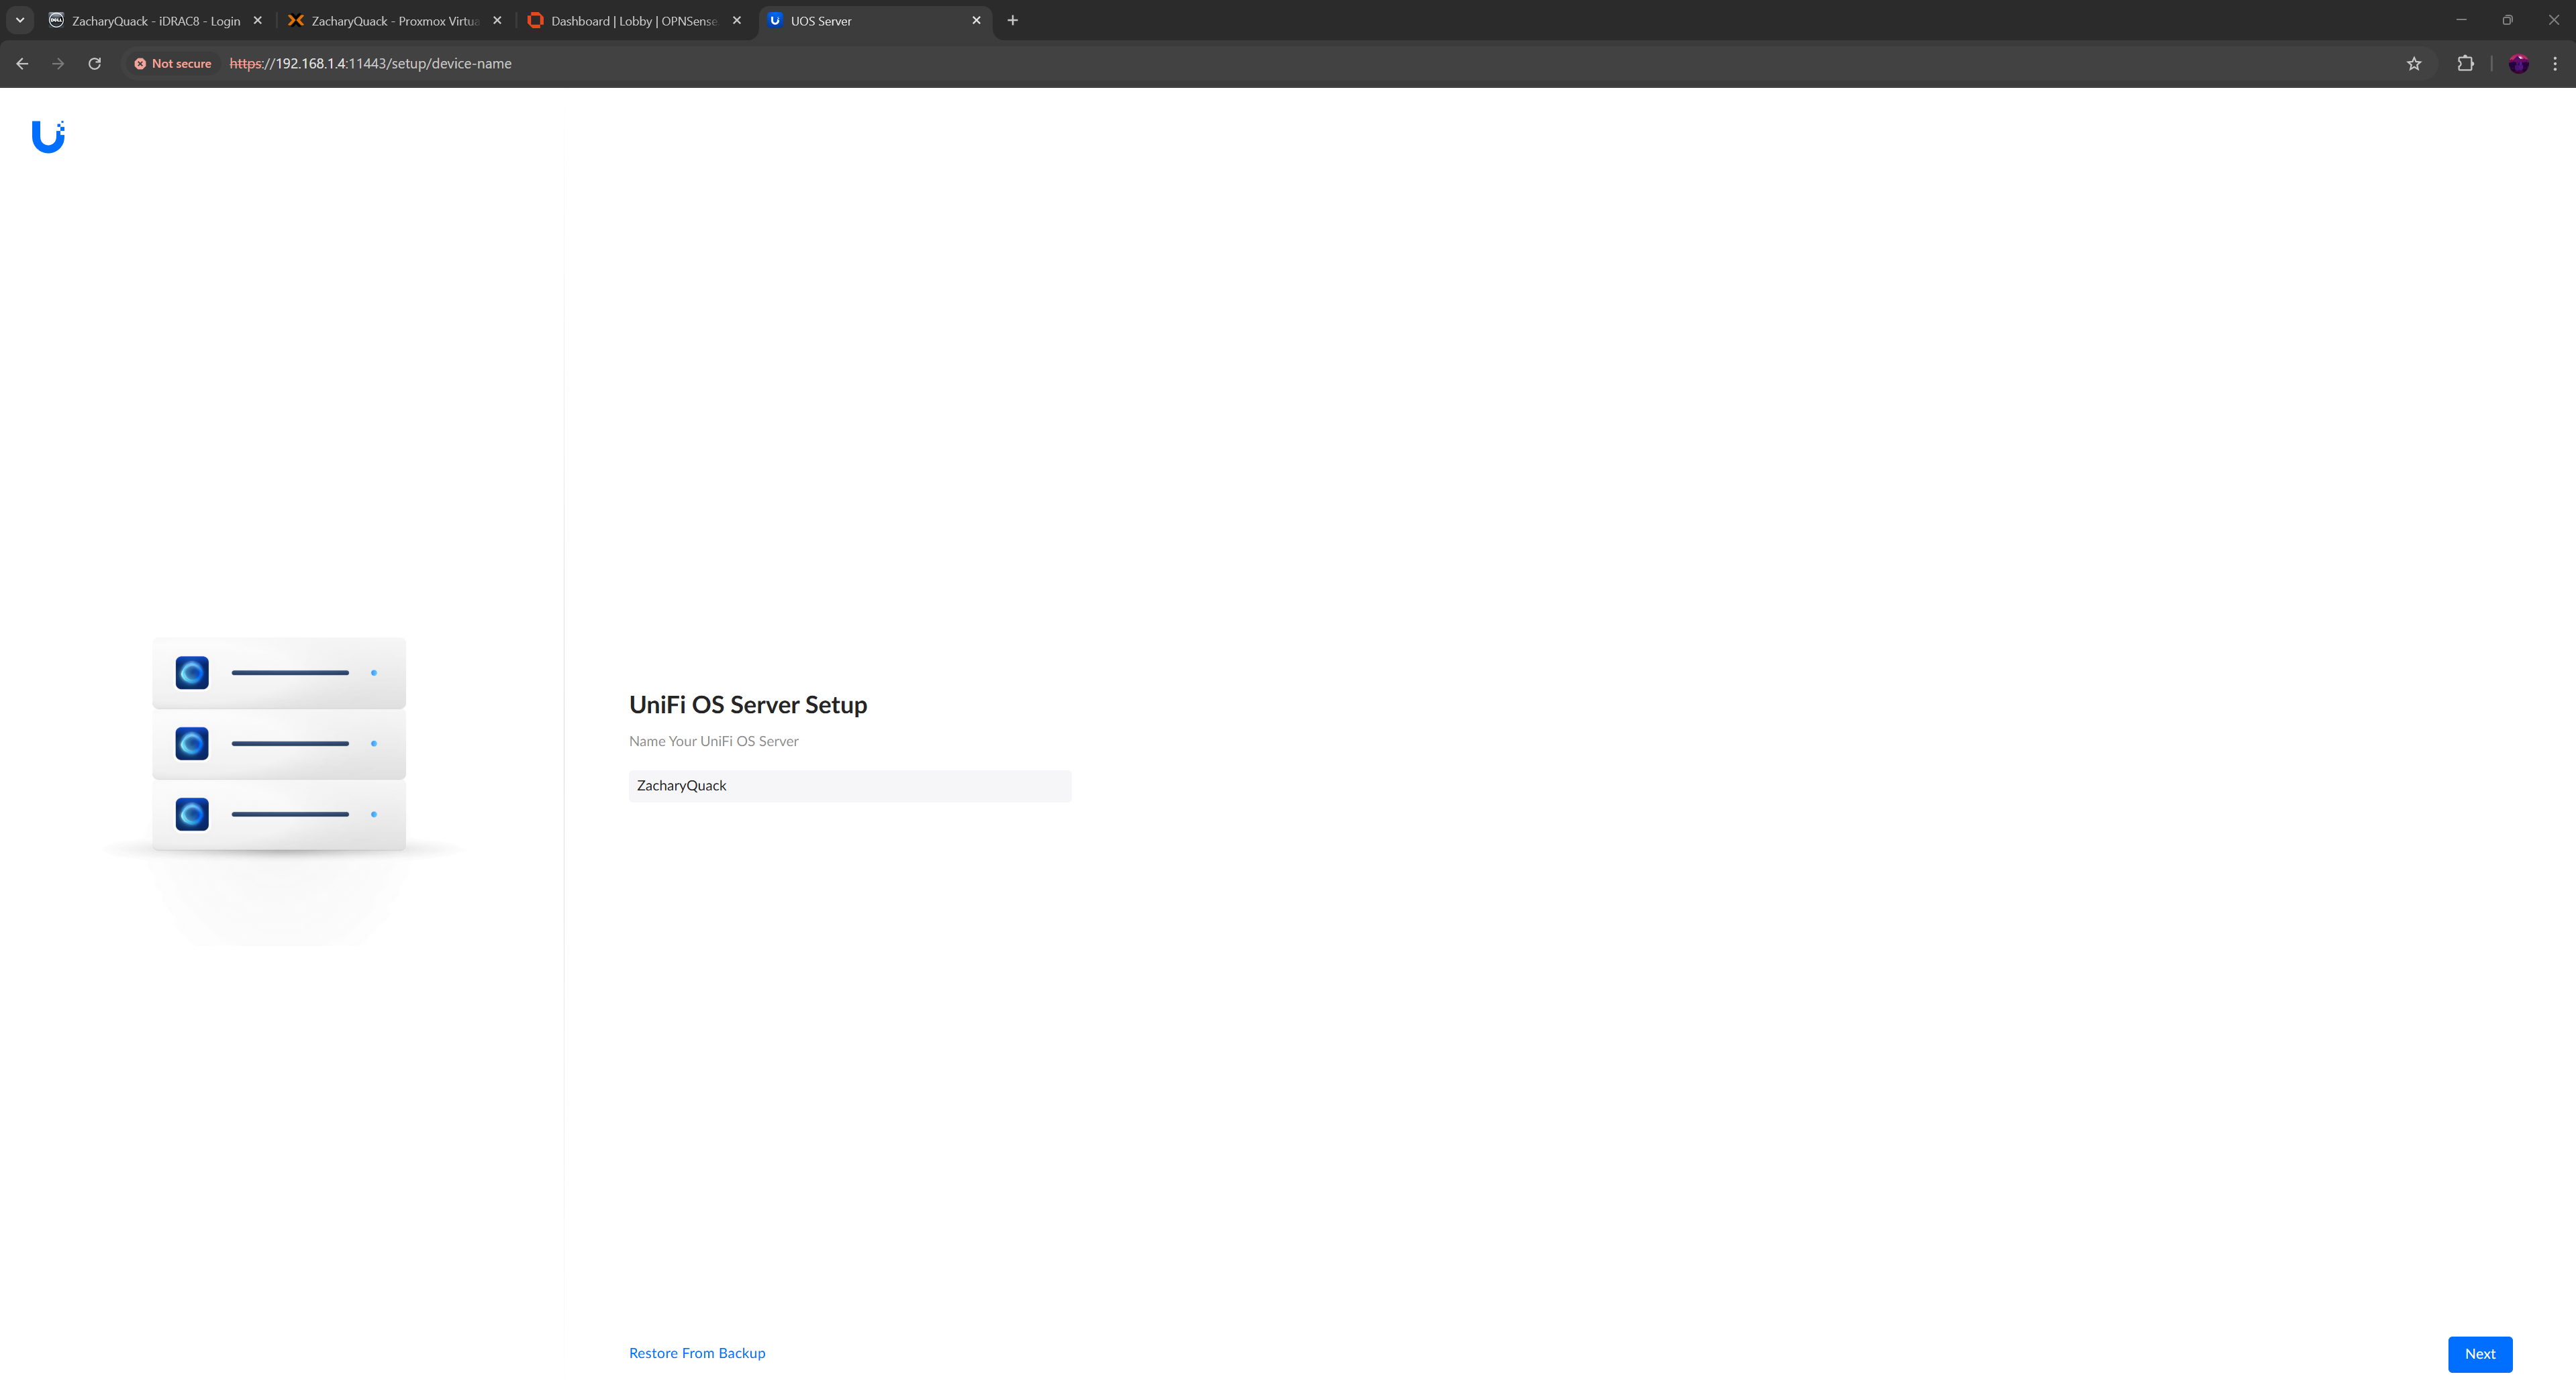


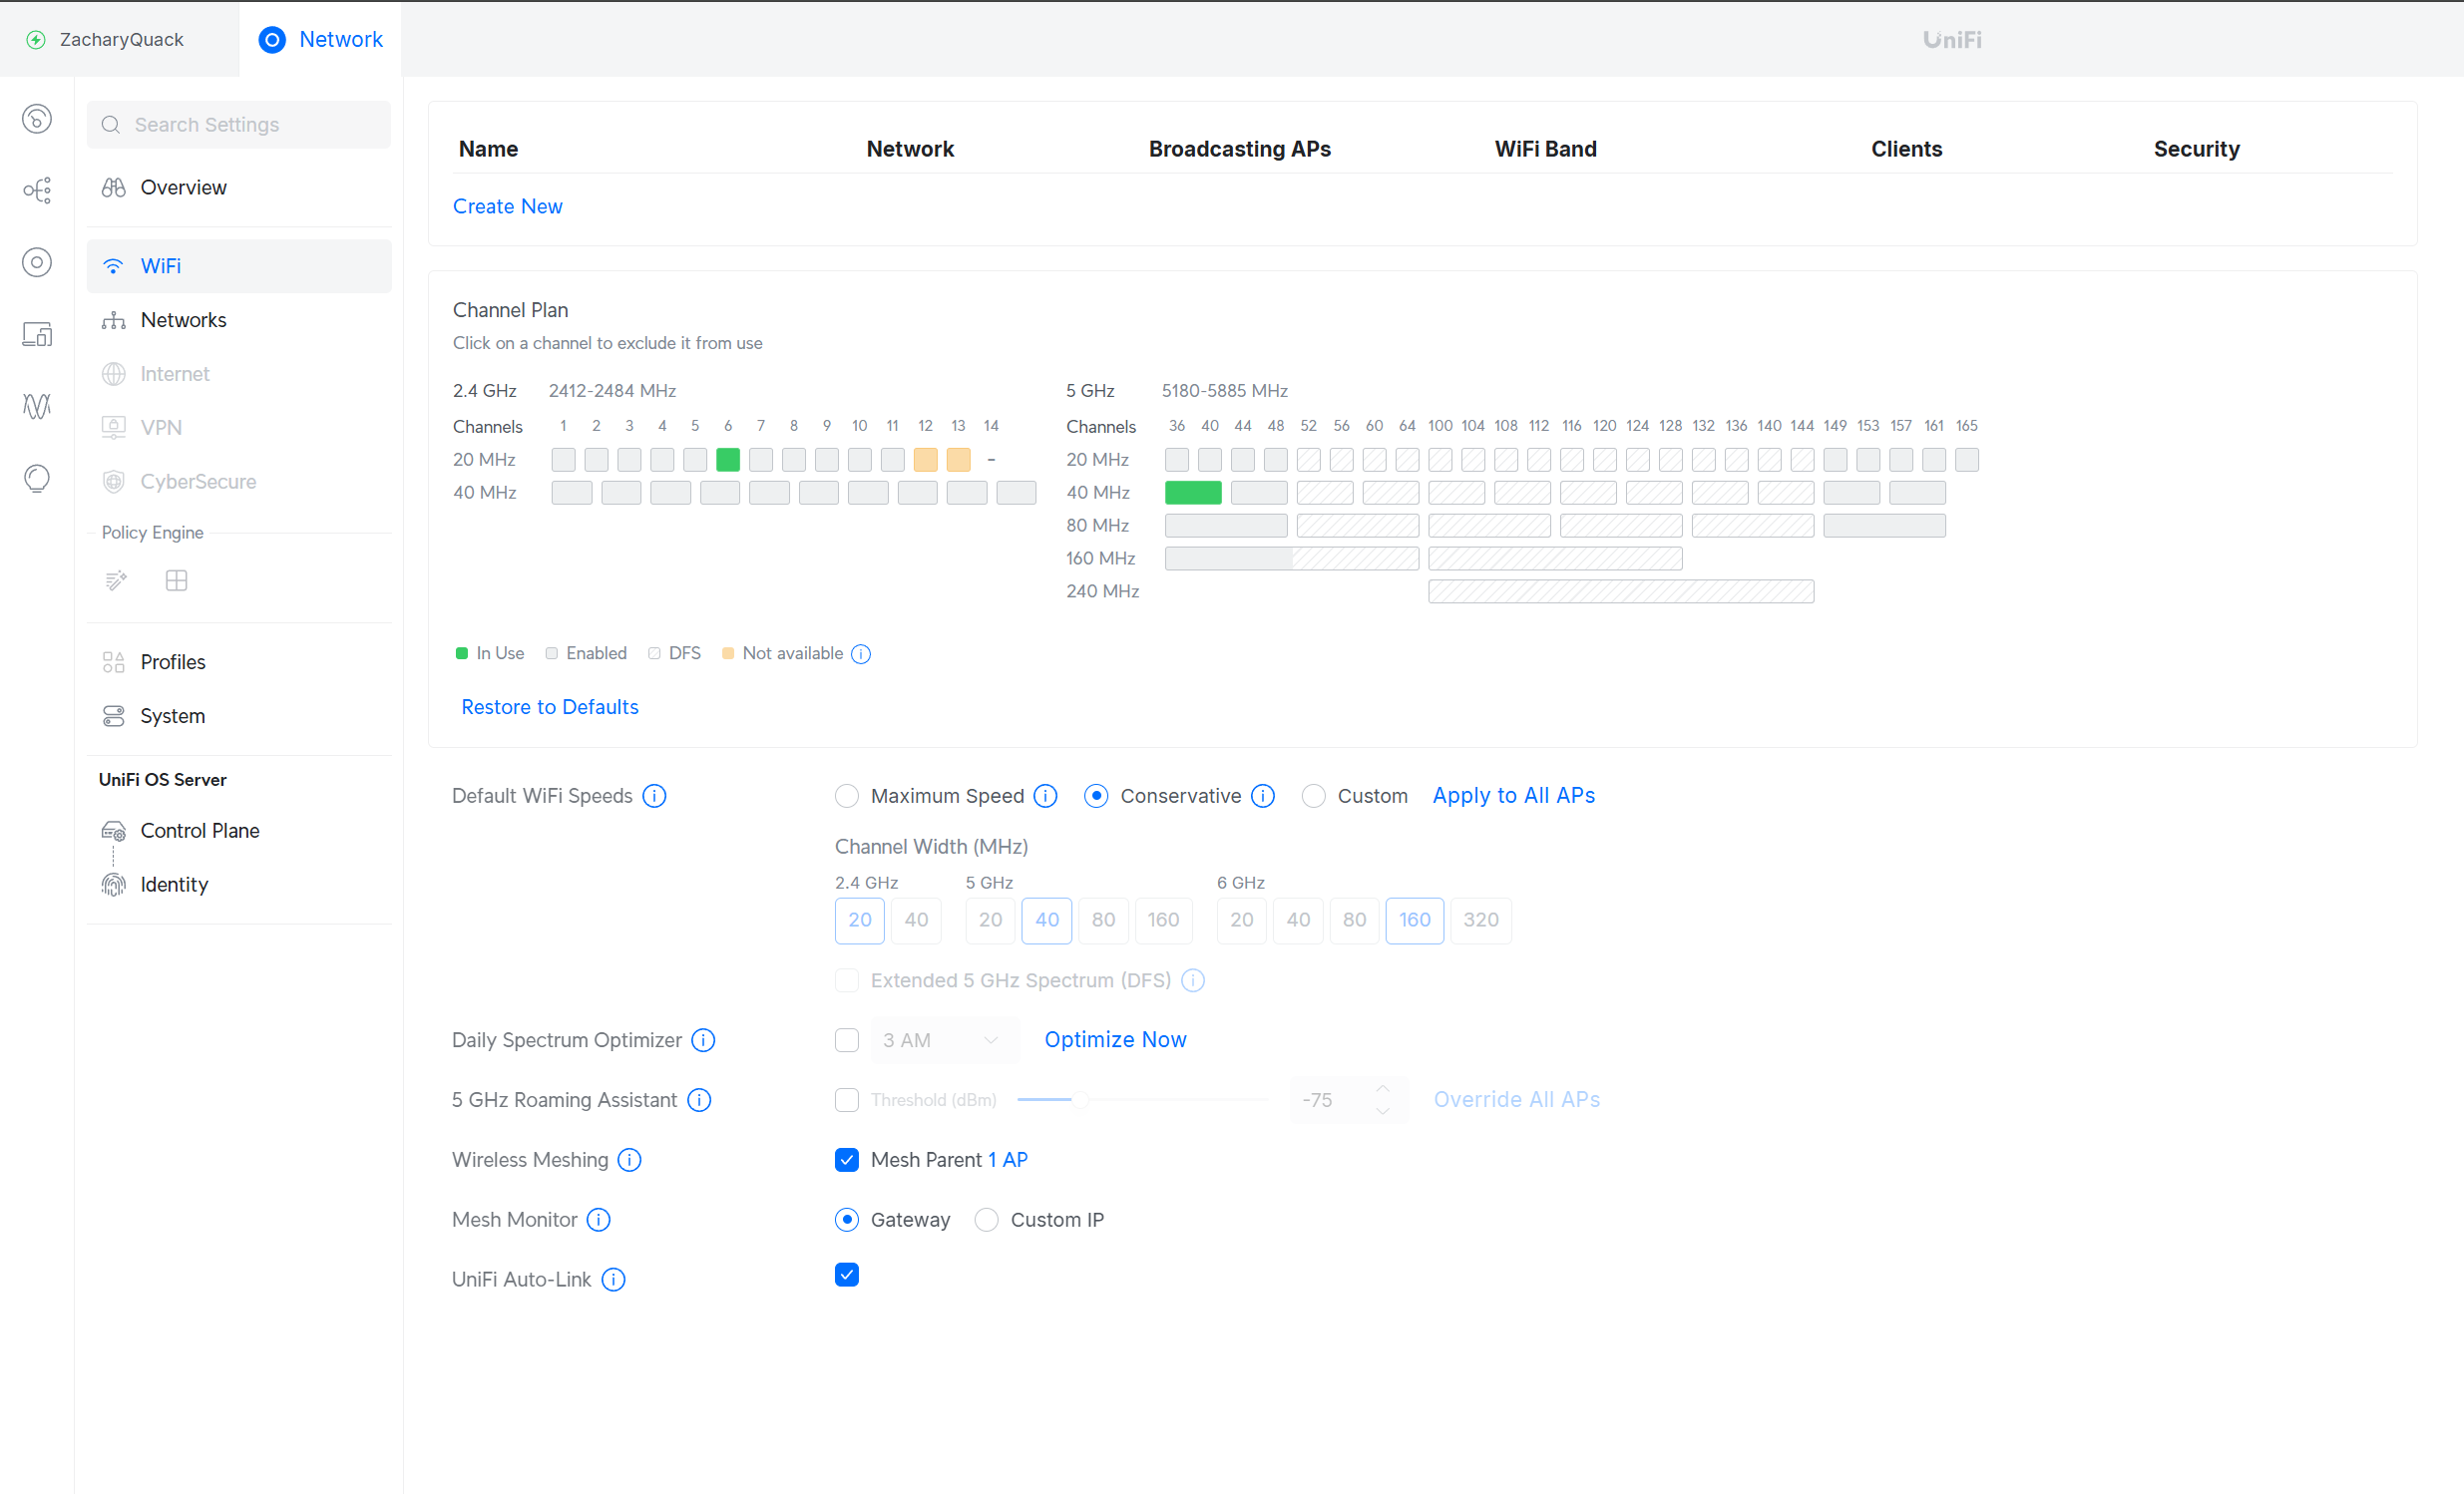

Installing the required libaries & then installing the file for UnifiOS - once restarting the VM, it booted into UnifiOS set up screen & had to go through it entering details. Now onto the homepage, plugging in our AP into the switch, nothing happened because I needed to enable PoE on the switch port, once this was enabled; Unifi picked up the AP & started the initiation process.
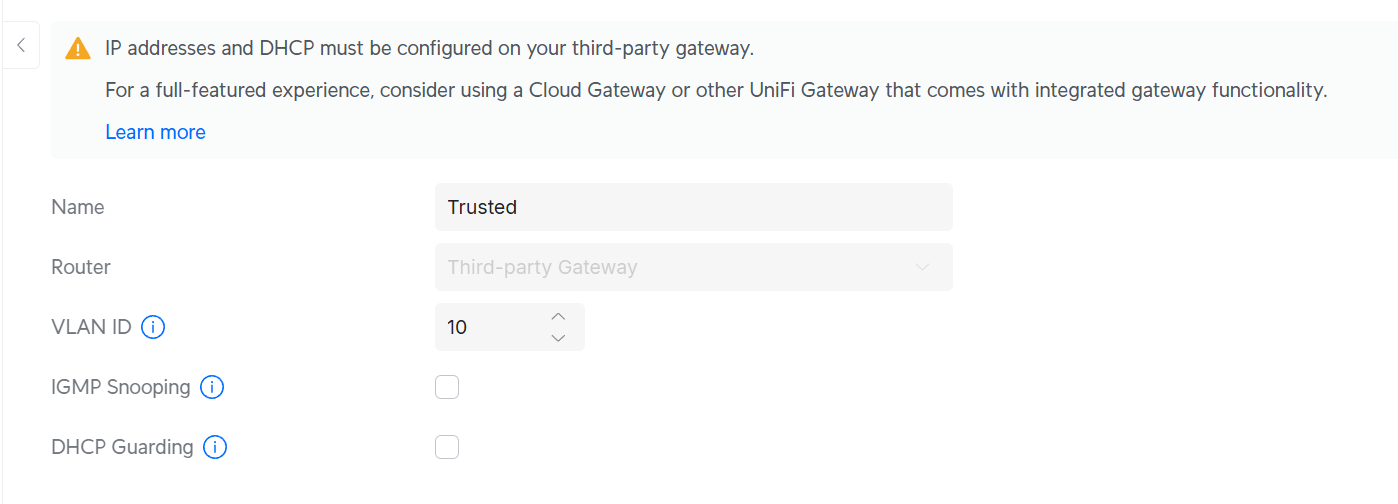
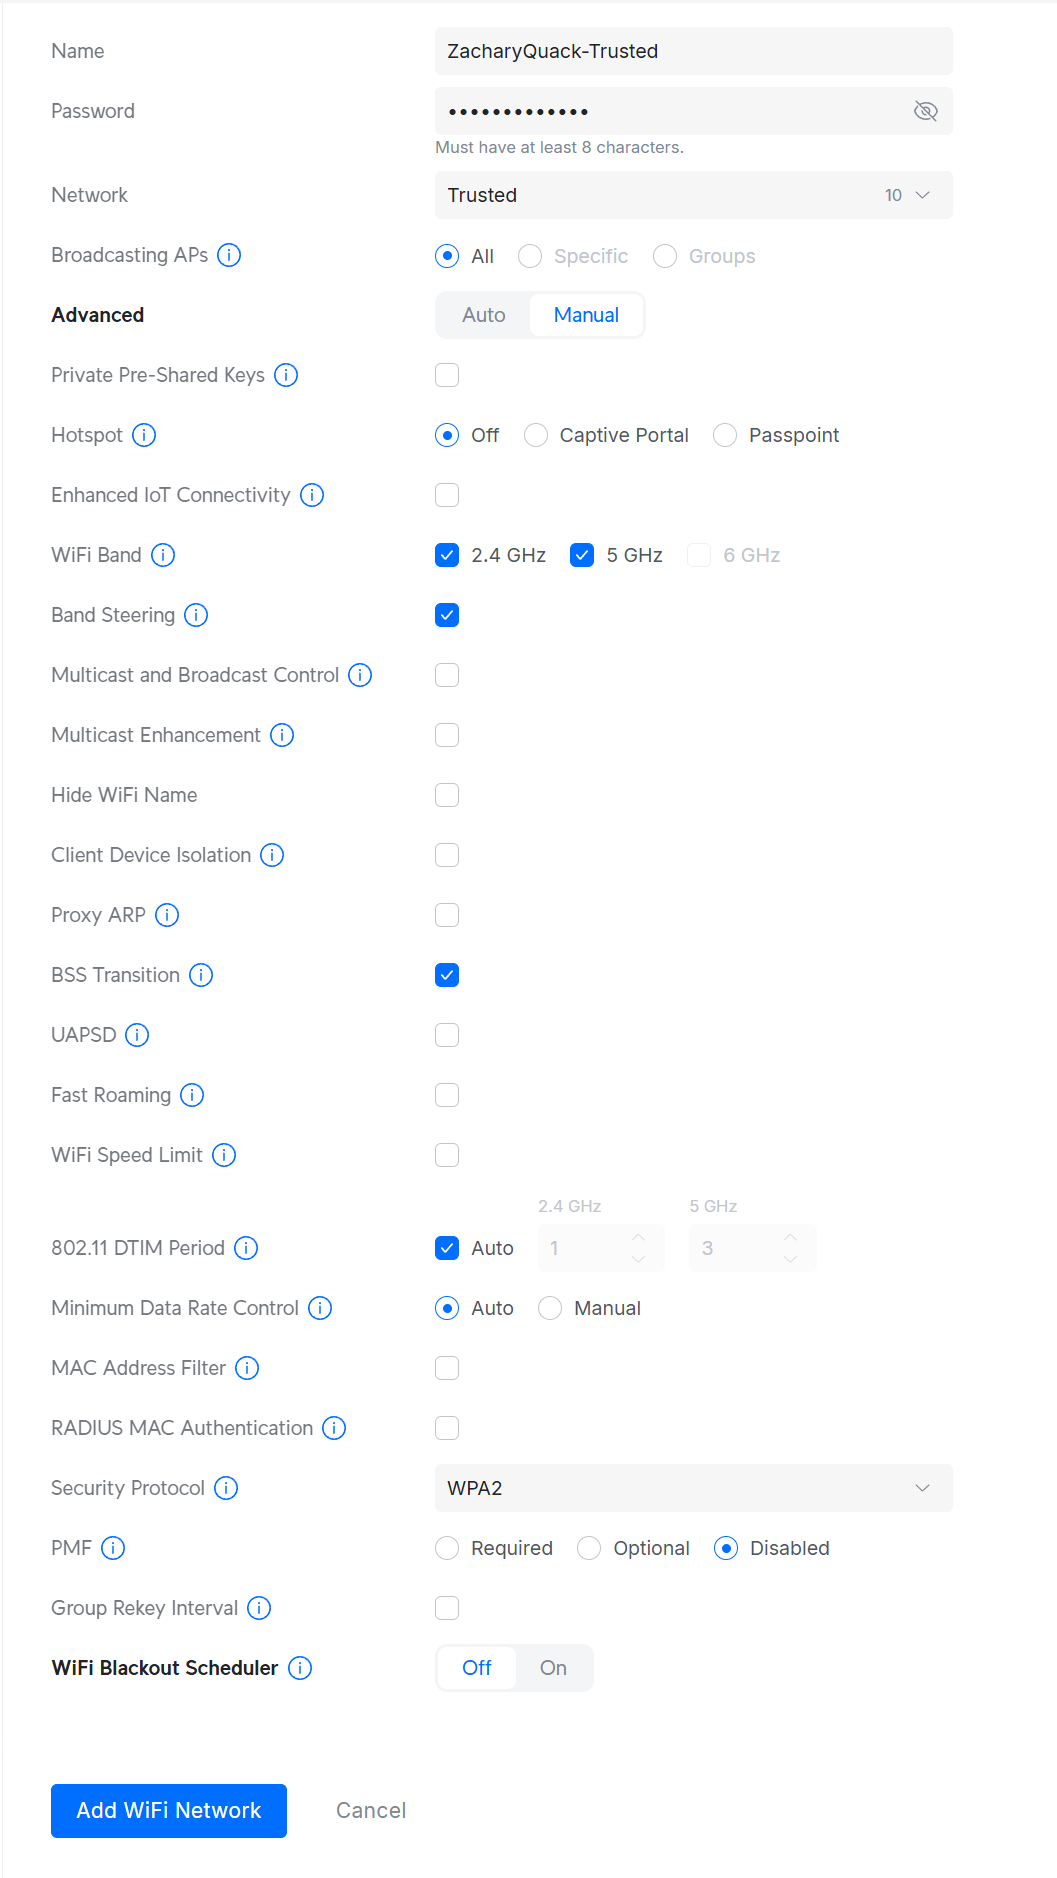
Once that was complete, I created a new VLAN for the Trusted network, once created I could broadcast out this network on our AP as an SSID; but this wont give us an IP from DHCP since it cant reach the router since it wont be tagged!
                                switch>en

                                switch#conf t

                                switch(config)#vlan 10

                                switch(config-vlan)#name Trusted

                                switch(config-vlan)#ex
                            switch#

                            switch#conf t

                            switch(config)#int g1/0/35

                            switch(config-if)#switchport mode trunk

                            switch(config-if)#switchport trunk allowed vlan 1,2,10

                            switch(config-if)#switchport trunk allowed native 1

                            switch(config-if)#ex
Created a trunk port for the port the Trusted VLAN, this now allows a device connected to the Trusted VLAN to get an IP from DHCP.
This was repeated for the creation of the Guest VLAN & broadcasted, but the Management VLAN was added to the trunk as well, this is not planned on being broadcasted but allows the AP to be managed & communicate with Unifi.
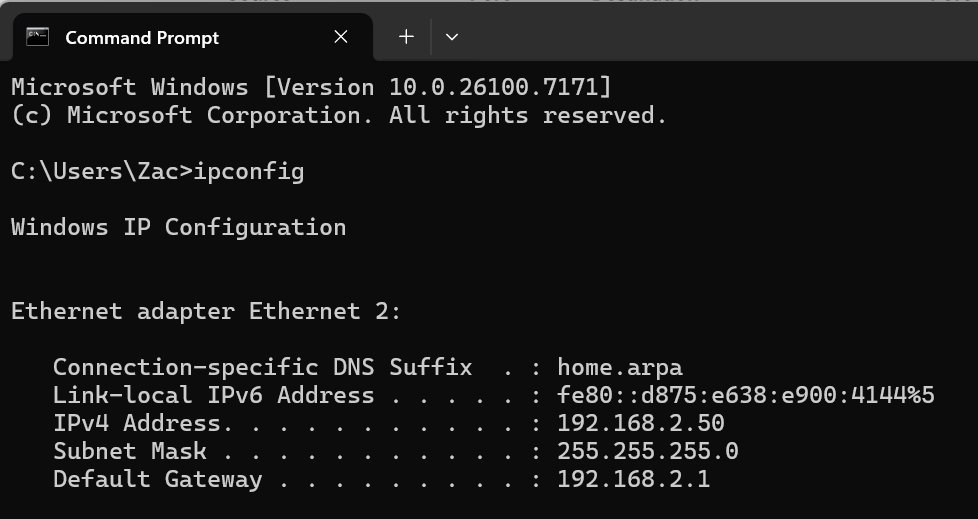
The AP did grab the wrong IP from the photo but this has been updated to 192.168.2.0/24 IP range & could remove the LAN VLAN from the trunk - VLAN 1 just had to be included initially to allow for the AP to initially communicate :)
Actually getting Internet Connectivitiy...

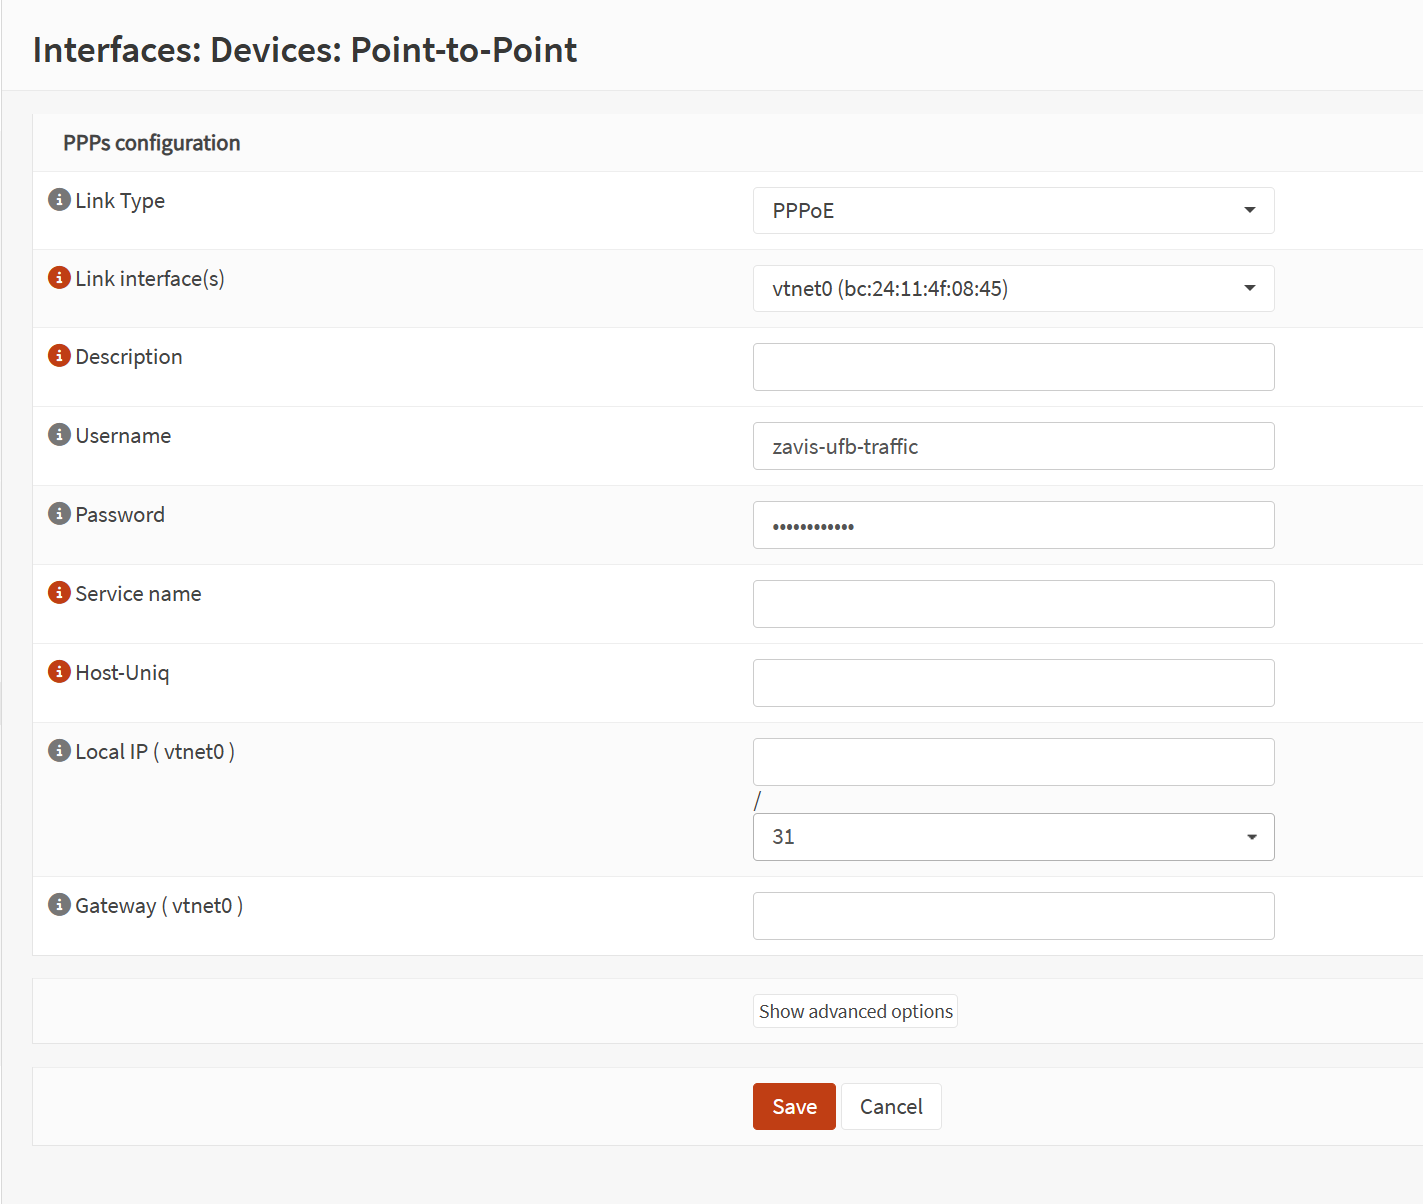

Now that we have a wireless network set up, we can switch over from the ISP modem to our very own network!!!! This involved contacting my ISP to get the PPPoE settings so we can set this up on OPNSense.
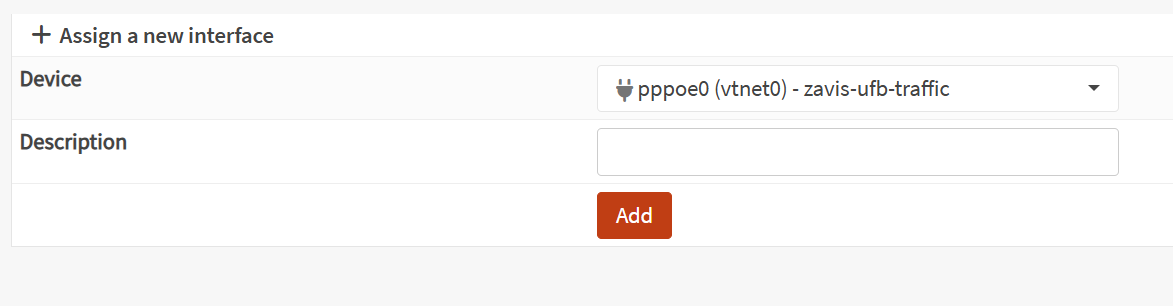
The require details were sent via e-mail, now on OPNSense I create a new Point-to-Point device & filled in the details with what I was provided, assigned this to the WAN port & saved it.
Now I unplugged the ISP modem & plugging in a cable to the WAN port to our ONT... anddddd TA-DA!! We can an internet connection!
PiHole

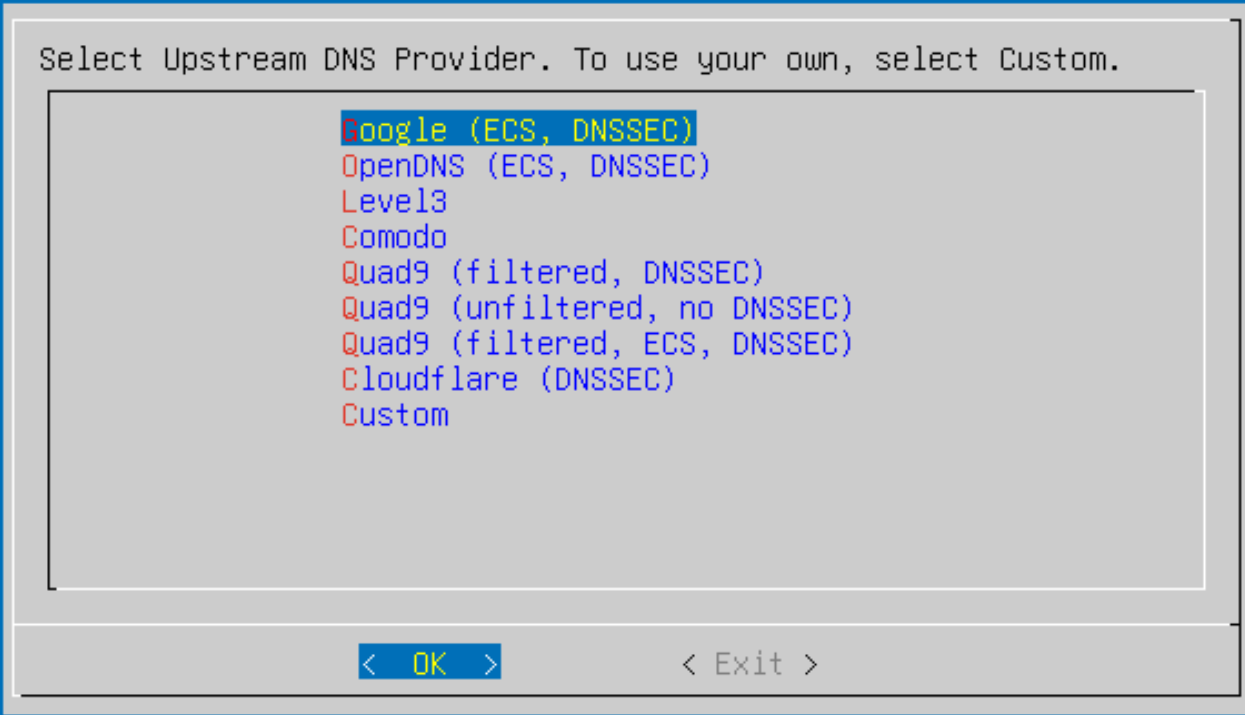
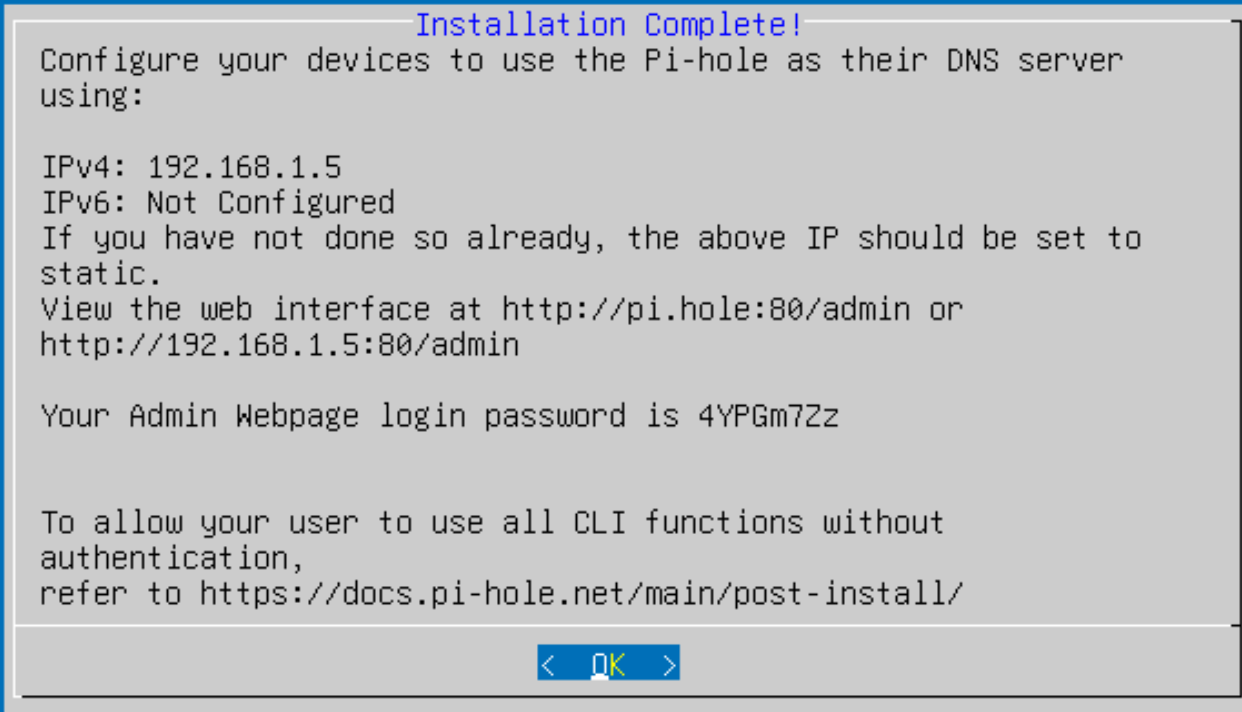
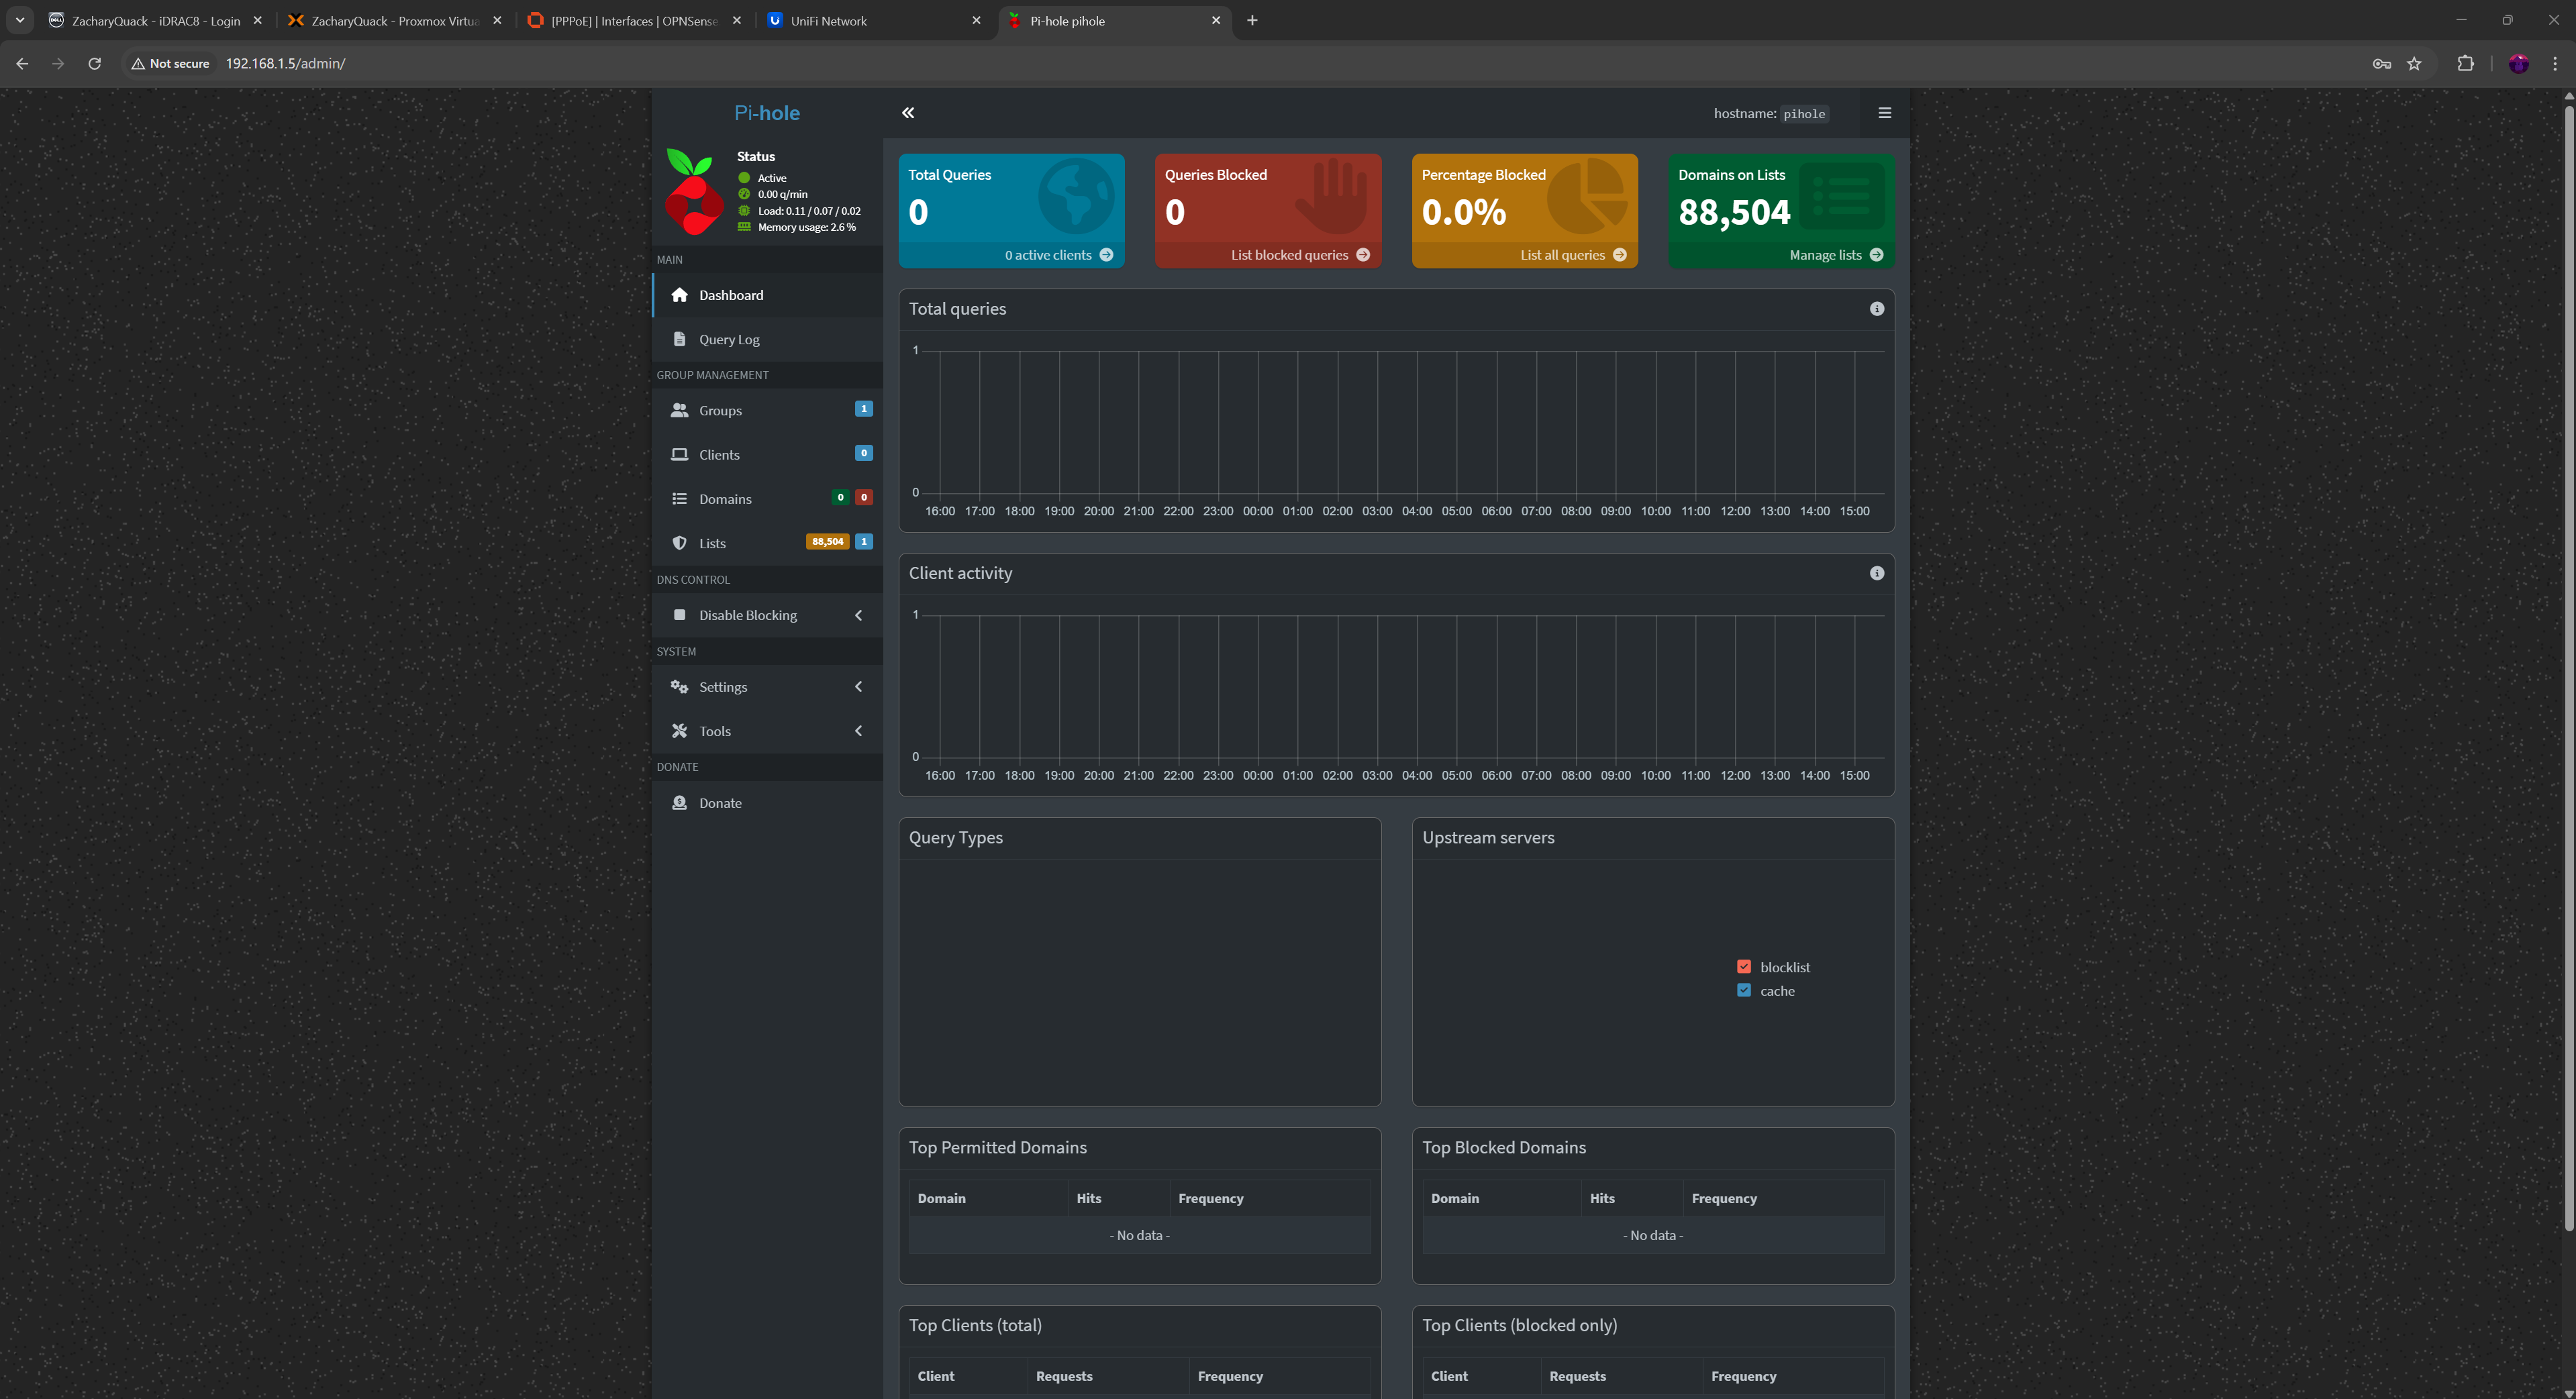

And finally... I set up PiHole for the DNS server, this started by creating another Ubuntu Server VM like above & installing PiHole... Once done, I could go onto the management webpage & see all the details about what would go through DNS.
Back into OPNSense, updating the DHCP for each VLAN to include our PiHole server IP as the DNS IP & we're done!
Doing some testing after doing a DNS flush & saw that we got the new DNS IP!
As you can see that all the servers & AP were on the 192.168.1.0 subnet, so I had to go through & update them all to be in the Management subnet. I also set reservations for these IP's in the DHCP settings.
What I Would Do Differently
The elephant in the room
First would be the huge Dell server that is being used for this, it is very large, high energy consumption & would be better suited for another purpose... In the future I would love to purchase a Lenovo M720q Tiny & install a 4-port NIC into it, then installing Proxmox onto it as well as all the services mentioned above, making it a lot smaller, uses a lot less energy & sound too!
PiHole
Next change would be running PiHole as a container, I think using a dedicated VM just for running PiHole is a bit much & uses a lot of resources that could be simplified & made easier!
Parting Words :)
Overall I really enjoyed doing this project & found it very fun learning more about proxmox, using VLAN's & setting up everything. It was very informative & learnt a lot! I think not using a proper 1U server would be a smarter idea but hey might as well make use of it.
Bye for now... Quack!